Replacing a Zipper in a coat/jacket
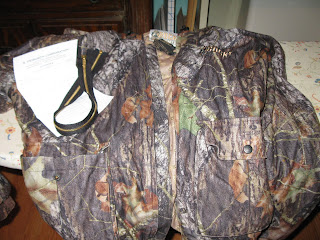
Here you can see a perfectly good jacket. The problem is, the zipper is broken! Replacing a zipper is really not difficult, but it is tedious and takes considerable time. If your coat/jacket is nice, and/or you love it, it is more than worth the trouble to replace the zipper.
Here is the zipper I ordered over the internet here. This company is wonderful. They have everything and excellent customer service!
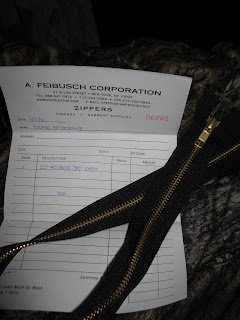
A closer look at the invoice:

The zipper I purchased cost $6.03 including the shipping, and so for a nice coat, you can see that this would really be worthwhile.
Now, don't be afraid. Breath. Relax. Here we go.
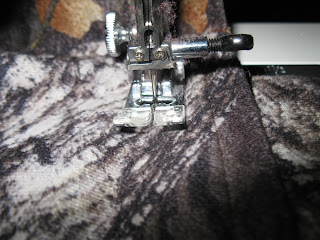
FIRST ~ set your sewing machine to its longest stitch length. Sew a line of stitching along the jacket opening, far enough in from the edge that you do NOT catch in the existing zipper. This is to hold everything together nicely and make the reassembly easier. Do this on both sides of the jacket.
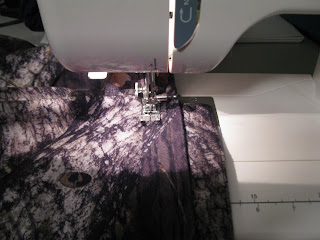
Here I am doing the same thing on the other side:
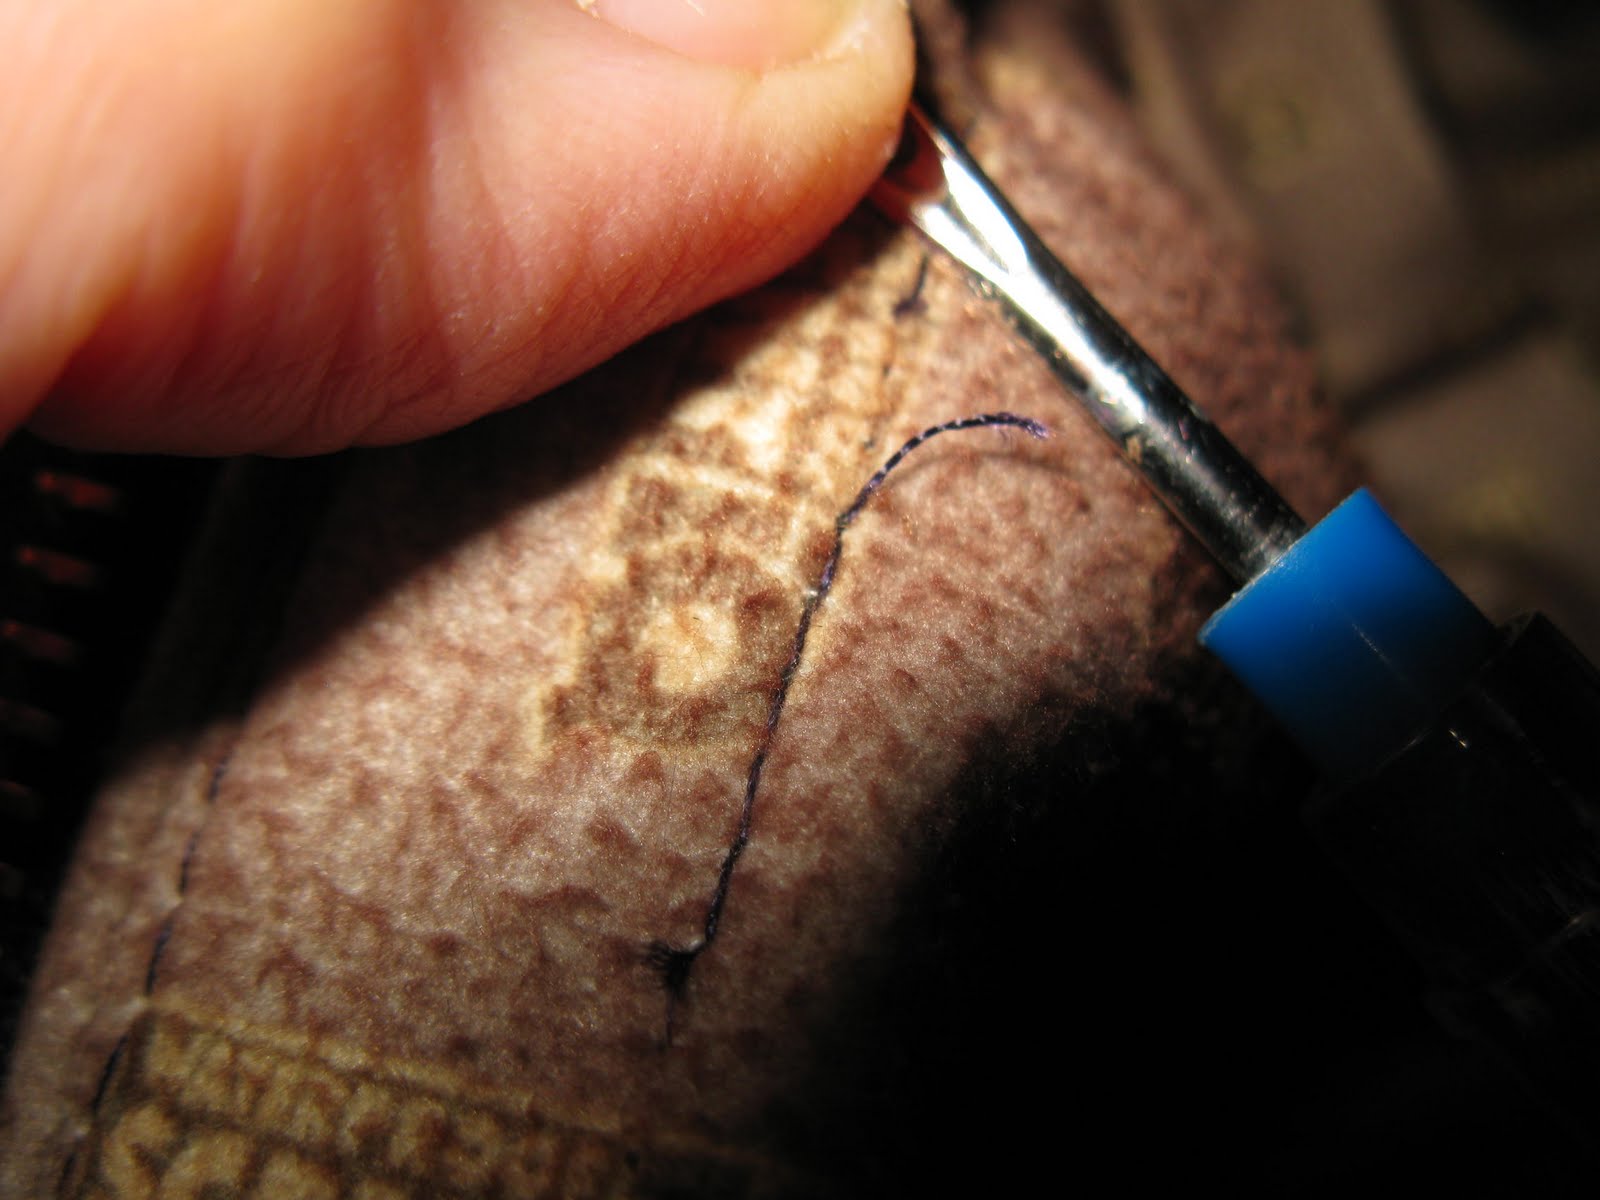
SECOND ~ take your little seam ripper and do (carefully and don't stab yourself) whatever it takes to remove the broken zipper:

Here I've gone a little farther in the process:
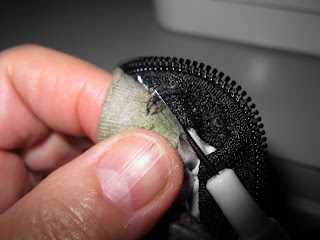
Here I am removing some stitching from the surface:

And here is what it looks like with the zipper removed. Now you will see the wisdom of doing that basting line of stitches so the jacket doesn't blow up and get all weird.

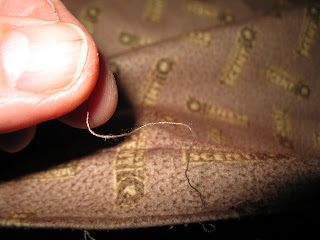
THIRD ~ carefully remove all the bits of loose thread:
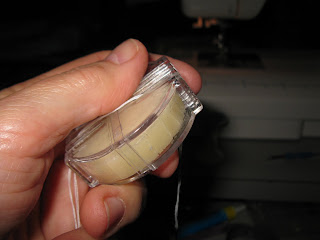
FOURTH ~ Thread a sturdy hand sewing needle with a doubled thread and run it through some beeswax so it will be less likely to tangle while you are sewing. Rosin will work instead of the beeswax, too, or if you have neither, find a piece of candle or even hand soap to use!
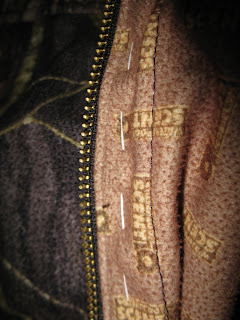
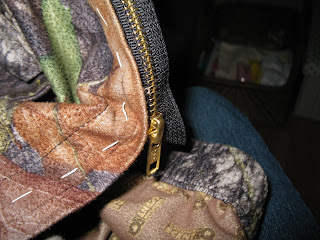
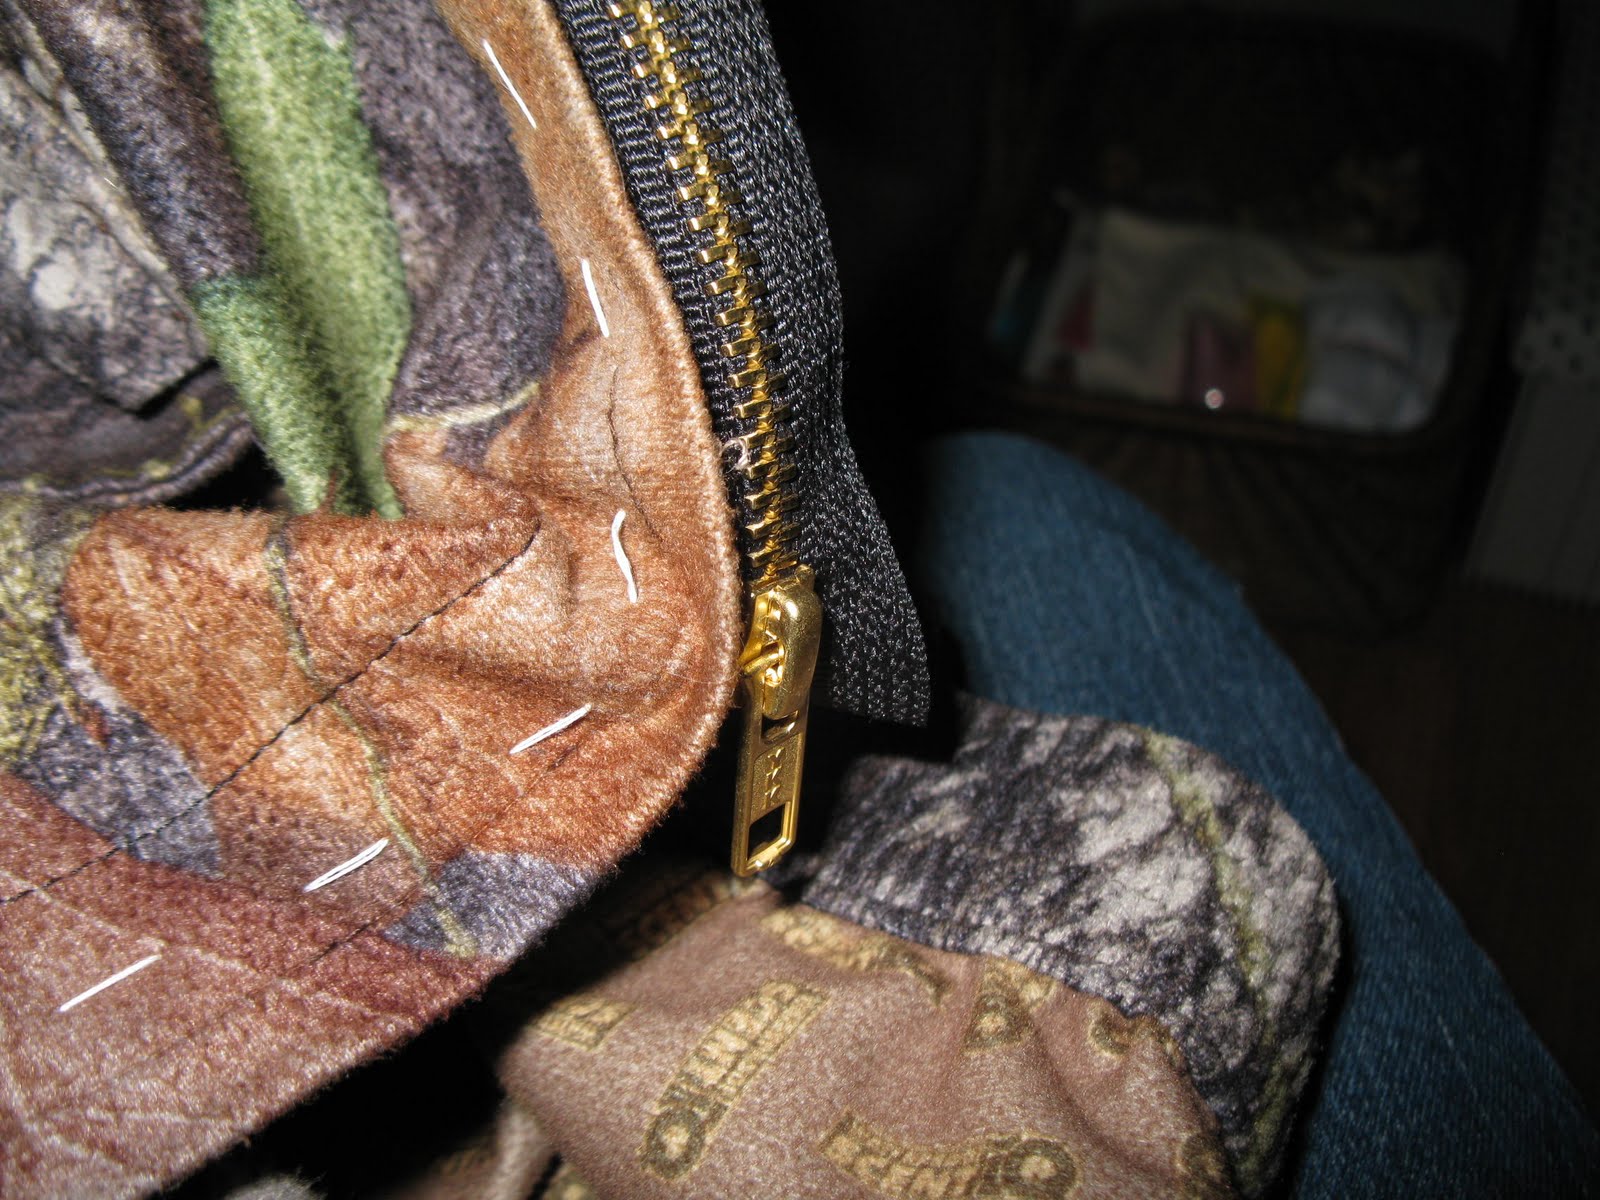
FIFTH ~ I hope you took the time to observe how the old zipper was positioned. You are going to unzip the new zipper, and one side at a time, you will put the new zipper in, and pin it in place and then hand baste it in place:

See? Here is one side basted together:
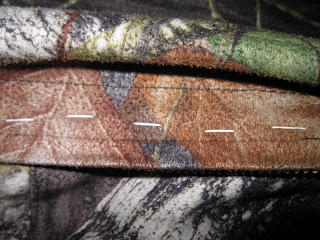
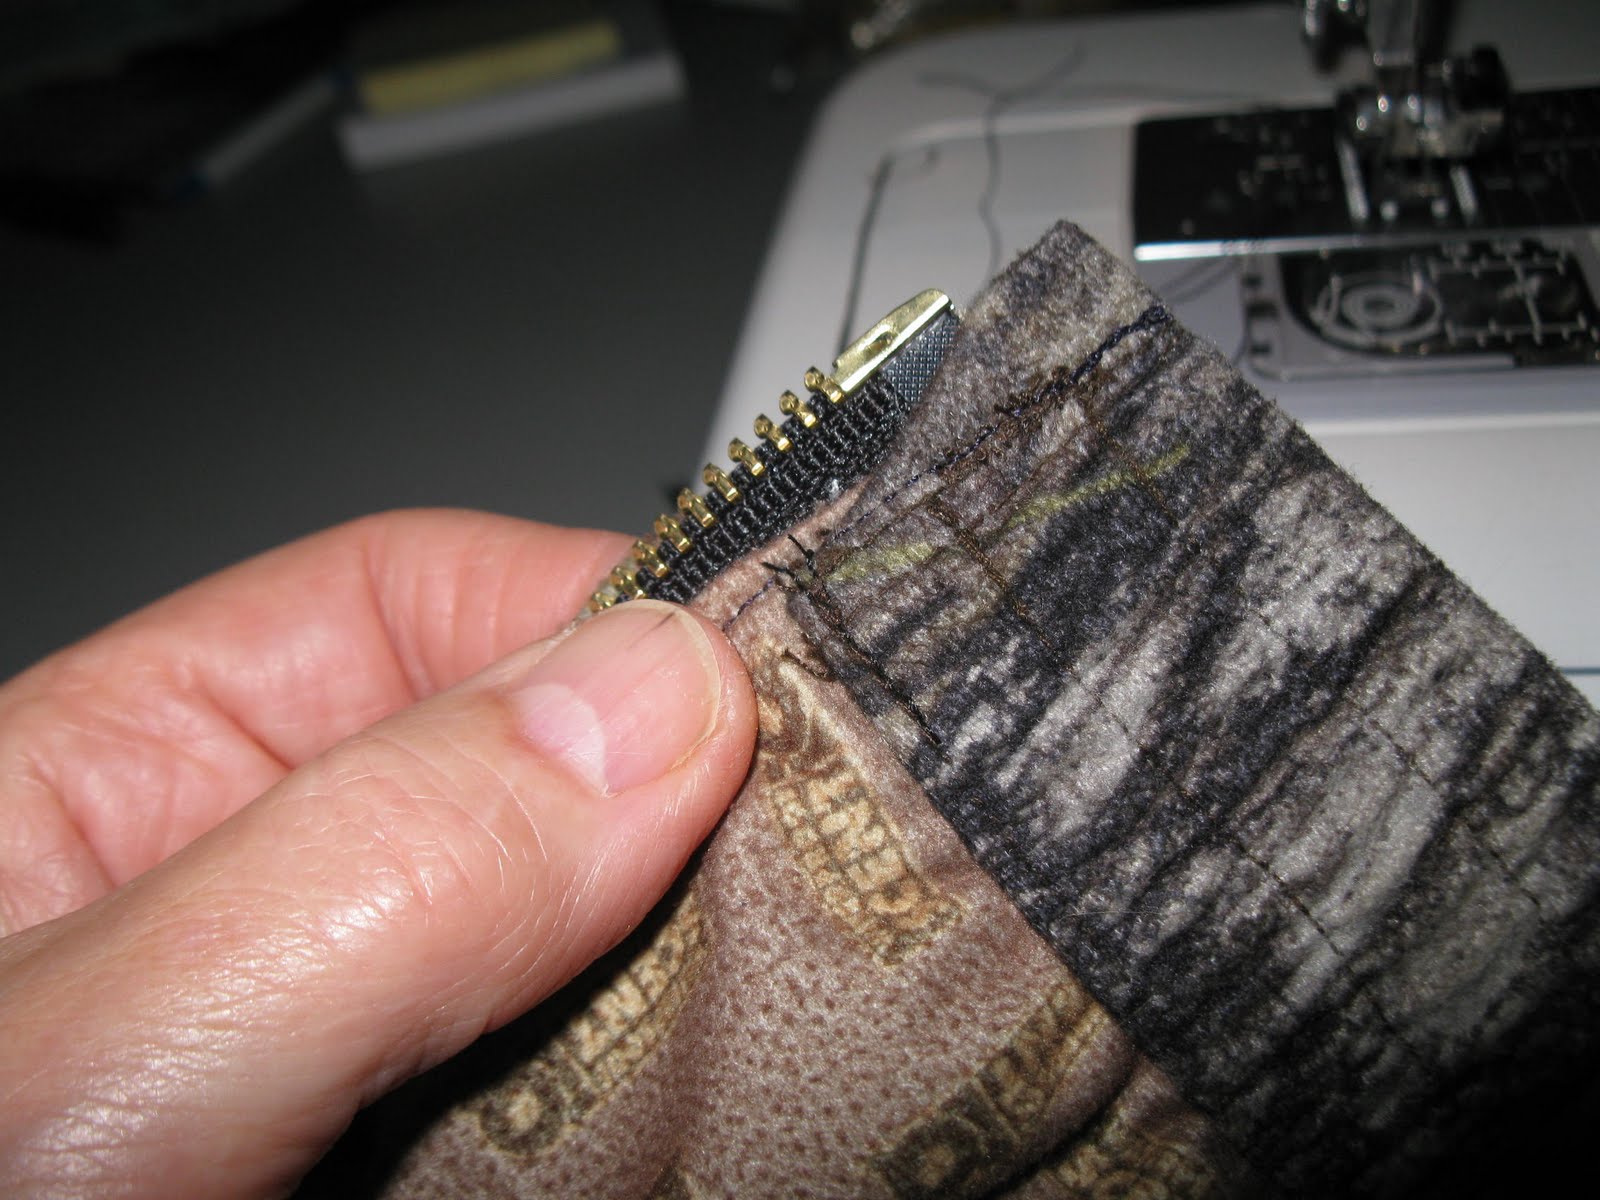
And here is the other side:
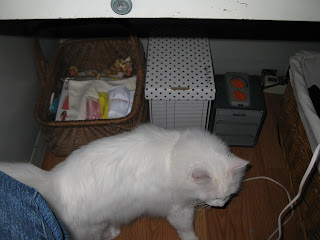
Oh, yes, and it is very helpful to have a fuzzy cat walking around under your work table at this point:
SIXTH ~ Before you sew the zipper in with your machine, zip up the jacket to make sure it is going to work!
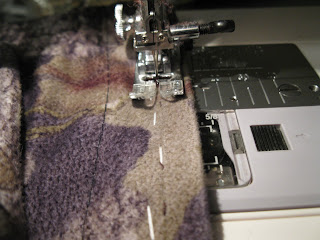
SEVENTH ~ Now, simply, using a normal stitch length, sew along the same line where the old zipper was sewn in like this:
Make sure to replace any seams or stitching you have removed:

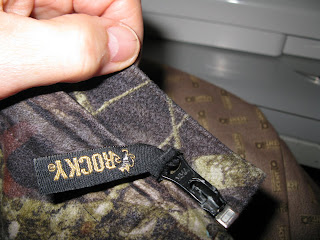
Be sure to remove any basting stitches. On this one, there was the nice little tab on the old zipper, so I just transferred it to the new one:
That's all you need to do! Even if it doesn't turn out perfectly, it is better than throwing away a perfectly good coat.
Please feel free to ask questions if I can help.

Here is the zipper I ordered over the internet here. This company is wonderful. They have everything and excellent customer service!

A closer look at the invoice:

The zipper I purchased cost $6.03 including the shipping, and so for a nice coat, you can see that this would really be worthwhile.
Now, don't be afraid. Breath. Relax. Here we go.
FIRST ~ set your sewing machine to its longest stitch length. Sew a line of stitching along the jacket opening, far enough in from the edge that you do NOT catch in the existing zipper. This is to hold everything together nicely and make the reassembly easier. Do this on both sides of the jacket.

Here I am doing the same thing on the other side:

SECOND ~ take your little seam ripper and do (carefully and don't stab yourself) whatever it takes to remove the broken zipper:

Here I've gone a little farther in the process:

Here I am removing some stitching from the surface:
And here is what it looks like with the zipper removed. Now you will see the wisdom of doing that basting line of stitches so the jacket doesn't blow up and get all weird.

THIRD ~ carefully remove all the bits of loose thread:

FOURTH ~ Thread a sturdy hand sewing needle with a doubled thread and run it through some beeswax so it will be less likely to tangle while you are sewing. Rosin will work instead of the beeswax, too, or if you have neither, find a piece of candle or even hand soap to use!

FIFTH ~ I hope you took the time to observe how the old zipper was positioned. You are going to unzip the new zipper, and one side at a time, you will put the new zipper in, and pin it in place and then hand baste it in place:

See? Here is one side basted together:

And here is the other side:

Oh, yes, and it is very helpful to have a fuzzy cat walking around under your work table at this point:

SIXTH ~ Before you sew the zipper in with your machine, zip up the jacket to make sure it is going to work!
SEVENTH ~ Now, simply, using a normal stitch length, sew along the same line where the old zipper was sewn in like this:

Make sure to replace any seams or stitching you have removed:
Be sure to remove any basting stitches. On this one, there was the nice little tab on the old zipper, so I just transferred it to the new one:

That's all you need to do! Even if it doesn't turn out perfectly, it is better than throwing away a perfectly good coat.
Please feel free to ask questions if I can help.

Good suggestions as cold weather's not far away. We're needing a coat or wrap now when we head out in the morning, though it warms up during the day.
ReplyDelete