Showing posts with label Natural Remedies. Show all posts

Saturday, March 16, 2019

Homemade Toiletries...


I have come to the point where I think I am making all of my own toiletries.  Of course, I still have to buy most of the ingredients, but I think all of this is very safe.  They certainly are nice things and work extremely well.

In the back, left to right, there is skin lotion, toothpaste, deodorant and healing salve.  In the front are bath soap and facial soap.

If anyone is interested in my recipes, please ask. 

Thursday, May 19, 2016

Kefir - Chapter 18


I have been brewing milk kefir since 2009, and as you can see on the right hand column of my blog, have posted many "chapters" about it.  I admit that it is an "acquired taste", but I really do love kefir and it didn't take long to get there.  Mine is quite sour, smooth and with a full body.  It is wonderful, not only for drinking, but for baking, and the "kefir cheese" can be used in place of cream cheese.

I have reported a few "cures" I have observed through the ensuing years.  Well... I am here to tell you one of my own.  It is slightly embarrassing, but such a wonderful turn of events for me that I have to tell you about it.

About 12 years ago I contracted a food-borne illness from some tainted table grapes.  They were sold in a local store at a deeply discounted rate, so I stocked up.  The package that I used first had a little mold in it.  It never occurred to me  that would be a problem.  I took off the bad grapes, gave the others a good rinse and chowed down.  Big mistake!!!  I came down with the worst case of diarrhea I had ever had... and it continued.  After several days I was forced to go to the doctor.  He gave me an antibiotic, and something for amoebic dysentery and one other thing that I can't remember right now. The icky sickness I was feeling went away, however, the diarrhea did not.  And I have struggled with that ever since, every day.  Ugh.  It was embarrassing and exceedingly inconvenient. A gastroenterologist diagnosed me with collagenous cholitis and he said it was nothing to be concerned about, as far as it causing anything serious, so I thought, "Ok.  I'll just ignore it as much as I can and not keep trying to 'cure' it."  Now... on to the kefir part:

I generally only drank a small glass of the kefir every day, because for most of those years, we had milk goats and I wanted to be able to drink more fresh goat milk.  At the end of May, our milk goat, Heidi, died. So, I have been using the whole milk from the store since then.  About 2 months ago I started drinking a whole glass of milk kefir at breakfast.  After a couple of weeks I noticed my gut problem improving, and before long, I was almost completely normal. 

I am astounded and oh so grateful.  People talk a lot about probiotics.  The milk kefir is full of them - some articles say as many as 20 varieties.  Fermented foods of all kinds are very good for the gut flora and of course the kefir is fermented.

There you go!

Wednesday, September 30, 2015

Garlic - in a Very Wet Summer

This year when I harvested the garlic, the papery coverings were not very good.  There had been such a lot of rain... Lately I've been worried that the garlic won't "keep" as well as it has in the past, so a set aside a few bulbs to plant in October, and I've preserved the rest in two ways.  You can see the problem here.  The papery wrapper is all but gone.
So, I washed a lot of it, carefully peeled the cloves and rinsed them thoroughly under running water.


The first ferment is a remedy for colds and influenza. I took my small Fido jar and filled it about 2/3 full with the peeled cloves.  Next, I poured in enough raw honey to cover them, and sealed the jar.  What I read is that you should "burp" the jar every day until it doesn't burp anymore.  I think I will just let it go for a few weeks, as the extra pressure will slowly leak out of a Fido jar.  Then, I'll keep it in the cupboard.  If a cold or influenza is coming on, we'll eat 4 or more fermented cloves right away, and then as needed.

The second ferment is just to preserve the garlic for cooking.  I filled a quart canning jar about 2/3 full with the rinsed cloves.  I added 2 Tablespoons of live whey that I got from making kefir cheese. (You can also use the whey from plain yogurt.) and then poured in about 1/2 quart of simple brine, which is a mixture of 2 cups of water and 2 Tablespoons of plain sea salt.  This will set on the counter for several days and then I will store it in the refrigerator and just take out what I need for cooking.  This garlic keeps indefinitely and it is very convenient to have on hand, all ready to go! 

I think my kitchen might have the aroma of an Italian restaurant today.  It's very garlicky in here.  Fortunately, I love garlic!

Here are the two jars.  I'm certain you can tell them apart.

Wednesday, May 14, 2014

Stinging Nettles - a springtime gold mine!


Above is a picture of what stinging nettles look like in my part of the world.  There are a number of varieties in other places. NEVER gather and use or eat wild plants without consulting a local expert. Stinging nettles have teensy little spines all over them that have formic acid in them.  If you brush against them with your skin, you will get stung.  Be careful!  If you do get stung, make a paste of baking soda and water to soothe the irritation.  Nettles are so healthy and wonderful that it is worth the risk! Once you wash the nettles well, the formic acid is gone.  They are perfectly safe to eat.

This morning, my daughter and I went to a place near a river not far from where we live and picked quite a lot of stinging nettles.  We wore pants, long sleeves and gloves that have rubbery stuff on the palms and fingers to protect ourselves. We just roamed around picking off the top bunch of leaves and not bothering the rest.  Then it started to rain in earnest, so we came back home.  I spent most of the rest of the day dealing with the nettle haul!

First, I filled all the trays with  leaves I carefully cut off the stems.  I set the dehydrator at 105 F and let it run for a few hours.  It really didn't take very long until they were dry, compared with other things I have dehydrated.  When they were thoroughly dry, I used my hands and crunched them all up, stuffed them into a quart jar (it filled it) and put a lid on tightly.  That is for making nettle tea, which is very good for you and also has medicinal properties.


Next, I put some good olive oil in a small skillet, cut up some oyster mushroom in it and added a big handful of the fresh nettle leaves.  That was sauteed until everything seemed done, and I added salt and pepper. Yum. I had that for lunch.

I blanched the rest of the leaves in boiling water for 1 minute, then put them in ice water.  Then I put them in a dish towel, and used it to squeeze all the water out that I could by twisting the towel tightly.


Those were used to make NETTLE PESTO!  

1/2 firmly packed cup of blanched nettles
1/4 cup walnut meats, chopped and toasted in a skillet (pine nuts are too costly)
1/2 teaspoon salt
3 garlic cloves, minced
2 Tablespoons olive oil

This can be made in a food processor, or you can carefully mash it all up together with a mortar and pestle.

I still had some blanched nettle leaves left, so I froze them in an ice cube tray and will add them to soup.


Tuesday, February 5, 2013

Soothing Hand Cream


This is a simple and lovely way to make hand cream. When you use it, only use a tiny amount.  It isn't necessary to use enough to make your hands oily.  It is as if the oil is just a carrier for the yummy beeswax!

1/2 cup olive oil (I used extra-virgin, but you don't have to.)
1 ounce pure beeswax

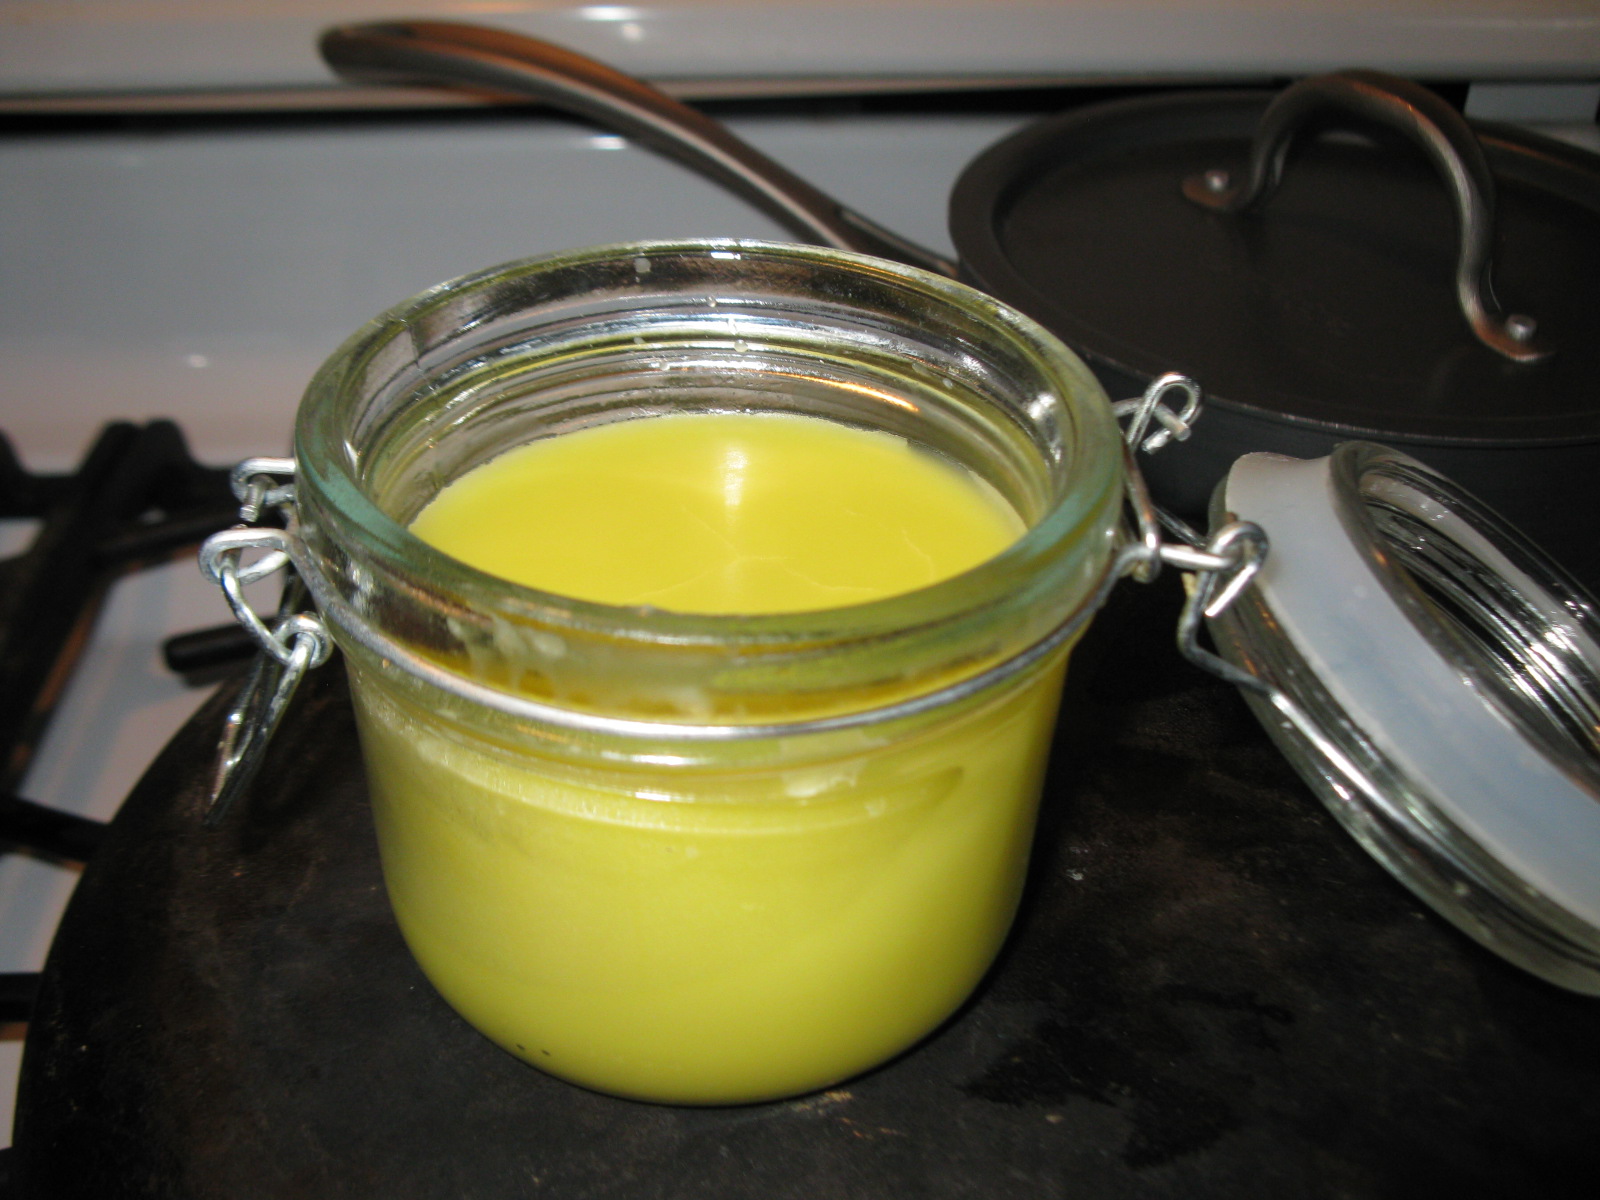
Put these ingredients in a little jar.  Set the jar on top of an old canning ring in a small saucepan.  Fill the pan up with water to about halfway up the jar.  Heat on medium heat and stir from time to time until the beeswax is completely melted.  Carefully remove jar from pan (it is hot!) and allow to cool completely.  Place a lid on your jar.

That's it!

I love this cream.  It will seem a big stiff, but just get a little bit with your finger and as you rub it on your hands, it will melt immediately.  If your hands seem oily, you've used more than necessary.

Monday, August 20, 2012

Tooth Powder

Nearly two years ago, I posted instructions for making tooth soap.  Interesting to me is how popular that has been!  As of this morning, it's had 3,667 "hits."  Amazing.

Now I have something new to talk to you about ~ "Tooth Powder."  This is much easier to make and is also more economical. 

I ran across the idea online, of course, and now can't remember where I saw it.  Sigh...  Here it is:


Here is the recipe:  Combine 8 teaspoons food grade bentonite clay, 1 teaspoon sea salt (I used some RealSalt that I have) and...


4 drops peppermint essential oil.  Put it in a little jar and shake it up.


Keep a tight lid on the jar.  When you want to brush, just wet your tooth brush with water and dip the bristles lightly into the tooth powder.  Voila!  I really like it. Don't put too much on your brush.  Only a little is needed and if you get too much, it will feel like it.  You can use more or less essential oil to your liking.  This batch will last for a long time, so you can see that it doesn't cost much at all.

It does an amazingly good job, too.  Now I don't have to make the tooth soap and I don't have to buy the expensive flouride-free toothpaste at the store.


Saturday, June 30, 2012

Healing Salve - Revisited

I see that my original post about the Healing Salve has been corrupted somehow, so I'll go through that again.  I recently made another batch, so now is a good time - the "ingredients" are available right now.

Healing salve


In 1994, a friend and I took a series of classes on healing herbs and making remedies at home. Ever since then, I've made various versions of healing salves. A dear friend spent the day here yesterday, and being like-minded, we made a batch of salve.

Now, I have to tell you.... this stuff is amazing. It is not a panacea, but for certain skin problems it is amazingly effective. And as you will see at the bottom of the article, there is a new one to add to the list.

1. My neighbor used it when she had "sun poisoning" and had the itchy rash caused by too much sun exposure. It cured it for her very quickly.

2. My daughter has used it for diaper rash that would not respond to any other treatment, and it cured it.

3. I use it often for skin irritations and it is soothing and healing.

4. I use it on my animals when they have skin problems. Depending on the problem, often, it helps.


It is made using Comfrey leaves and Plantain leaves. You can see a photo and article about the Comfrey HERE and about the Plantain HERE.

These are medicinal herbs. The salve has antibiotic and anti-fungal properties and helps promote cell growth and rapid healing.

Here is my recipe:

Healing Salve

Comfrey leaves
Plantain Leaves
Olive oil
Beeswax
Tincture of Benzoin (opt.)

Go outside with a gathering basket and a small knife or pair of scissors.  Gather a quantity of Plantain and Comfrey leaves, approximately the same amount of each.  

Bring them into the kitchen and wash them in a sink full of cold water.  Then, either pat them dry in towels or put them through a salad spinner.

Next, chop them up in your food processor, OR chop them very finely with a sharp knife.

Put all of the chopped leaves in a non-reactive (stainless or enameled) pot.  Pour in enough olive oil to cover the leaves.  Place the pot in your oven and set the timer for 4 hours and the temperature at 250 degrees F.

After the 4 hours, take it out of the oven.  Let the brew cool for a little while, and then line a colander with a cotton cloth.  Strain the brew through the cloth. Press out as much oil as you can.


Measure the resulting oil.  This will determine how much Beeswax you will need to add.  (More about that in a moment.) 


Gather up some little jars.  I often use baby food jars, when I can get them, but 1 cup canning jars are wonderful too.  You need jars with lids and of course you can use any size you wish, but I recommend smallish jars as then most of the salve may be stored in the freezer until you need it.


Now comes the math.  This year's batch made 5.3 cups of oil.  I added 4.5 ounces of melted Beeswax.  So, that divides out to using 0.89 ounces of Beeswax for each cup of oil.  This is not an exact science.  If you add more, your salve will be more firm.  If you add less, it will be softer.  I like this consistency.  You will, of course, need to have a little digital scale.  They are not too expensive, and if you are serious about making salve, it's a good investment and has many other uses also (soap making being one of them.)


Rig up a little double boiler for your Beeswax.  I put mine in an empty food can and place it in a small pot with water in it.  NEVER melt wax directly on the stove.  If it gets too hot, it can explode and burn you.


When the wax is melted, stir it into the oil.  If you would like a preservative, add 5 drops of Tincture of Benzoin for each cup of oil, but this is not necessary if you will be storing your salve in the refrigerator or freezer.  I do add it to mine, as I share this salve with a number of other folks, and don't want it going rancid on their kitchen shelf.


Pour the mixture into the prepared jars, put on the lids and let it cool.  That's it!


It sounds complicated all written out like this, but it's not.  Just go out, get the plants, chop them up, cook them in oil, strain, melt the wax, stir that in and voila!  Wonderful, versatile healing salve!


You can purchase beeswax from bee keeping supply companies online.  Do shop around, as prices vary considerably.


I recently heard from a young friend of mine that she had cracked her tibia in a fall, and used my salve on the area and it helped it heal nicely.  Another name for Comfrey is "Bone set." This

Tuesday, November 9, 2010

Tooth Soap


A number of months ago I ran across an idea on the internet that intrigued me. There are people who believe that commercial toothpaste is unhealthy for us. I guess it makes sense, since the toothpastes are not made out of safe ingredients. You can buy "Tooth Soap" online, but it is rather expensive, so I looked for a recipe and found several. The one I used is made of all safe, nice, gentle ingredients. I found the recipe here. I chose the recipe called "Flavorful Tooth Soap Recipe."

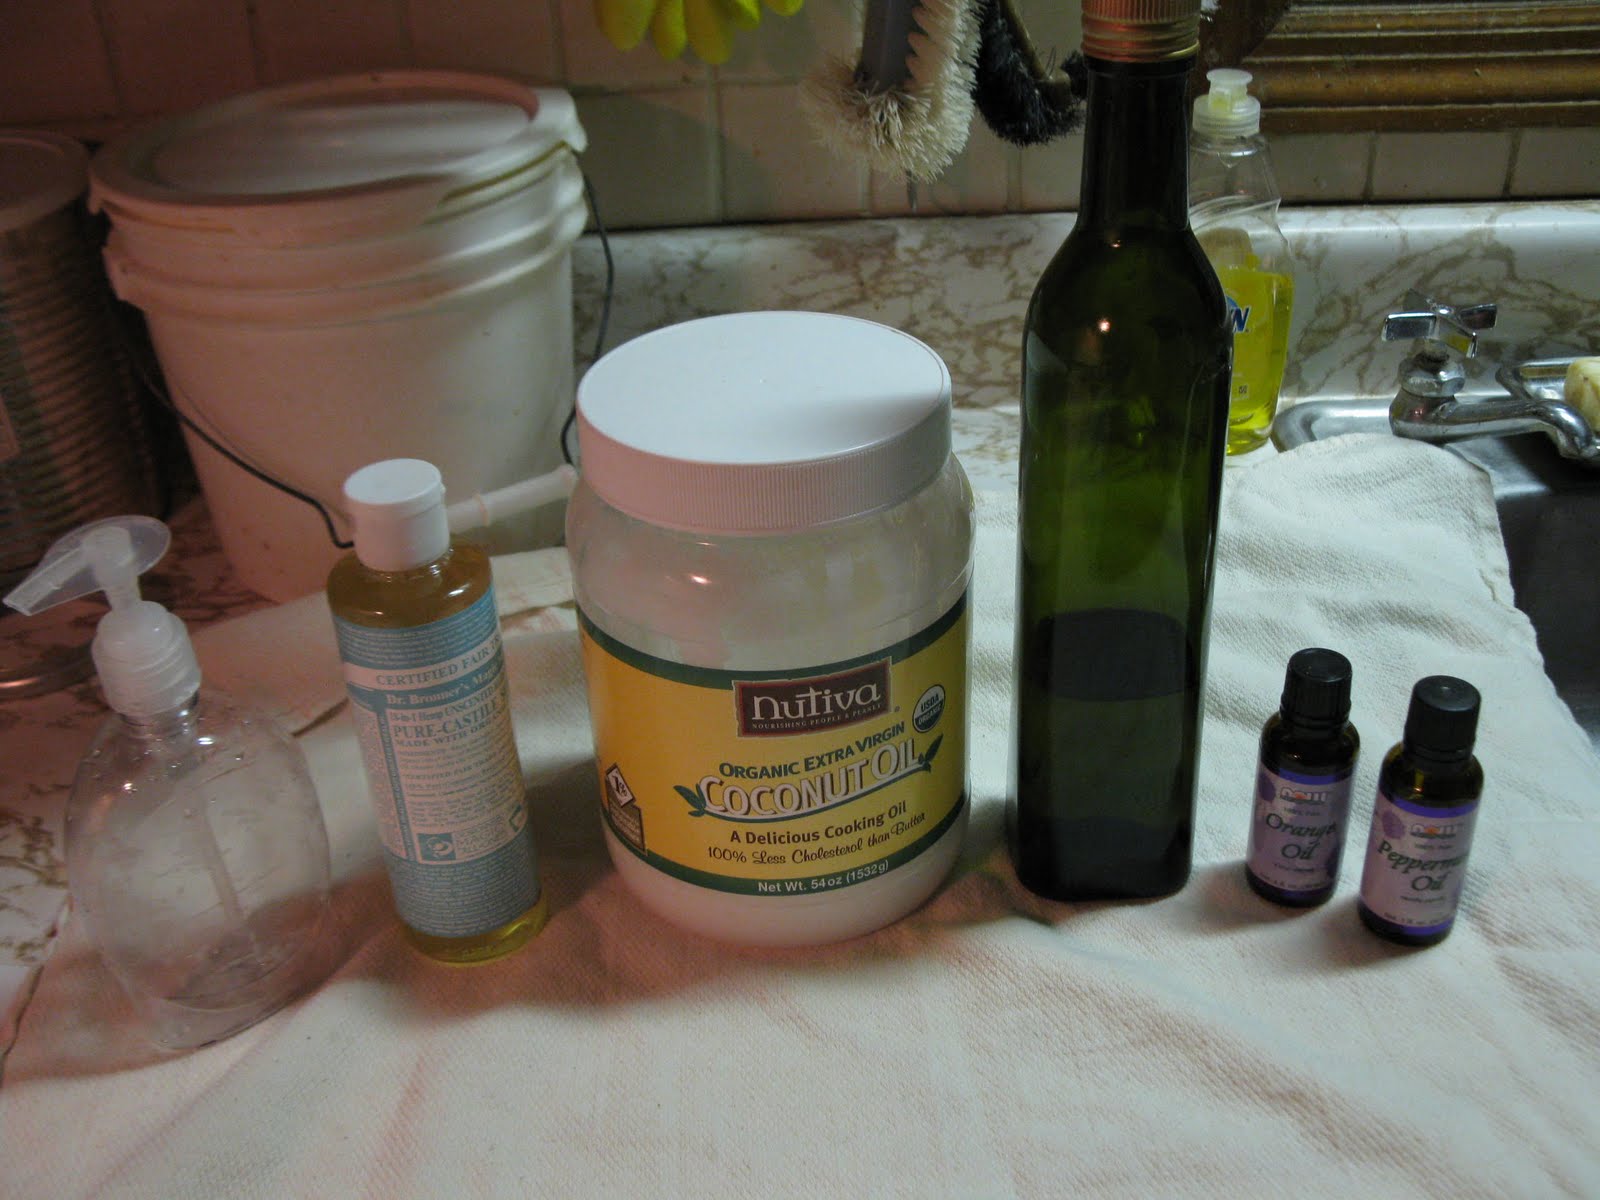
Above is a picture of my ingredients ~ Dr. Bronner's castile liquid soap , extra-virgin coconut oil, extra-virgin olive oil, orange essential oil and peppermint essential oil.

I measured out all the ingredients in the recipe (see below) into a small bowl and mixed it all up thoroughly with a fork:


After mixing it looked like this:


It was too thick at that point to flow at all, so I ended up adding 1 more teaspoon of the extra-virgin olive oil, and a Tablespoon of water. Then I used a funnel to put it into a small, very clean liquid hand soap dispenser that I bought just for this purpose.


I had to tap the funnel on the bottle to get the paste to go in, but it did go in and will last a long time, so the tapping was well worth the effort.


The thing to do is wet your toothbrush, apply a small amount of the tooth soap and then brush and rinse as usual.


The recipe is called "Flavorful." That is odd, because I think I would be more inclined to call it "Flavorless." It has almost no taste at all and is very easy and pleasant to use. And I am pleased with it. It does a good job and it seems to me that my teeth feel cleaner longer, and even after a night's sleep, I don't have that feeling in my mouth when I get up that is urging me to brush as soon as possible.

Here is the recipe:


Flavorful Tooth Soap Recipe

1 Tablespoon of Dr. Bronner's castile liquid soap (the best price I found was on Amazon.com - I bought the kind for babies that has no scent or anything strange added to it.)
5 Tablespoons of coconut oil
1 Tablespoon of olive oil
10 - 12 drops of orange essential oil
10 - 12 drops of peppermint essential oil

Blend the ingredients together thoroughly. If the consistency is thicker than desired, more olive oil or water can be added until it reaches a pourable texture.

Store in a clean soap dispenser.

I recommend it!

I am sharing this post at Wardeh's Simple Lives Thursday over at GNOWFGLINS

Saturday, May 22, 2010

Healing salve


In 1994, a friend and I took a series of classes on healing herbs and making remedies at home. Ever since then, I've made various versions of healing salves. A dear friend spent the day here yesterday, and being like-minded, we made a batch of salve.

Now, I have to tell you.... this stuff is amazing. It is not a panacea, but for certain skin problems it is amazingly effective.

1. My neighbor used it when she had "sun poisoning" and had the itchy rash caused by too much sun exposure. It cured it for her very quickly.

2. My daughter has used it for diaper rash that would not respond to any other treatment, and it cured it.

3. I use it often for skin irritations and it is soothing and healing.

4. I use it on my animals when they have skin problems. Depending on the problem, often, it helps.

It is made using Comfrey leaves and Plantain leaves. You can see a photo and article about the Comfrey HERE and about the Plantain HERE.

These are medicinal herbs. The salve has antibiotic and anti-fungal properties and helps promote cell growth and rapid healing.

Here is my recipe:

Healing Salve
Comfrey leaves
Plantain Leaves
Olive oil
Beeswax
Tincture of Benzoin (opt.)

Go outside with a gathering basket and a small knife or pair of scissors.  Gather a quantity of Plantain and Comfrey leaves, approximately the same amount of each.  

Bring them into the kitchen and wash them in a sink full of cold water.  Then, either pat them dry in towels or put them through a salad spinner.

Next, chop them up in your food processor, OR chop them very finely with a sharp knife.

Put all of the chopped leaves in a non-reactive (stainless or enameled) pot.  Pour in enough olive oil to cover the leaves.  Place the pot in your oven and set the timer for 4 hours and the temperature at 250 degrees F.

After the 4 hours, take it out of the oven.  Let the brew cool for a little while, and then line a colander with a cotton cloth.  Strain the brew through the cloth. Press out as much oil as you can.


Measure the resulting oil.  This will determine how much Beeswax you will need to add.  (More about that in a moment.) 


Gather up some little jars.  I often use baby food jars, when I can get them, but 1 cup canning jars are wonderful too.  You need jars with lids and of course you can use any size you wish, but I recommend smallish jars as then most of the salve may be stored in the freezer until you need it.


Now comes the math.  This year's batch made 5.3 cups of oil.  I added 4.5 ounces of melted Beeswax.  So, that divides out to using 0.89 ounces of Beeswax for each cup of oil.  This is not an exact science.  If you add more, your salve will be more firm.  If you add less, it will be softer.  I like this consistency.  You will, of course, need to have a little digital scale.  They are not too expensive, and if you are serious about making salve, it's a good investment and has many other uses also (soap making being one of them.)


Rig up a little double boiler for your Beeswax.  I put mine in an empty food can and place it in a small pot with water in it.  NEVER melt wax directly on the stove.  If it gets too hot, it can explode and burn you.


When the wax is melted, stir it into the oil.  If you would like a preservative, add 5 drops of Tincture of Benzoin for each cup of oil, but this is not necessary if you will be storing your salve in the refrigerator or freezer.  I do add it to mine, as I share this salve with a number of other folks, and don't want it going rancid on their kitchen shelf.


Pour the mixture into the prepared jars, put on the lids and let it cool.  That's it!


It sounds complicated all written out like this, but it's not.  Just go out, get the plants, chop them up, cook them in oil, strain, melt the wax, stir that in and voila!  Wonderful, versatile healing salve!


You can purchase beeswax from bee keeping supply companies online.  Do shop around, as prices vary considerably.


I recently heard from a young friend of mine that she had cracked her tibia in a fall, and used my salve on the area and it helped it heal nicely.  Another name for Comfrey is "Bone set." This
Related Posts Plugin for WordPress, Blogger...