Showing posts with label Dairy. Show all posts

Thursday, December 24, 2015

Yogurt in my Wonder(ful) Cooking Bag!

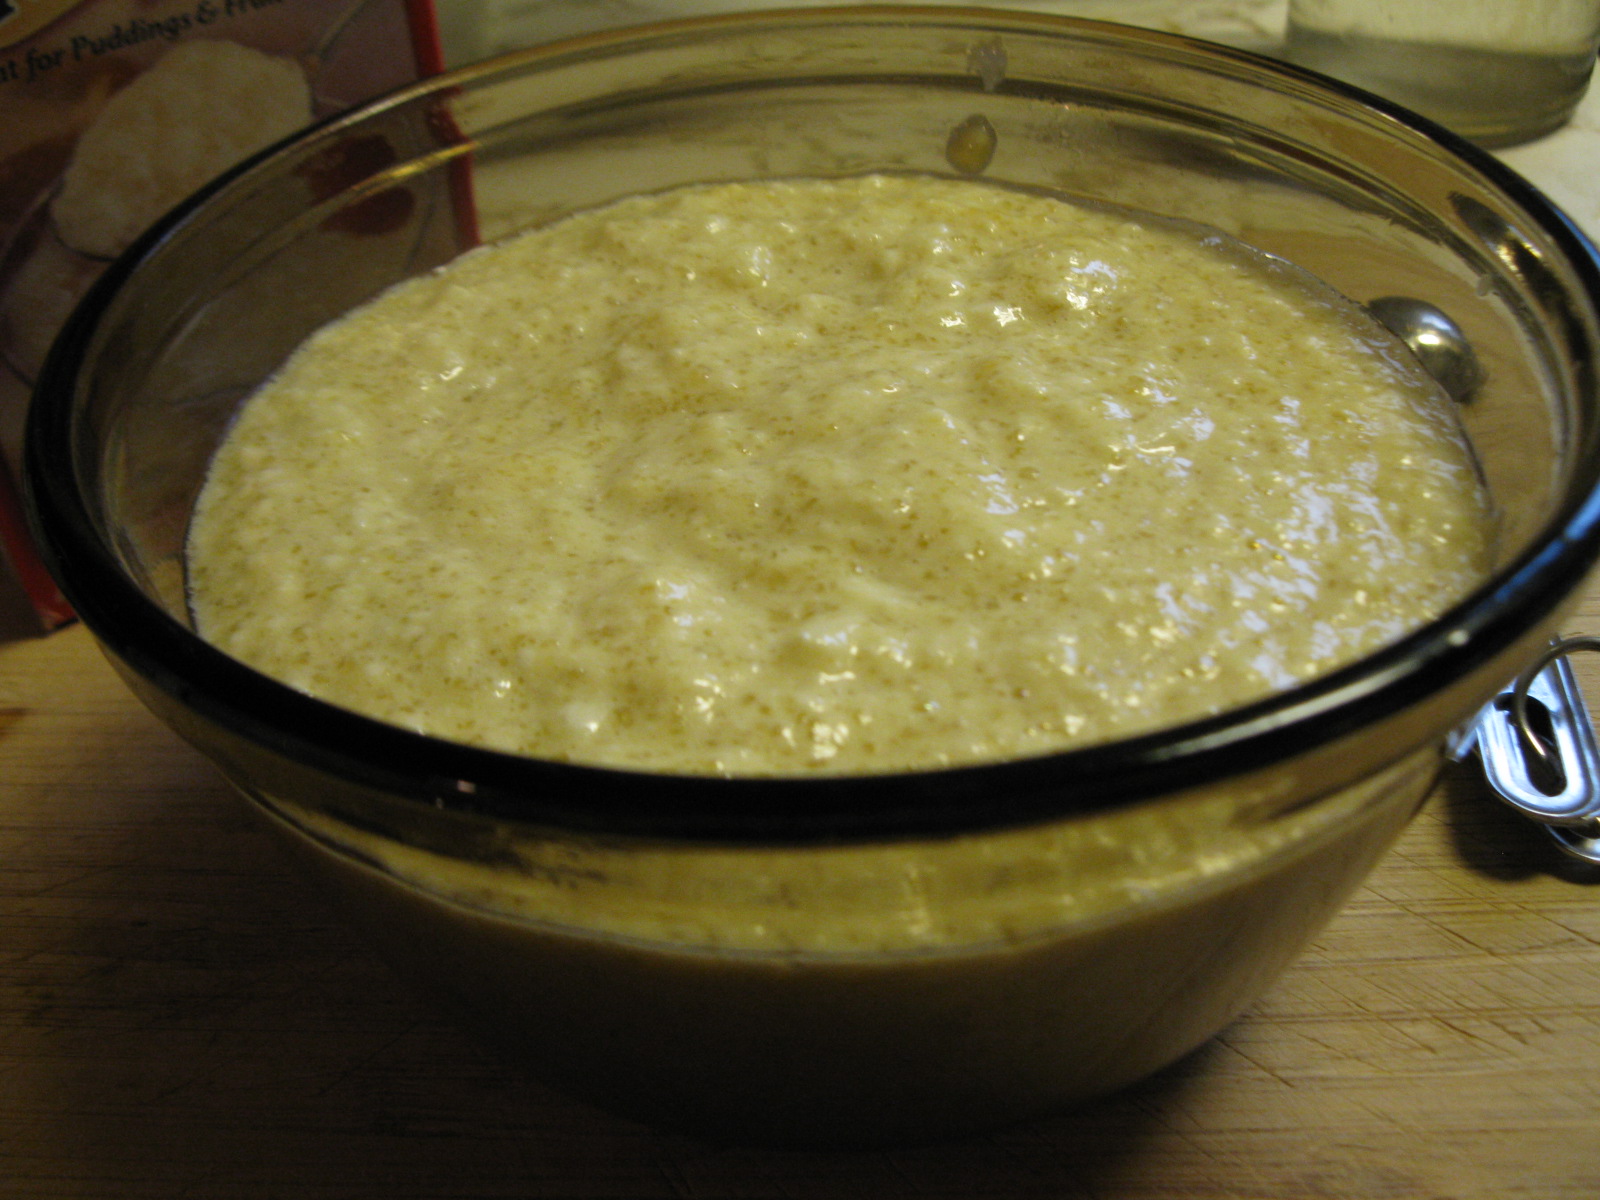
My friend, Juvonda from Hoosier Heartland Alpacas, shared her yogurt recipe with me.  She incubates hers in her oven, and it works perfectly.  My oven won't let me set it at such a low temperature, so I wanted to figure out another way.  After much thought, I settled on trying to do it in my "Wonder(ful) Cooking Bag." It worked perfectly! Here is what it looked like when I opened it all up this morning:


And here is Juvonda's recipe:

Homemade Yogurt

1 gallon whole milk
1/2 cup plain yogurt with live cultures

Over medium-low heat, heat the milk in a stainless steel kettle to 185 degrees F (85 C)
Remove from heat and allow to cool to 115 F (46 C)
Whisk in 1/2 cut plain yogurt, thoroughly.
Cover with lid and either put it in your oven at 115 F (46 C) overnight, OR, into a cooking bag like above or wrap it up a lot with fluffy quilts in a basket or box.
Let it sit at least overnight.  Longer is fine.
Pour into glass jars or a glass bowl, cover and refrigerate.
That's it!  Easy Peasy.

Be sure to save 1/2 cup yogurt for your next batch.


Wednesday, June 24, 2015

Easy easy easy homemade ice cream!


I ran across this recipe online, and of course now can't remember where...  Take a pint of heavy whipping cream and using an electric mixer, beat it until it forms soft peaks.  Then, pour in a can of sweetened condensed milk and mix that together.  Pour into a dish and cover with plastic wrap or put on a lid and freeze for at least 6 hours.  It is creamy, wonderful and delicious and rich!  You can flavor it however you wish.. this batch included 2 teaspoons of vanilla extract.  My first batch had 2 Tablespoons of cocoa powder and 2 chopped up Hershey milk chocolate bars in it.  It is SO easy and SO good!

The girl up there is our granddaughter, who is visiting us right now.  She made a batch of sausage gravy last night for us:


She really loves animals and wants to be a veterinarian when she grows up.


At home, she has 4 pet gerbils that she enjoys very much.  :)

Tuesday, March 26, 2013

Kefir - Chapter 17

It has been over a year since I posted anything about kefir.  I still LOVE my milk kefir and drink some of it every day.  Like anything else I do for a long time, I refine my method as time goes on.  When I first began brewing kefir, I got my information on Dom's Kefir website.  It is a treasure trove of information... more than you can imagine.  If you would like to see, check it out HERE.

I had been led to believe that it is important to never use any metal with milk kefir production.  Now, however, I use a stainless steel mesh strainer to strain out my kefir grains.


For a long long time, I used a paper coffee filter and a rubber band to cover the brewing jar.  Now I just use a plastic lid and leave it loosely on the jar.


I used to put my grains in a pre-determined amount of fresh goat milk. (You may use any kind of milk.) But now, I just add enough milk to cover the grains well.

I used to strain out the kefir grains after 24 hours and then let the fermented milk sit at room temperature for another 24 hours before using.  Now, since I use a relatively small amount of milk, as soon as I strain it, I add it to my jar of liquid kefir in the refrigerator.


All of these changes together have made the process, at least for me, more streamlined, and my kefir is smooth and thick and lovely.


Thursday, March 21, 2013

I think I'm going to die of cuteness...

Can you guess what we did today?


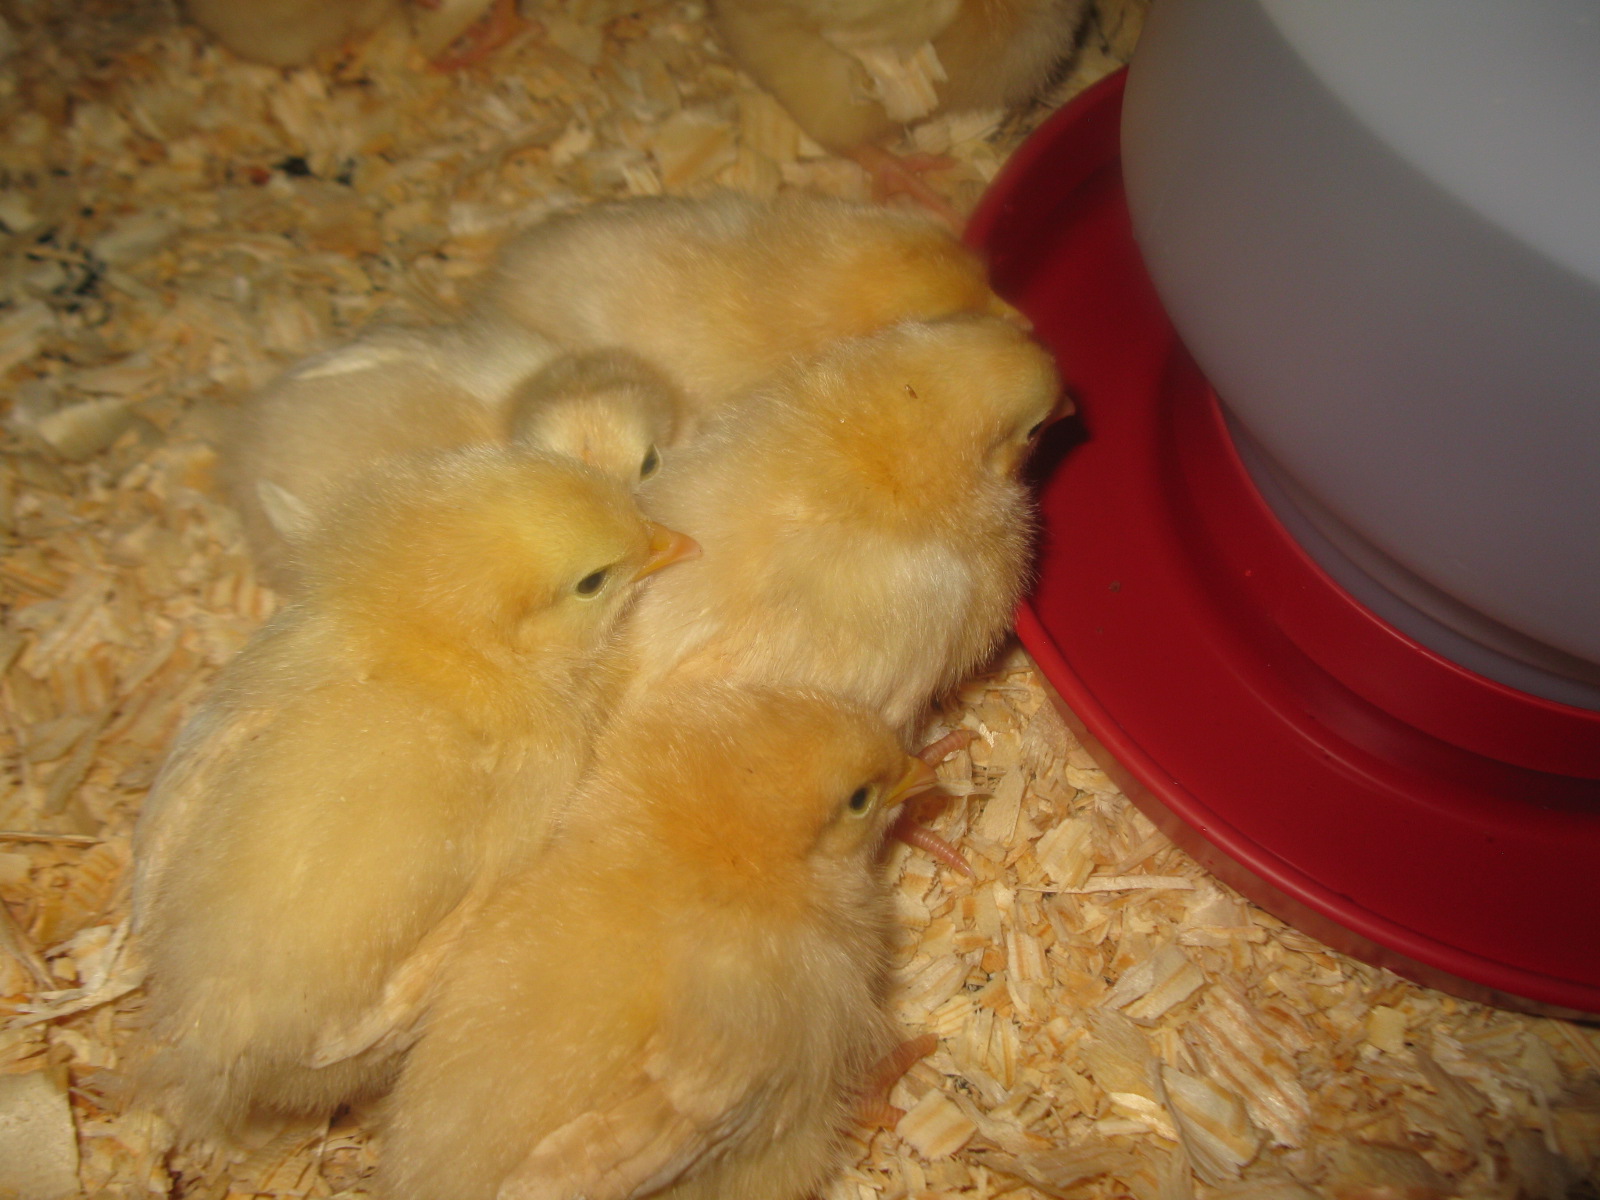
I think you get the idea.  I have read that Buff Orphingtons are calm and affectionate, good layers of large brown eggs and cold tolerant.  Precisely what I need (and want.)  We haven't had chickens for several years and I am very happy!  My husband is going to build a chicken coop soon.  :)

The other cuteness is living in our garage right now.  4 baby goats.  3 girls, one boy, all spoken for.  They are SSSSSOOOOOOOOOOOOOOOOOooooo cute!  I love bottle feeding baby goats!  Half LaMancha and half pigmy.

Sunday, March 17, 2013

My husband is so smart...


A dear friend recently bought a "Henry Milker" for milking her goats.  I admired it and so my sweet husband read up on it, watched some YouTube videos about similar things and fabricated one himself for a lot less money.  He's amazing!  The next plan is to buy an old refrigerator compressor and set us up so we can do it with electricity.  We have always milked by hand, and I really enjoy that, but I have arthritis in my hands, and also our current does are difficult to milk, because their faucets are unusually small.  So, this will be a blessing.  I'm so proud of him.

This post is linked to the Clever Chicks Blog Hop!

Sunday, December 2, 2012

A quick Kefir treat!


Admittedly, some people really don't like the taste of milk kefir.  And happily, I love it!  Lately, I've been making it a little differently.  In the brewing jar, I leave the kefir grains and milk together until the milk is Very Thick.  Then I strain it out and keep the kefir in the refrigerator.  It is as thick as yogurt after it gets cold.

Here is something I like to do.  I pour a little kefir into a small glass, pour in just a small amount of organic blackstrap molasses, stir it up a little and eat it with a spoon.


Blackstrap molasses is strong flavored, but I find this combination very nice.  The sourness of the kefir nicely balances with the molasses.  In addition, blackstrap molasses is amazingly good for you!


This post is linked to Traditional Tuesday

Tuesday, November 6, 2012

Odds and ends...

I just I thought I'd post some pictures of some of the things I've been up to the last couple of days...The time change has me waking up earlier.  Early for me, anyway.  :)

When I save up 4 gallons of goat milk, it's time to make cheese!

 ...and wash the empty jars:
 Cutting the curd:
 Draining the curd... I LOVE making cheese, now that I know what I'm doing.  It was hard to learn.
 It's all in the press now:
I made a 3-loaf batch of long, slow - rise whole wheat bread:
I had been saving up leftover fats from cooking for quite a while.  I also had several small jars of salve I had made that was not up to par, and so I combined all of that together to make soap.  Here the fats are melting:
The water and lye ~ ALWAYS add the lye TO the water, not the other way.  If you add water TO the lye, it can explode!
Here I'm mixing the soap with a hand-held blender:
And now it's at "trace."
 
Here is the soap after I cut it into bars today.  It will be interesting to see what it's like after it cures for a while.
I tried sprouting some broccoli seeds...
but the seeds must be old, because they didn't do too well.
I ate a yummy banana:
While I was looking at pictures of newlyweds on our fridge.
A trip to the hoop house resulted in things for a nice salad:
And I started a batch of sauerkraut in a Pickl-It jar:
I really don't have any new recipes to share with you right now.  If you have any questions about any of these things, just leave me a message!


Friday, August 17, 2012

Perfect! Crockpot Macaroni and Cheese

Over at "Stacy Makes Sense," she posted a recipe for Crockpot Macaroni and Cheese.  You can see her post HERE. I am taking NO credit for this, but I made it today and I HAVE to share it with you!  Actually, Stacy writes that she got the recipe from Kayla.

I followed her recipe and adapted for what I had on hand.  Oh. My. Goodness!  This stuff is the BEST mac and cheese I have EVER eaten and it was very easy!

Crockpot Macaroni and Cheese

1/2 pound uncooked macaroni pasta
3 cups shredded cheddar cheese (I used my homemade cheese)
3 cups whole milk (I used our goat milk)
2 eggs
3/4 teaspoon sea salt (I used Realsalt)
1/4 teaspoon garlic powder
1/2 teaspoon freshly ground black pepper
1/2 teaspoon mustard powder

Crack the eggs into a mixing bowl.  Whisk thoroughly.
Add the milk, salt, pepper, garlic powder and mustard and whisk again.
Stir in the macaroni and 2.5 cups of shredded cheese (reserve the extra 1/2 cup.)
Pour it all into a Crockpot (the one I used is 2.5 quarts, but I'm sure you could use a larger one if you like.)
Sprinkle the reserved shredded cheese over the top. Put on the lid and set on "low."

The recipe said to let it cook for 5 hours.  Mine was done in 3 hours and 40 minutes, so do be looking in there without lifting the lid to see what you think.  I could tell it was probably done by how it looked and how it smelled, so I checked it.  Delicious! Tender! Creamy!  You will love this.

Here is what I ate, with some of yesterday's leftover baked beans, for lunch.  :D


I had to control myself, it was so good!


Saturday, May 26, 2012

Maple Milk!


Many children love flavored milk... strawberry, chocolate... but, oh my...  Don't read the label!  Here is a wonderful flavored milk that you can feel good about serving to your family.  Maple syrup is rich in minerals, particularly manganese, zinc and iron.  So, drink up and enjoy! (true confession...this is my substitute for ice cream ~ just for me, you understand!)

Maple Milk

1 cup cold milk (raw is best, of course, but often hard to find)
1 Tablespoon Real Maple Syrup

Pour the milk into a glass.  Add the syrup and stir!  That's it!

This post is linked to Clever Chicks Blog Hop #16

Monday, March 26, 2012

Wholesome Butterscotch Pudding


Now that I retrenched, I am trying to develop more recipes to replace the ones I eliminated on my blog. I just made this pudding, and it is To Die For!

Butterscotch Pudding - 8 servings

1 quart raw goat milk (or whole milk)
1/3 cup non-GMO cornstarch ( or arrowroot powder)
1 cup Rapadura (or Organic Sucanat)
1/4 teaspoon unrefined sea salt (or sea salt)
1 Tablespoon pure vanilla extract
1 Tablespoon butter
3 eggs

Beat the eggs very well.

In a microwave-proof bowl (I use my 2-quart Pyrex measuring bowl) combine the milk, cornstarch, Rapadura, salt and vanilla extract. Whisk together thoroughly.

Place the bowl of mixture in your microwave oven. Process on "high" for 2 minutes. Remove from the microwave and whisk well. Add the butter.

Then, do it again, and keep doing it 1 minute at a time, whisking well in between, until the pudding thickens and starts to poof up a little bit.

Immediately pour about 1/4 cup of the hot pudding into the eggs and whisk it together very well.

Pour the egg mixture back into the pudding and whisk that together thoroughly.

Allow it to cool for at least 20 minutes before serving or store it in your refrigerator.

Thursday, March 8, 2012

Wonderful Tapioca Pudding!


If you've never had tapioca pudding, you are in for a treat! I used to make it a lot when our children were little, but had sort of "forgotten" about it until the other day... Here is my favorite recipe:

Tapioca Pudding

1 3/4 cup whole milk
1/4 cup pure maple syrup
pinch of sea salt
3 Tablespoons of "Minute Tapioca"
1 egg, separated
1 teaspoon pure vanilla extract

Using an electric mixer, beat the egg white until it forms soft peaks:


Combine the milk, maple syrup, egg yolk, salt and tapioca in a heavy-bottomed sauce pan and whisk together well.

On medium/high heat and, stirring constantly, bring the mixture to a full rolling boil. Remove from heat.

Quickly whisk in the beaten egg white and then stir in the vanilla extract.

Allow to cool for 20 minutes before serving. Or, you can cover the pudding and refrigerate it.

Enjoy! I have linked this post up at the Homestead Barn Hop #53!

Thursday, February 3, 2011

Easy Yogurt

Many years ago I used to make yogurt at home using powdered milk, a starter from purchased plain yogurt, an electric heating pad, with a towel on top of it in a particular basket. Well, that worked very well, but now I have milk goats.

I have read, more than once, that goat milk will not make good yogurt. Phooey. That's simply not true. At the natural foods store I bought a liter of wonderful yogurt made from organic, grass fed cow's milk. It was marvelous! It was pourable, but still beautifully thick. And it occurred to me that I could try using that as a starter.

I looked around on the internet and found instructions for making yogurt using a Crockpot. I have made several batches of it, always using some of the current batch to inoculate the milk for the subsequent batch. It is wonderful! Here is the current batch with 1/2 cup poured out:


Here is how to do it. Pour 2 quarts (1/2 gallon) milk into your 3.5 - 4 quart Crockpot:


Put on the lid, plug it in, turn it on low and set the timer for 2 1/2 hours (2.5 hours.)


Turn off and unplug the Crockpot and let it sit undisturbed for 3 more hours. Then, measure out 1/2 cup plain yogurt (with live cultures) and mix it into 2 cups of the warm milk.

Pour the milk with the yogurt back into the Crockpot, mix well and put on the lid. Then wrap the whole thing up with a couple of big fuzzy towels or a nice warm blanket and let it sit for another 8 hours. Longer (if you are doing it overnight) will not hurt (up to a point!)

That's it! Pour it into a container (I used a half-gallon jar) put on the lid and refrigerate.

This is the BEST yogurt we've ever had. My husband loves it, and he's not that easy to please. :) I enjoy it plain, but my favorite way is with a little real maple syrup drizzled on top.
Related Posts Plugin for WordPress, Blogger...