I might not be blogging for a over a week. My little grandson had to have surgery and so I am spending some time at our daughter's home helping to hold down the fort. I'll miss you all!
See you in a couple of weeks!
Thursday, February 24, 2011
Saturday, February 19, 2011
Canned Oysters

When I was a little girl, we often had Christmas dinner with my Gran (Dad's mother.) One traditional dish in her home was "scalloped oysters." (recipe follows)
I don't know why, maybe they saved them for the grownups, but I only remember trying them once. I gather I didn't know what I was getting into, because there was this rubbery thing, tough and quite large in my mouth and I couldn't chew or swallow it and had to go get rid of it. Very embarrassing. Everyone was kind about it, though.
Until fairly recently, that was my only experience with oysters, and certainly didn't endear them to me. I have read, recently, in Nourishing Traditions by Sally Fallon, how very healthy oysters are for us, so wanted to find a way to get them into our diet. This is what I came up with:
Bacon Wrapped Oysters:
1 - 8 ounce can, fancy whole oysters
3 strips of bacon, cut in half
Open and drain the can of oysters. Be gentle. They are quite soft.
Divide them into 6 little piles on a plate.
Take 1/2 of a strip of bacon and wrap it around one of the piles of oysters. Do 5 more.
Secure with each one with a wooden toothpick as you go.
Place in an oven proof dish, and bake in a pre-heated 450F oven until the bacon is as crisp as you like. The time will depend on the thickness of the bacon.
Drain on a paper towel.
Eat!
My Gran's Scalloped Oysters - this is an excerpt from a little cookbook she wrote:
"Some people used to add oysters to turkey dressing and I guess still do but this was frowned upon in our family and scalloped oysters were always served along with the turkey for holiday dinners. Scalloped oysters were always in the luxury class, even before the price of oysters skyrocketed several years ago. Really good ones demand cream and butter. Old-time experts covered the bottom of a 3 or 4 inch deep pan with cracker crumbs rolled medium fine. The oysters were laid on this bed at a discreet distance apart, depending on how many you want to use - not quite touching, up to an inch or so apart. Salt, pepper and plenty of small pieces of butter were added then another layer of crackers and repeat the oyster process. The experts never used more than two layers. Then the cream, mixed with what oyster liquor you have, was poured carefully and slowly over the pan, making incisions as you go so that the liquid will reach and moisten the bottom layer of crumbs. The mixture should be moist but never sloppy. I knew one fine cook who, at this point, took a fork and stirred the whole mass gently until she was sure there were no dry spots. The surface was then smoothed for the top layer of crubs which is seasoned with salt, pepper and butter dots and the pan was consigned to a 375F oven until browned - about 30 minutes." ~ from Turn of the Century Cooking by Marcia Ott.
Tuesday, February 15, 2011
What to do with tough leftover meat.
Oh, my... click on this picture and just see the yumminess! (Is that even a word? ;)

On Sunday (2 days ago) for our lunch I prepared a 1 pound beef roast, potatoes, onion and carrots in my cast iron Dutch oven, and some green beans on the side. The vegetables were very good. The meat was very dry and tough. We ate it without complaint, but I didn't really want to face it again, at least not in the same form. So, here is what I did - I had made some gravy by deglazing the pan with some water and used that as the base. After everything had cooled, I cubed the meat and potatoes and mixed in the green beans. I spread all of this into a buttered pie plate, poured in 2 cups of the gravy, covered with plastic wrap and stored it in the refrigerator until this afternoon.
Then, I made a batch of biscuits , cut them out with my smallest round biscuit cutter so they would more easily cover the filling and I was able to fit most of them on top. Next I popped it into a pre-heated 400F oven and baked it for 35 minutes. If you might worry that the top is getting too brown, but when you lift a biscuit carefully and can tell it's not quite done inside, then simply lay a piece of aluminum foil or some brown paper loosely on top until your "pie" is done.

Here it is, baking, with the few extra biscuits on a separate pan. Those got done much sooner than the final dish.

Delicious! This will serve 6, as a main course.

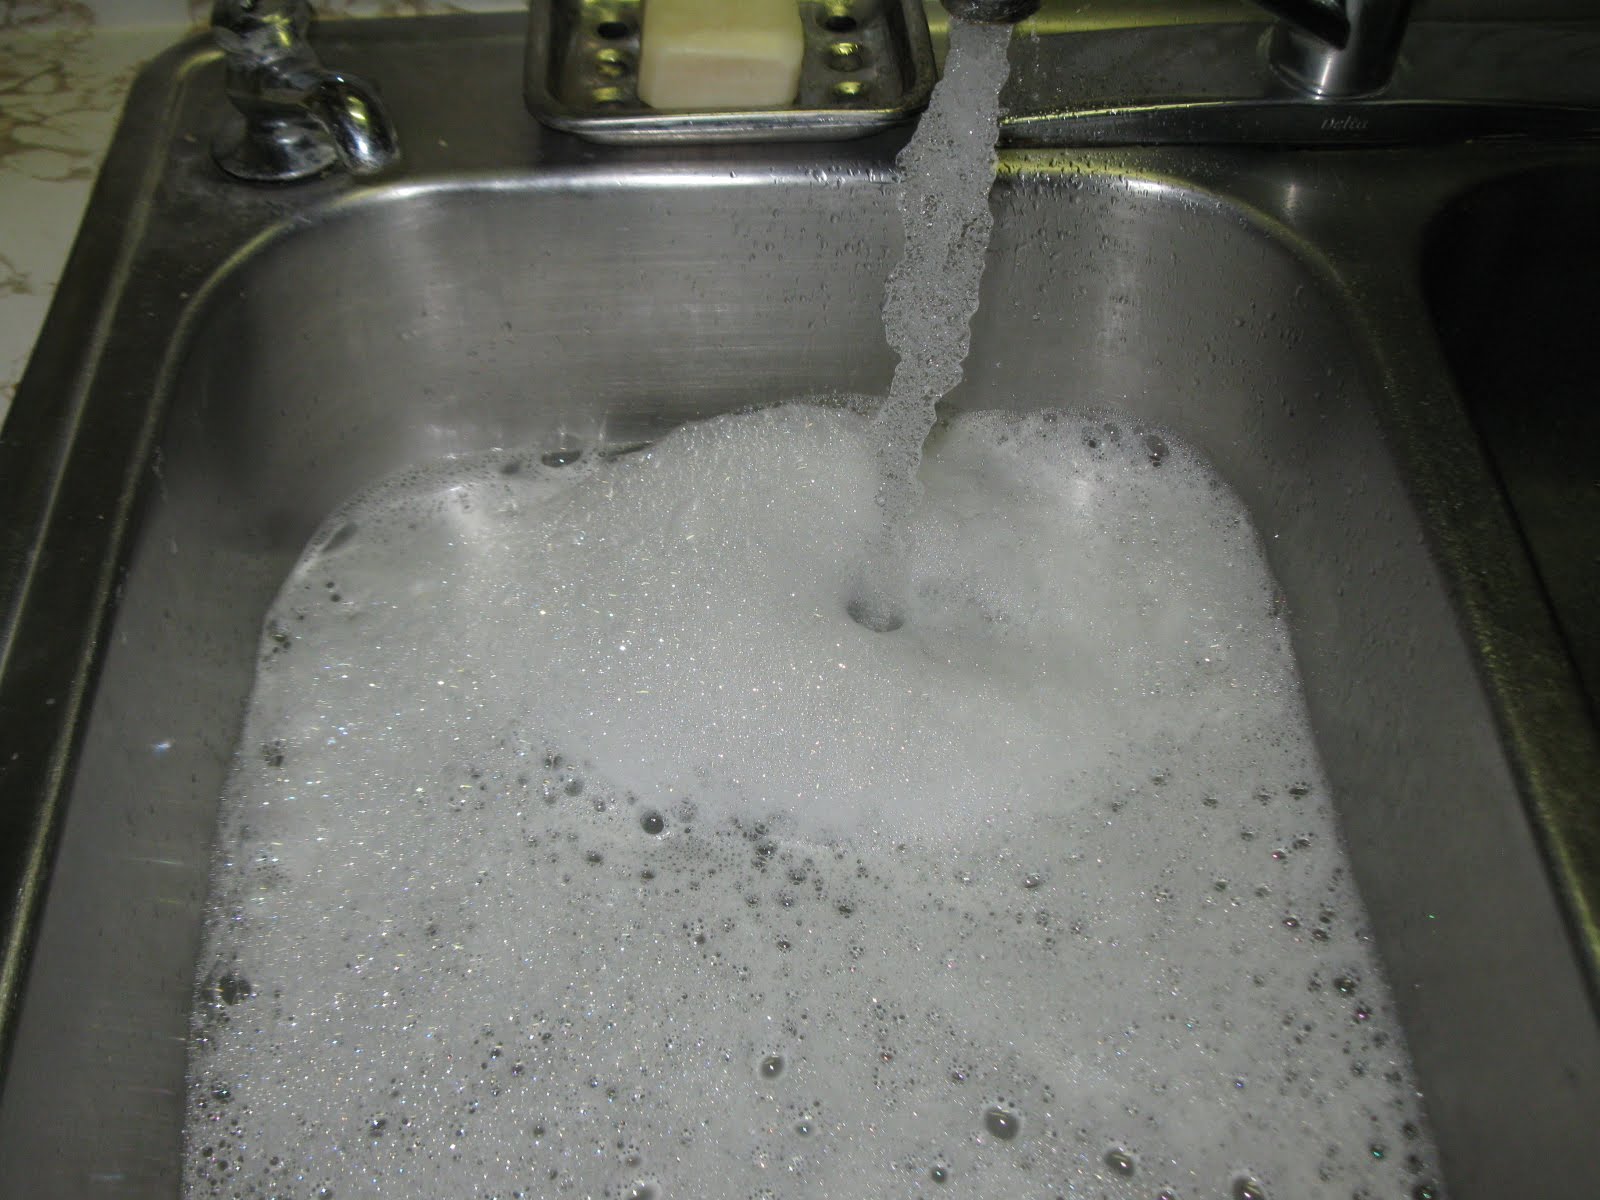
Back to work - dishwashing
I got tired of paying money for dish washing detergent. Between running a home dairy and cooking from scratch, I go through a lot of it. See the pretty bubbles?

Here is what I'm using now. This is a plastic mayonnaise jar that I've re-purposed. I always save the bits of bar soap left when I switch to a new bar. This is homemade soap, and so doesn't have anything scary in it. I put a couple of small leftover bars in the jar, filled it with water and let it sit for a day or so. Now, when it's time to wash dishes, I turn on the hot water, and pour in some of the liquid from this jar. Then, I refill the jar with more water.

I can guess what you are thinking.... "What about greasy dishes?" I don't put really greasy things in my wash water anyway. I scrape bits into the compost bucket and rinse the dishes before I wash them. Now, if you try this, you will notice that you don't have lots of bubbles that stick around. The bubbles are not what clean the dishes. The water and your effort cleans the dishes. Anything really tough to clean I would soak for a while first. Whether you use detergent or soap, what it does is make the water wetter. THAT is what helps with the cleaning. This is working out very well. I enjoy the smell of my homemade soap too.
Here is one greasy job I have to do. This morning, for my husband's breakfast, I made pancakes, fried eggs and bacon. (He loves me :) I don't ever let soap or detergent touch my cast iron cookware. When I am done cooking, I drain off any grease that might be in there and sort of scrape off any sticking bits with a metal spatula:

Then, while I run hot water into the pan, I scrub it out with a stainless steel scrubbing pad:

Next, I put it back on the heat, upside down (on electric ranges, right side up might work better) for about 30 seconds:

When I take a wrapper off of a stick of butter, I fold it in half, messy side in and keep them in the refrigerator:

After heating the pan for a little while, I use one of the butter wrappers to lightly grease inside the pan before I put it away. If I don't have a butter wrapper, then I use a little of my nice kettle-rendered lard.

A very homely topic, to be sure, but I do wash a lot of dishes, and so want to share with you how I do it. Oh, I don't have an automatic dishwasher and all the little dishwashers I raised abandoned me. I have, in the past, lived where there was an automatic dishwasher. The only time I really liked using it was when I had a new baby. Otherwise, my kitchen stayed much more tidy if I just washed up as I used things and right after meals.
I had the privilege of drying dishes for a friend yesterday as she washed them. It was so nice. As I admitted a while back, I don't like drying dishes... But I think maybe I'm growing up at last. I am getting to where I DO like drying dishes. :-0 She told me a wonderful thing... in her family (she has 4 children at home and a husband) the rule is, "You eat - you help clean up." So, after a meal, everyone just pitches in and gets the job done. I am impressed.
Saturday, February 12, 2011
Got Milk?

When we milk the goats, and bring the milk into the kitchen to care for, we always give a small bowl of milk to the new puppy. :)
Friday, February 11, 2011
Kefir - Chapter 12, Water Kefir update
During the warmer months of the year, our Water Kefir Soda did wonderfully well, and all I was feeding it was Sucanat and then the second ferment was with grape juice. Marvelous stuff. Then came winter. The change was very gradual, but as the temperatures fell, the carbonation in the soda eventually reduced to ZERO. I remained puzzled for a few weeks and then took another direction. I ran out of grape juice and started using apple juice and I also added a dried apricot (nearly cut in half to increase exposure) to each batch of the brewing water kefir. The change has been nothing short of amazing! Now there is plenty of carbonation. I am far from an expert on this, but want to share what is working for me currently:
In a quart jar, place 1/2 cup water kefir grains, 1/4 cup sucanat, the dried apricot and then fill it with non-chlorinated water just to where the threads start at the top.
Cover loosely and let sit at room temperature for 24 hours.
Strain out the liquid, discard the apricot (believe me, the taste is gone).
Pour the liquid into flip-top bottles, add half again as much apple juice. Cap, and let it sit at room temperature for another 24 hours and then refrigerate.
Start your next batch as soon as you drain the first.
Be sure to carefully rinse your grains between batches.
The grains grow amazingly, so I keep the extras in the refrigerator in a covered quart jar with the water and 1/2 cup sucanat. I change that out, rinsing them, once a week.
I suspect that the variations in climate in your kitchen will require that you find what works for you.
Thursday, February 10, 2011
The Dregs of Winter....

I read in our local newspaper this morning that there are only 5 weeks until Spring. I know some of you live where it is warm all year, and some of you live where it stays cold considerably longer than here in southern Indiana, USA. I guess we are used to what we are used to! I do enjoy the break from gardening during the winter. It is pleasant to be able to concentrate on other things, like sewing. I have posted about growing carrot tops before, but still want to show you my current kitchen "forest." Just cut off the top of a carrot that has some old growth left, put it in a dish of water and make sure it doesn't dry out. I use old bottle tops and place them on the window sash above my kitchen window. They grow, are pretty, and cheer me up during these long, cold days! And if you have a pet rabbit, it would love to eat these greens. :)
Wednesday, February 9, 2011
How to Poach Eggs
You can purchase all sorts of little devices to "poach" eggs in, but they are unnecessary. Poaching eggs is very easy and simple to do. We love poached eggs. Being cooked gently, they are, well, milder (?) I can't really think of a suitable adjective. Suffice it to say, that their reputation for a good food for invalids is well deserved.
Here is how to do it. First, pour water into a saucepan. I use my index finger to measure the depth, and for me that is just barely past the first knuckle, which I measured for the sake of the more scientific amongst us, and found that is 1.25 inches. :)

Pour in about 2 teaspoons of vinegar:

While you are bringing the pan of water to a boil, carefully crack your eggs into a small shallow bowl:

When the water is boiling, gently slide the eggs into the water. Hold the bowl right down near the surface of the water while you do this. Set your timer for exactly 4 minutes.

Here is what it will look like:

When the water starts to boil again, reduce to a simmer, and keep an eye on it so it doesn't start actually boiling again. You want to cook them gently. When the time is up, using a slotted spoon, remove each egg, one at a time, from the water and place into a bowl, or onto a nice piece of buttered toast. My husband likes to break little pieces of whole wheat toast into the eggs and stir it all up together, adding salt and pepper.

If you turn them upside-down as you put them in the bowl, they look prettier:

Of course, you can play around with the cooking time, if you like. Also, you might need to use the slotted spoon, holding back the eggs while you pour off a little water that might be in the bowl. Or not, if there isn't any!
Try it. It's easy, and very easy to clean up after too.
This is linked up with the wonderful Hearth and Soul Blog Hop!
Tuesday, February 8, 2011
Clam Chowder -( for the land locked amongst us)
Oh, how I would love to live, at least for a while, in a place where I could dig for clams! I really love clam chowder, and I suppose I've never had "real" clam chowder, but here is how I make mine. This will make about 3 quarts of soup. First, chop up a smallish onion:

Here are some potatoes from last year's garden. You can see even they are getting excited about the coming Spring!!!

So, I scrubbed them well and cubed them:

Put the onion, potatoes, and 2 cups of sliced celery into a 3 quart or larger pan:

Here is the chicken broth I mentioned in the last post, from the bones and other things left from the chicken, but when I don't have any stock or broth I just use water and that still makes a delicious soup. Add 2 cups of broth, stock, or water to the vegetables. Bring it to a boil and then simmer, covered for 20 minutes.

Now, add 2 more cups of liquid, 1 teaspoon salt (I like to use RealSalt), 2/3 stick of butter and 1 small can of chopped clams in juice. Return to simmering:

Here it is cooking happily:

Now, put 1.5 cups of whole milk in a blender and add 1/2 cup of white flour and mix that up, then, as the soup boils, gradually add the milk, and stirring, cook until it's nicely thickened. Now it's ready to eat!

CLAM CHOWDER
Steam together for 20 minutes:
2 cups water or broth
1 smallish onion, chopped
2 cups sliced celery
3 - 4 medium potatoes, cubed
Add:
2/3 stick butter
1 teaspoon salt
1 can (or 2) of clams with juice
2 cups water or broth
Simmer, then gradually add:
1.5 cups whole milk blended with 1/2 cup white flour
Cook, stirring, until thick.
I am linking this post on Wardeh's Tuesday Twister!
Monday, February 7, 2011
Chicken and Noodles
I doubt that there is anything that I cook that I like more than homemade chicken and noodles. I took my very last chicken out of the freezer before I went to bed, and put it in my large Crockpot, covered it and turned it on low, and let it cook overnight. Here is what it looked like in the morning:

I removed the carcass from the broth and am letting it cool for a while here:

Here is the broth:

which I then strained to get any stray bits out:

Now I'm ready to take the meat off of the bones:

Here it is all separated:

I don't waste what's left. I take all of the fat and gristle, and using kitchen shears, cut into the bones to expose the marrow, cover all of that with more water and cook if for a few hours to make a nice stock for soup. THEN, I discard what's left:

Now it's time to make the noodles. I had about 1 gallon of broth, so I am using 4 eggs:

For each egg, I add 1/2 teaspoon of salt, so for this batch, there are 2 teaspoons:

Stir that all together well with a fork:

Add enough white (I use unbleached) flour to make a fairly firm dough and turn it onto a floured surface:

Here is what it looked like after 5 minutes of kneading. You want it to be pretty stiff, so it won't stick when you roll it out.

Divide into 4 pieces:

Make each piece into a nice little round thing by tucking the cut edges under. Set these aside and let them rest for a few minutes:

Using plenty of flour so the dough does not stick, roll each piece out as thinly as you can:

You can use a flat spatula to run under the dough to make sure it doesn't stick, and turn the dough over a few times, using more flour, as you roll it out:

Here is the first piece, all rolled out. I spread some flour on top, and will put that into the soup with the noodles, because I like the soup to be nice and thick:

There are several ways to cut the noodles, but I like to use a pizza cutter:

Drop the noodles, a few at a time into the boiling broth:

After all the noodles are in, then add the diced chicken meat, cook it all together for just a few minutes, and now it's time to season it. You will have to do this to taste, but I added 1/2 more teaspoon of salt, a few cranks of freshly ground black pepper and this much ground poultry seasoning: (that is a plastic teaspoon)

And here it is all ready to eat!

This post is linked up to Simple Lives Thursday!
Subscribe to:
Posts (Atom)
