Showing posts with label Cheese. Show all posts

Thursday, November 2, 2017

Move over Mac and Cheese!

This morning, I made a batch of mayonnaise and so had 3 forlorn egg whites I needed to find a use for.  Voila!  I decided to make some egg white noodles, cook them and combine them with a cheese sauce.  It turned out lovely and delicious.


As soon as the fresh noodles were made, I boiled them in plenty of water for 5 minutes, then drained them well.  In the mean time, I made the cheese sauce:

2 Tablespoons butter
2 Tablespoons all purpose flour
1 cup whole milk (warm)
1.5 cups grated sharp cheddar cheese
Salt to taste

In a skillet, melt the butter, stir in the flour and very gradually add the warm milk, stirring vigorously with each addition.  Do this over medium heat.  When it is all  nicely combined and thick, stir in the grated cheese until it is melted and smooth.  Add the drained noodles.  Salt to taste. 


Saturday, July 20, 2013

Lasagna without pasta!


We don't eat pasta anymore, as I don't believe it is a healthy food.  But I ADORE my homemade spaghetti sauce, so thanks to an idea I got from a friend recently, I made this lasagna.

Lasagna Without Pasta

Sauce
 
1 # ground meat.  I used venison, but I am sure others would work as well.
1 medium onion, diced
2 Tablespoons bacon grease (or lard, butter or coconut oil)
1 quart canned tomatoes, drained
1 small can tomato paste
1 Tablespoon dried Italian Seasoning
1/2 teaspoon salt or to taste

Cheeses

1/2 # grated cheese of your choice.  I used homemade farmhouse cheddar
1/2 # cottage cheese
grated Parmesan to serve with the lasagna, if desired 

"Pasta"

Cabbage leaves, steamed 15 minutes and then rinsed in cold water (I can't tell you how many)
1 medium zucchini  squash, sliced with a julienne peeler (see below)  Do not slice beyond where the seeds grow.  Just use the outside parts.

Melt bacon grease in a heavy frying pan, add the onion and saute until partially cooked.
Add the meat, and chop it up and cook it until it is all browned.
Add  the drained tomatoes, tomato paste, Italian Seasoning and salt.  Simmer, stirring often while you prepare the vegetables and grate the cheese.

I use a julienne peeler to prepare my zucchini and then saute it for a little while in some olive oil.  Here is the peeler:


And here is the zucchini after being sauteed.  I can't tell you how long to cook it.  Do it on medium/low heat, and stir a lot until it gets kind of limp:


Then, in a 9 inch square glass baking pan, which has been well buttered, place the steamed cabbage leaves, about 2 deep.  Add 1/3 of the sauce, 1/3 of the cheese, 1/3 of the cottage cheese.  Then, spread out the zucchini.  Then as before, the sauce, cheese and cottage cheese.  The last layer will be more cabbage, sauce cottage cheese and cheese.  

You will need to gauge how much of everything so as to not overflow the dish.

Bake at 350 for about 40 minutes.  Allow to set for 15 minutes before serving.  There will be some juice, but not a lot.

You can sprinkle on Parmesan if you wish.

Very yummy and even my husband likes it!  :)

Wednesday, October 10, 2012

A Day in my Kitchen...

I've had a lot on my mind lately, and sometimes the best thing I can do to get grounded is to spend a whole day in the kitchen.  Fortunately, today, I was able to.  When I went in the kitchen early this morning, I saw this... if you look closely, you can see two quart jars of sprouting wheat over there.  On the counter is a little paper napkin with 4 persimmon seeds drying. (That is from my first EVER persimmon off of our young persimmon trees.)  On the stove is a bowl with a batch of the crock pot sourdough rye bread that has been fermenting since yesterday.  Sitting on top of the toaster is an African violet pot.  I want to get one to plant in it, so I set it there to help me remember.  In the foreground is my little sourdough crock.
 I decided to make some Vegetable-Beef soup. Here are some of the ingredients gathered together... frozen tomatoes, green peppers, onions, frozen cooked lentils, a couple of large garlic cloves, 2 carrots, 2 pints of frozen stock, some frozen corn, a cabbage and some frozen shank bone sections.
 The crockpot bread is done!
 The Essene bread is baking:
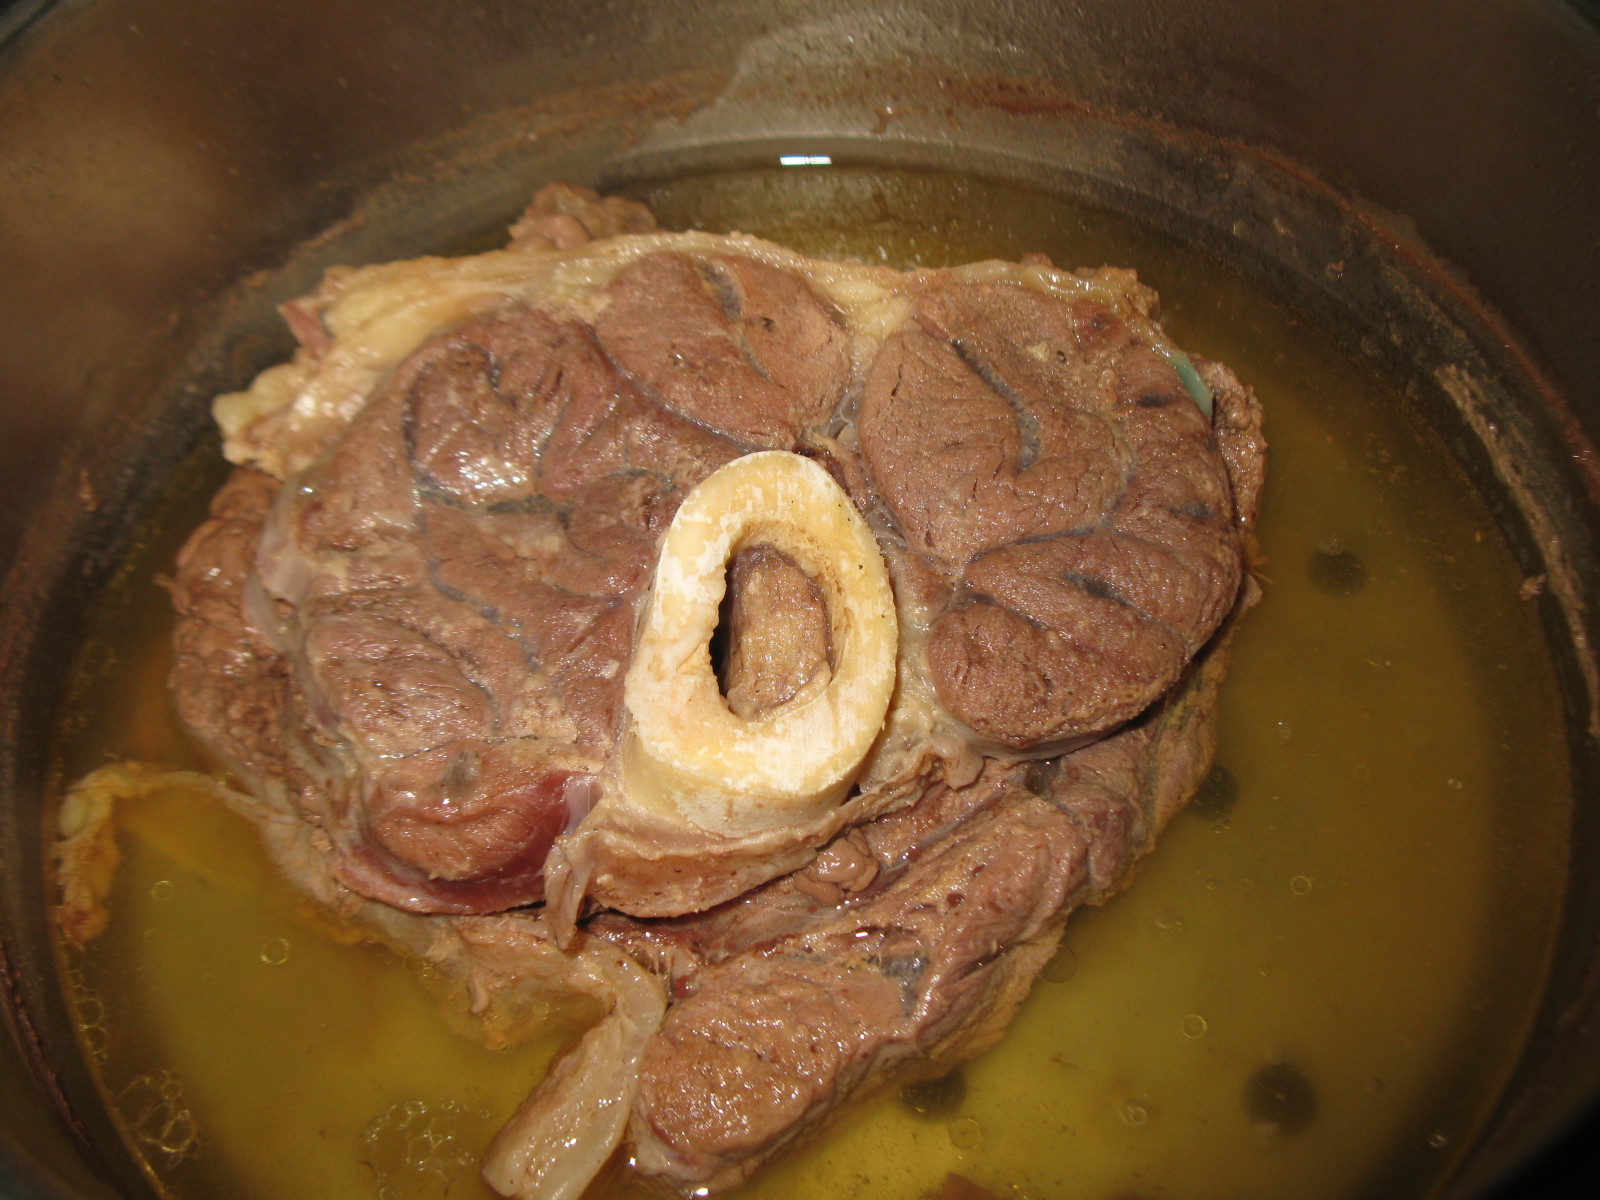
 Here are the shank beef bone slices in my stainless steel pressure saucepan.  Can you believe it?  I bought that at a thrift store for $10 !!!  I was thrilled.  I've wished for one for a long time.  Cooking the beef in here with a quart of water not only makes very tender beef, but also some more broth for the soup.
 Here it is, on the flame:
 And here is the soup pot with most of the ingredients in it.  I think that is a beautiful sight!
 The beef shanks are cooked nicely.  See the yummy and healthy bone marrow there?  I cut up the meat and set it aside to put in the soup at the end, so it wouldn't just fall apart.  The broth went into the soup pot and the bones and fat went into a jar in the freezer where I collect things to make stock.
 8, 1/2-gallon jars that I just emptied of fresh goat milk... We save it up until there are 4 gallons and then I make a batch of my cheddar cheese.
 Here's all that milk in my huge pot I use for making cheese:
 Now the jars are clean!
 Stirring the curd as the pan sits in a sink of warm water before draining:
 Here is the lovely curd from all of that milk!
 Now the cheese is in the press.  It will stay there until tomorrow morning.
 And here is the Essene bread and the crock pot rye cooling:
Today was a soup/bread/cheese day.  I feel like I accomplished a lot, and it was very therapeutic. What do you do to take your mind off of your worries?

Thursday, July 22, 2010

Making Cheese, Revisited


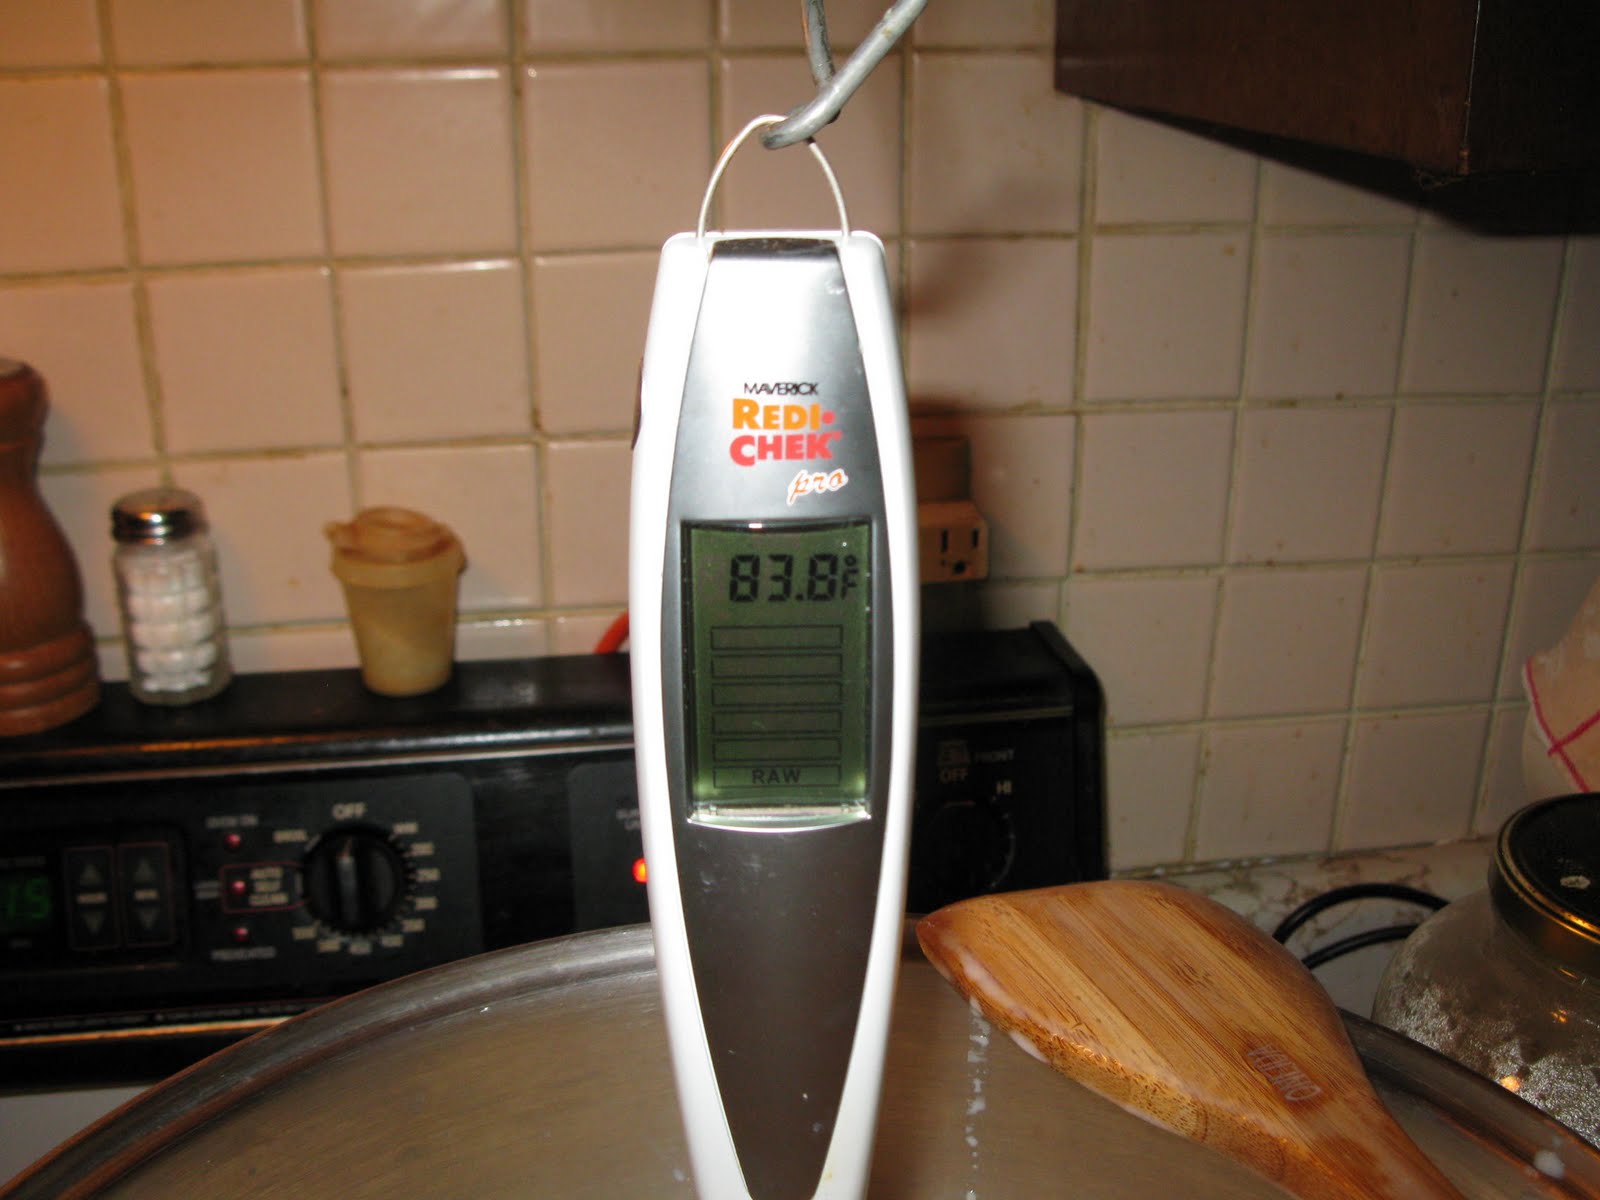
Back HERE I described how I make my Farmhouse Cheddar Cheese. The recipe is there, but I would like to show you, with pictures, more of how I do it. Above is a huge Tramontina stock pot with four gallons of raw goat milk in it. You can also see my instant read thermometer hanging from the stove vent hood by this marvelous piece of twisted wire I found one day when I was out walking:


The first thing to do is to gently heat the milk up to 90 degrees F. You can see that it is not there yet, but as soon as it gets there, I have to take the heavy pan off the heating element, and if I tried to do that AND take a picture, the camera would probably end up in the pot.


After the milk reaches 90 degrees, I add 1/4 teaspoon of mesophilic cheese culture, item number MM100-101 here. That needs to be stirred in very thoroughly.


Then, cover the pot and wait for 45 minutes:


Next, mix 1 teaspoon of liquid rennet into 1/2 cup cool water:


Bring the milk back up to 90 degrees F. and stir the dissolved rennet into it very thoroughly also:


I removed the pot from the heat again. After the rennet is stirred in, cover it and wait 30 to 45 minutes, until when you stick your finger into the curd, and pull it up, you get a "clean break" across your finger, like so:


Now it's time to cut the curd. I used my long bread knife. You need a sharp knife that will reach the bottom of your pan. I try to cut it in 1/2 inch cubes, going across one way, then at right angles to that and then at an angle in 2 different directions, trying to cut the little columns of curd into cubes. It is far from an exact science.


Ok, so next, using my left hand, I stir the curds and whey gently and use a sharp paring knife to cut up the big pieces into smaller pieces. I do this for 15 minutes.


Place the pot back on the burner. Every stove is different, but here is the setting I put mine on. The goal is to heat the curds and whey up to 100 degrees F. allowing it to take 1/2 hour to do so.


Stir it, frequently, while you are heating it. I use my hand for this also.


.
Here is what it looked like after heating:


Next, set the pot in a sink full of 100 degree F. water and put the lid on. It will sit like this for 30 minutes, and you must stir it several times. Again, I use my hand. That makes it so much easier to break up the curds, which like to stick together.


Prepare a large bowl by adding 1/4 cup non-iodized salt to it:


Line a large colander with butter muslin. I use a flat Birdseye diaper:


Line your cheese press with cheesecloth. I like to use this kind, as it is reusable, and I find it is just much easier to deal with.


Carefully pour the curds and whey into the lined colander:


After it has drained, put it all into the bowl with the salt and stir it up thoroughly with your hands. Be sure to break up the pieces that are clumped together. Then, pack it into your cheese press:


Fold the cheesecloth over the curds, as neatly as you can. Add the follower and the pressure gauge, or weights, if that is what you have, and press the curd for 10 minutes at 15 pounds of pressure. Remove the follower, turn the cheese cylinder over, replace the follower, and press for 10 minutes at 30 pounds of pressure. THEN, remove the cheese from the press, carefully peel off the cheesecloth. If you are using the kind I do, then re-wrap the cheese in that, but if you are using traditional cheese cloth, cut a circle for the top of the cheese, one for the bottom, and a long strip to go around the side. "Dress" the cheese in that. Put the cheese back into the press and set the pressure at 50 pounds. Let it sit until the next morning.


Remove from press, remove cheese cloth. I wrap mine in a clean (of course!) dish cloth and set it on a folded dishtowel in the refrigerator. I turn it twice a day and leave it there until it is nicely dried, which generally takes about 2 days. Here is what it looks like, ready to be waxed:


Then comes the exciting part. Here is the junky pan that I use as the bottom of my double boiler arrangement for waxing the cheese. I have a couple of old canning rings in there to hold the container of wax up off the bottom. Add a couple of inches of water to it.


You can see the stainless bowl I use for the wax. Also, I have a thermometer in there, but I never can seem to get the wax "hot enough." By the way, you MUST use a double boiler. Overheated wax will explode and burn you terribly. I knew a woman that happened to. To help prevent mold growth, wipe your cheese with a cloth dipped in vinegar and let it dry before waxing.


My waxing technique lacks finesse. Today, when I dipped it, I dropped it in accidently, and wax splattered all around. So, I had to fish it out and then proceed as best I could. You need two light coatings of wax. I also add a piece of paper with the date so I know when we can eat it. Here it is, sitting on a piece of waxed paper. I will store it in the refrigerator for 2 months before I cut into it. Every few days, I turn the cheeses over when they are in storage.


This makes a mildly sharp cheese. The longer it ages, the sharper it will become. If you discover mold growing on your cheese, just cut it off. It is not dangerous.

I hope if you've ever considered making cheese that maybe this demystified it a little bit. When I first started, it was "like pulling teeth." But now I have it memorized, I have my equipment gathered, and I really can almost make it in my sleep. :)

This post is linked to Scratch Cookin' Tuesday!

Saturday, June 26, 2010

Whole Milk Ricotta Cheese

When I have too much milk and don't have time to make cream or Farmhouse cheddar, I make whole milk ricotta cheese.

Here are 4 gallons of fresh goat milk in my large stock pot:


For each gallon of milk, I will need 1/2 cup of distilled white vinegar, so here are 2 cups of vinegar:


Heat the milk gently (so it won't scorch in the pot) and bring it up to almost boiling (at least 200 degrees F.) Remove the milk from the heat, pour in the vinegar and stir for a little while. Let the pot sit for 15 minutes and most of the curds will float to the top:


Strain the curds from the whey through a cloth placed in a colander. I do not save this whey, as it has been cooked.


Gather up the cloth and press out most of the liquid:


Turn the curds into a bowl and add 1 teaspoon of salt for each gallon of milk used:


While it is still hot, I press the ricotta into bowls, cover them with plastic wrap and chill in the refrigerator:


When thoroughly cooled, wrap the cheese in plastic wrap and if you are not going to use it soon, put the wrapped cheese (s) in freezer bags and freeze.

We slice this and eat it out of hand or use it on sandwiches. Since it is cooked, it will not melt. I also like to use it in salads, casseroles, lasagna, etc. And it keeps well for a long time in the freezer. As a matter of fact, it will stay nice in the fridge for several weeks as well!
Related Posts Plugin for WordPress, Blogger...