If you like to sew, or need to sew by hand, please visit this link for a really easy way to tie a knot in your thread!
Friday, February 15, 2013


Tuesday, February 12, 2013
Faux Chenille Baby Blanket #2

A friend will soon be having her first baby. A boy! (Can you believe I used to teach her Sunday School class? Where did the time go??) Just over a year ago, I made my first Faux Chenille Baby Blanket , and although I've not yet given that one away, it is pink. I already had the fabrics on hand to make a blue one, so, here it is.

The top fabric, before cutting looks like this. Each two little squares measure 3 mm apart. That is just over 3/8 of an inch. This time, I only used 3 layers of fabric, instead of 4, and sewed on every other dark line. On the pink blanket, the stitching lines were 1 inch apart. For that reason, I only used the 3 layers of fabric, since this one is stitched much more closely.

Here is the backing fabric, and you can see the stitching lines.

Here is a close-up view of the bound edge.

If you would like to learn how to do make one of these, please see the tutorial linked above from when I made the pink blanket.
I have some pieces of fabric left. I think I'll make some burp cloths for her from those.
This post is linked to WIP Wednesday
This post is linked to WIP Wednesday
Monday, February 11, 2013
A bowl for my sewing pins...

I peeled an orange in such a way that I had half of the peeling intact. Then I set it on a shelf near the wood stove and let it dry, which only took a day. It makes a nice little bowl for sewing pins when I need to use a lot of them. It's easier than using a pin cushion (although I have 2 of those and love them), as I can pick up a pin without having to look at it.
Saturday, February 9, 2013
A beautiful morning...

Just some personal musings, and then another note about my quilt... When I was 3-years-old, my parents passed away. Shortly thereafter, I was adopted by my father's sister and her husband, my aunt and uncle. They were a young childless couple. I was greatly loved and kindly treated. My new mom quit her job, which she had taken during WWII, as many women did then. She came home to raise me, full-time. What a wonderful home I had. I was pondering about it this morning. My heart swelled with gratitude for the sacrifices they made for me, by choice. Mom stayed home and fed me 3 nice meals a day, sewed most of my clothing for a number of years, gardened, and taught me so many things. My dad had a good job and worked hard providing for all of us. I can never "re-pay" it, but I do wish to live my life in such a way as to honor their kindness...
I hope, when it is my time to go home to meet them, that I won't look back to now, and think that I wish I had lived my life differently. I know we will all have regrets. But I hope not to take on any more than necessary.
Here you can see where I am hand-quilting my new quilt. I just have it lying on a work table.

A closer look at my hand stitching - far from perfect, but I suspect by the time I get this finished, my stitches will be more even.

It is very gentle, relaxing work.
Tuesday, February 5, 2013
Soothing Hand Cream
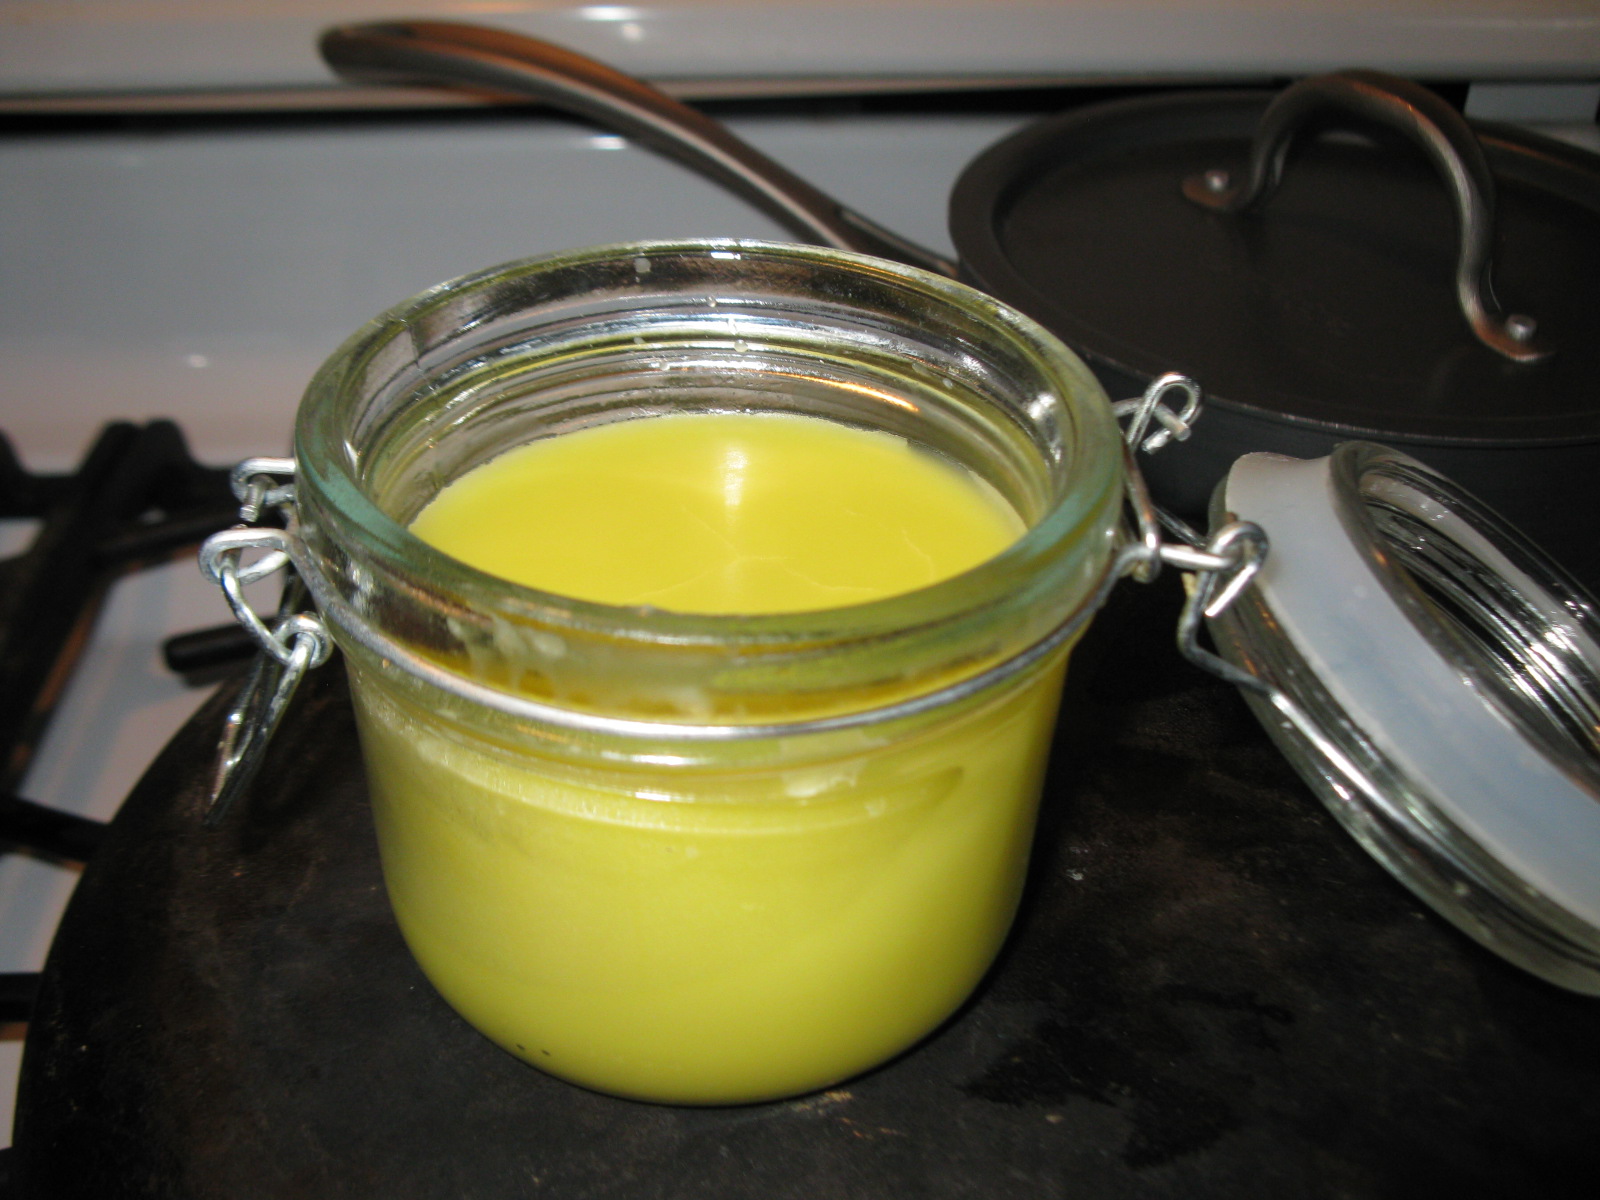
This is a simple and lovely way to make hand cream. When you use it, only use a tiny amount. It isn't necessary to use enough to make your hands oily. It is as if the oil is just a carrier for the yummy beeswax!
1/2 cup olive oil (I used extra-virgin, but you don't have to.)
1 ounce pure beeswax
Put these ingredients in a little jar. Set the jar on top of an old canning ring in a small saucepan. Fill the pan up with water to about halfway up the jar. Heat on medium heat and stir from time to time until the beeswax is completely melted. Carefully remove jar from pan (it is hot!) and allow to cool completely. Place a lid on your jar.
That's it!
I love this cream. It will seem a big stiff, but just get a little bit with your finger and as you rub it on your hands, it will melt immediately. If your hands seem oily, you've used more than necessary.
Monday, February 4, 2013
Quilt progress report #2
I have my humble quilt top completed.

Where I have to lay it out on the floor in the dining room, I can't get far enough away from it to get a picture of the whole top!

If any "real" quilters are looking at this, I'm certain you are not impressed, but I am quite happy with how it came together. Now I will need to layer it with the batting and the backing and then decide how I want to actually do the quilting. Then, I'll bind it! When it's finished, I'll report back.
Linked to The HomeAcre Hop!
Linked to The HomeAcre Hop!
Freezer Stew...
From time to time, I need to use up the little bits I've tucked into our freezer above the refrigerator. Things like sliced chicken leftover from other meals, packages of small amounts of vegetables, etc... Today was the day. Here is what I used:
3 small packages of chicken meat
1 package of frozen corn kernels from our garden
a small amount of frozen peas from the store
Some potatoes that I had cut up and soaked for making French fries
Frozen green peppers from the garden
 To that, I added the following:
About 1/2 cup of "sun dried tomatoes" that I had put up in olive oil in the fridge last summer
1/4 cup butter
1 small onion, diced
1 pint of leftover homemade beef broth out of the fridge
About 1 Tablespoon of my preserved basil
1/2 teaspoon RealSalt
A few cranks of pepper
... and right before serving, I added 1/2 cup of sour cream (it has been languishing in the fridge since Christmas Day!) :-0 But it was still perfectly fine.
Here's what I did:
In a cast iron Dutch oven, I melted the butter and added the tomatoes, diced onion and diced green peppers and sauteed that until the onions were fairly tender.


3 small packages of chicken meat
1 package of frozen corn kernels from our garden
a small amount of frozen peas from the store
Some potatoes that I had cut up and soaked for making French fries
Frozen green peppers from the garden
Here is all of that.

About 1/2 cup of "sun dried tomatoes" that I had put up in olive oil in the fridge last summer
1/4 cup butter
1 small onion, diced
1 pint of leftover homemade beef broth out of the fridge
About 1 Tablespoon of my preserved basil
1/2 teaspoon RealSalt
A few cranks of pepper
... and right before serving, I added 1/2 cup of sour cream (it has been languishing in the fridge since Christmas Day!) :-0 But it was still perfectly fine.
Here's what I did:
In a cast iron Dutch oven, I melted the butter and added the tomatoes, diced onion and diced green peppers and sauteed that until the onions were fairly tender.

Next, I added everything else except the salt, pepper and sour cream.

This, I brought to a boil, put on a lid and allowed it to simmer for about 20 minutes.

When everything was tender, I salted it to taste, added a little freshly ground black pepper and then stirred in the sour cream.

Then I ate some.

My husband ate some too. I have to say, this is not the BEST thing I've ever made, but it was satisfactory and a good method for using up those bits of food that might otherwise go to waste. The rest of it is in a big jar in the refrigerator. It will provide at least 2 more meals for us.

Please don't even try to copy my actual recipe. Just pay attention to the method and use up your own cache of leftover food!
Subscribe to:
Posts (Atom)
