Now, look carefully... you can see that this morning the roots are already starting to grow! At least for a while, the onion top will continue to grow and I can snip the greens off and use them for cooking - omelets, soups, salads, whatever. It gives me just a little jump on Spring!
Tuesday, March 8, 2011
A tiny onion tip
This time of year, if you have any onions in storage, some of them may start to sprout. Before long, they aren't very nice to use, but you don't have to throw them away! See here? This is from yesterday evening. I put the sprouting onion into a small glass of water:

Now, look carefully... you can see that this morning the roots are already starting to grow! At least for a while, the onion top will continue to grow and I can snip the greens off and use them for cooking - omelets, soups, salads, whatever. It gives me just a little jump on Spring!
Monday, March 7, 2011
Ladies in Waiting...

The doe in the foreground is "Suzie." She is a yearling. The doe in the background is "Abby." she is about 5 years old.

And here is "Gracie" who is my best milker. She is a year older than Abby. When freshened, she starts out giving about 15 pounds of milk a day! (A gallon is approximately 8 pounds.)
All three are expecting kids in May. We will be drying up the two that are milking very soon, and then I'll have to rely on the milk that I have frozen, canned, and the cheeses I've made for a couple of months.
Spring is coming! Babies of all sorts will make their entrance. It's a very exciting time of year here on our little homestead.
Friday, March 4, 2011
No Turkey Bag?
When I was at my daughter's home (taking care of the aforementioned grandson) we decided to roast a HUGE turkey she had in the freezer. We didn't want to wait until it had several days to thaw in the refrigerator, so for several hours the first day we put it in a sink full of cold water and transferred it to the refrigerator overnight.
Needless to say, it was still pretty frozen the next morning, but we decided to go for it anyway. Here is what we did:
Remove bird from packaging and rinse it off.
Rub with olive oil, sprinkle with salt, pepper and basil.
Place it into a brown paper grocery bag on a rack, in a roasting pan.
Add a chopped onion and some chopped celery to the bag.
Close the bag and clip with clothespins.
Bake at 300F until done. This bird took 7 hours to finish.
Remove the bag.
Make gravy from the drippings.
Let the bird cool for at least 1/2 hour.
Serve!
We had mashed potatoes, cranberry sauce, sweet potatoes, turkey and I made some of my "Quick Stuffing."
Yum! No basting required. No "store bought" turkey roasting bag needed.
We had LOTS of meat left over. That went into turkey salad, turkey and homemade noodle soup, turkey and brown rice, lots of packages of frozen turkey for stir fries and sandwiches.
Thursday, February 24, 2011
Just so you'll know...
I might not be blogging for a over a week. My little grandson had to have surgery and so I am spending some time at our daughter's home helping to hold down the fort. I'll miss you all!
See you in a couple of weeks!
Saturday, February 19, 2011
Canned Oysters
When I was a little girl, we often had Christmas dinner with my Gran (Dad's mother.) One traditional dish in her home was "scalloped oysters." (recipe follows)
I don't know why, maybe they saved them for the grownups, but I only remember trying them once. I gather I didn't know what I was getting into, because there was this rubbery thing, tough and quite large in my mouth and I couldn't chew or swallow it and had to go get rid of it. Very embarrassing. Everyone was kind about it, though.
Until fairly recently, that was my only experience with oysters, and certainly didn't endear them to me. I have read, recently, in Nourishing Traditions by Sally Fallon, how very healthy oysters are for us, so wanted to find a way to get them into our diet. This is what I came up with:
Bacon Wrapped Oysters:
1 - 8 ounce can, fancy whole oysters
3 strips of bacon, cut in half
Open and drain the can of oysters. Be gentle. They are quite soft.
Divide them into 6 little piles on a plate.
Take 1/2 of a strip of bacon and wrap it around one of the piles of oysters. Do 5 more.
Secure with each one with a wooden toothpick as you go.
Place in an oven proof dish, and bake in a pre-heated 450F oven until the bacon is as crisp as you like. The time will depend on the thickness of the bacon.
Drain on a paper towel.
Eat!
My Gran's Scalloped Oysters - this is an excerpt from a little cookbook she wrote:
"Some people used to add oysters to turkey dressing and I guess still do but this was frowned upon in our family and scalloped oysters were always served along with the turkey for holiday dinners. Scalloped oysters were always in the luxury class, even before the price of oysters skyrocketed several years ago. Really good ones demand cream and butter. Old-time experts covered the bottom of a 3 or 4 inch deep pan with cracker crumbs rolled medium fine. The oysters were laid on this bed at a discreet distance apart, depending on how many you want to use - not quite touching, up to an inch or so apart. Salt, pepper and plenty of small pieces of butter were added then another layer of crackers and repeat the oyster process. The experts never used more than two layers. Then the cream, mixed with what oyster liquor you have, was poured carefully and slowly over the pan, making incisions as you go so that the liquid will reach and moisten the bottom layer of crumbs. The mixture should be moist but never sloppy. I knew one fine cook who, at this point, took a fork and stirred the whole mass gently until she was sure there were no dry spots. The surface was then smoothed for the top layer of crubs which is seasoned with salt, pepper and butter dots and the pan was consigned to a 375F oven until browned - about 30 minutes." ~ from Turn of the Century Cooking by Marcia Ott.
Tuesday, February 15, 2011
What to do with tough leftover meat.
Oh, my... click on this picture and just see the yumminess! (Is that even a word? ;)

On Sunday (2 days ago) for our lunch I prepared a 1 pound beef roast, potatoes, onion and carrots in my cast iron Dutch oven, and some green beans on the side. The vegetables were very good. The meat was very dry and tough. We ate it without complaint, but I didn't really want to face it again, at least not in the same form. So, here is what I did - I had made some gravy by deglazing the pan with some water and used that as the base. After everything had cooled, I cubed the meat and potatoes and mixed in the green beans. I spread all of this into a buttered pie plate, poured in 2 cups of the gravy, covered with plastic wrap and stored it in the refrigerator until this afternoon.
Then, I made a batch of biscuits , cut them out with my smallest round biscuit cutter so they would more easily cover the filling and I was able to fit most of them on top. Next I popped it into a pre-heated 400F oven and baked it for 35 minutes. If you might worry that the top is getting too brown, but when you lift a biscuit carefully and can tell it's not quite done inside, then simply lay a piece of aluminum foil or some brown paper loosely on top until your "pie" is done.

Here it is, baking, with the few extra biscuits on a separate pan. Those got done much sooner than the final dish.

Delicious! This will serve 6, as a main course.
On Sunday (2 days ago) for our lunch I prepared a 1 pound beef roast, potatoes, onion and carrots in my cast iron Dutch oven, and some green beans on the side. The vegetables were very good. The meat was very dry and tough. We ate it without complaint, but I didn't really want to face it again, at least not in the same form. So, here is what I did - I had made some gravy by deglazing the pan with some water and used that as the base. After everything had cooled, I cubed the meat and potatoes and mixed in the green beans. I spread all of this into a buttered pie plate, poured in 2 cups of the gravy, covered with plastic wrap and stored it in the refrigerator until this afternoon.
Then, I made a batch of biscuits , cut them out with my smallest round biscuit cutter so they would more easily cover the filling and I was able to fit most of them on top. Next I popped it into a pre-heated 400F oven and baked it for 35 minutes. If you might worry that the top is getting too brown, but when you lift a biscuit carefully and can tell it's not quite done inside, then simply lay a piece of aluminum foil or some brown paper loosely on top until your "pie" is done.
Here it is, baking, with the few extra biscuits on a separate pan. Those got done much sooner than the final dish.
Delicious! This will serve 6, as a main course.
Back to work - dishwashing
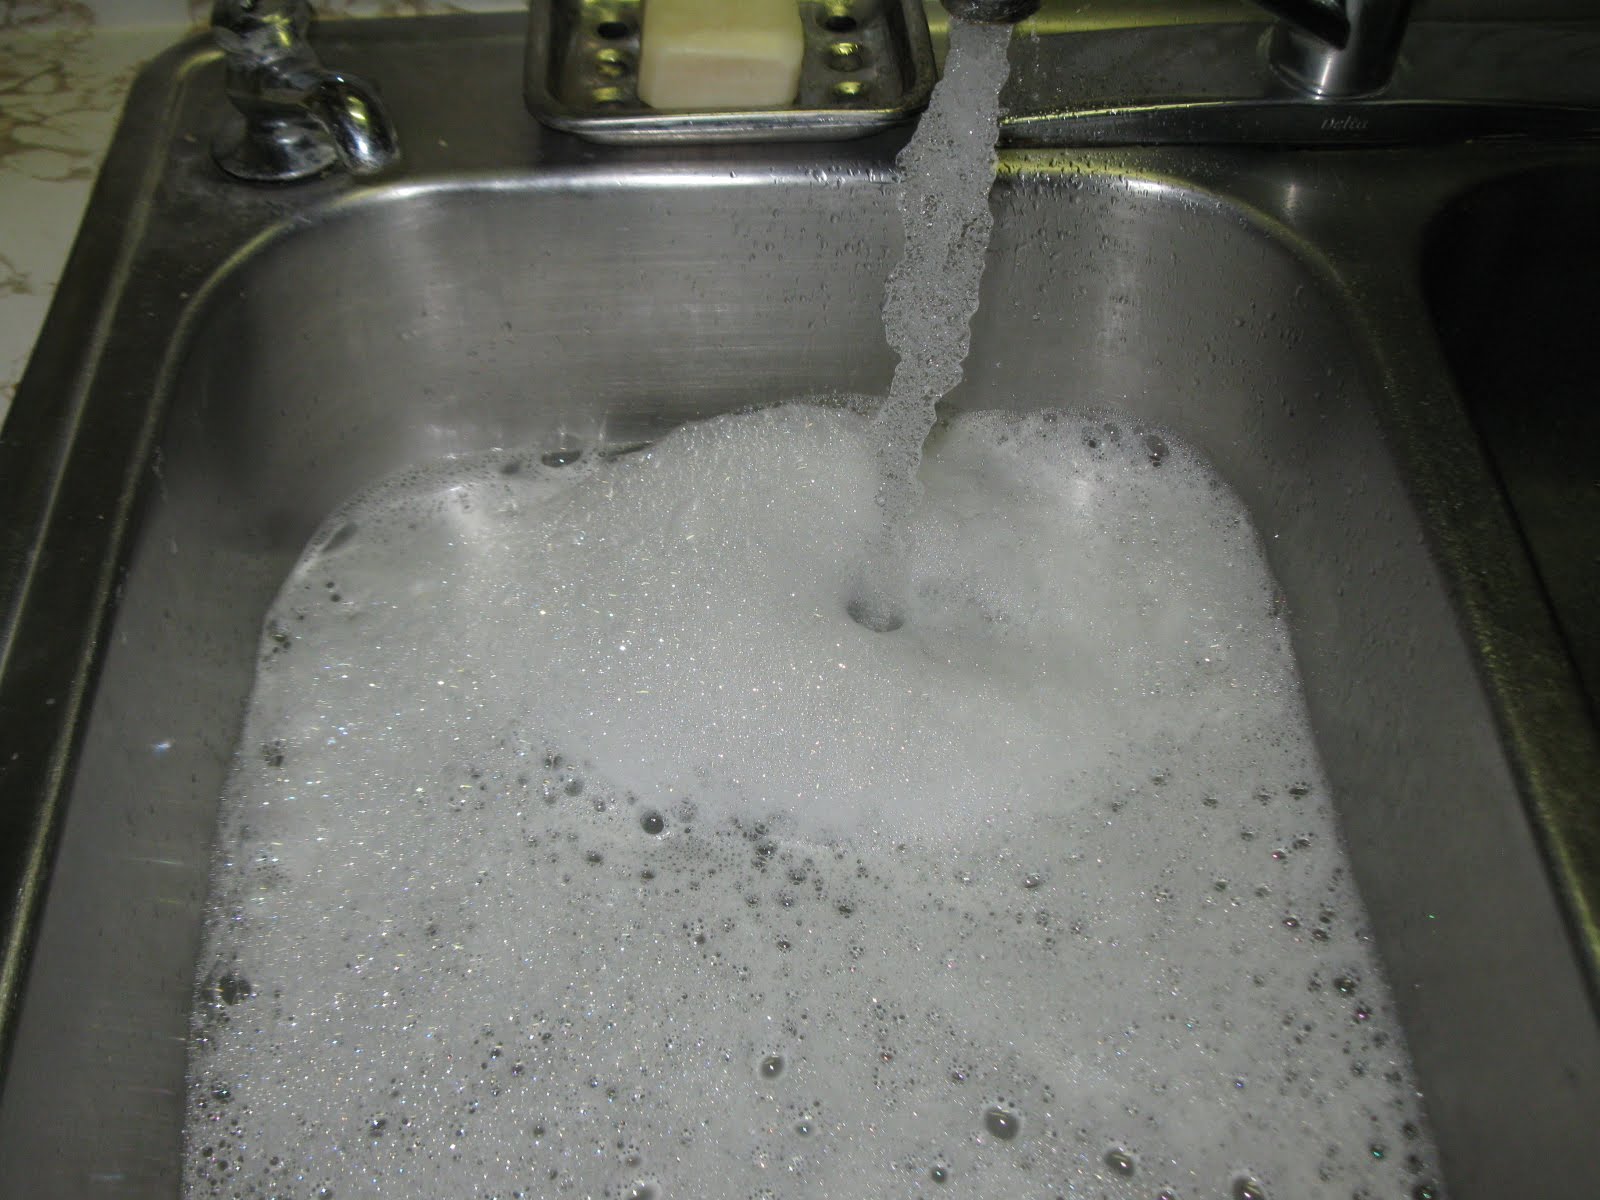
I got tired of paying money for dish washing detergent. Between running a home dairy and cooking from scratch, I go through a lot of it. See the pretty bubbles?

Here is what I'm using now. This is a plastic mayonnaise jar that I've re-purposed. I always save the bits of bar soap left when I switch to a new bar. This is homemade soap, and so doesn't have anything scary in it. I put a couple of small leftover bars in the jar, filled it with water and let it sit for a day or so. Now, when it's time to wash dishes, I turn on the hot water, and pour in some of the liquid from this jar. Then, I refill the jar with more water.

I can guess what you are thinking.... "What about greasy dishes?" I don't put really greasy things in my wash water anyway. I scrape bits into the compost bucket and rinse the dishes before I wash them. Now, if you try this, you will notice that you don't have lots of bubbles that stick around. The bubbles are not what clean the dishes. The water and your effort cleans the dishes. Anything really tough to clean I would soak for a while first. Whether you use detergent or soap, what it does is make the water wetter. THAT is what helps with the cleaning. This is working out very well. I enjoy the smell of my homemade soap too.
Here is one greasy job I have to do. This morning, for my husband's breakfast, I made pancakes, fried eggs and bacon. (He loves me :) I don't ever let soap or detergent touch my cast iron cookware. When I am done cooking, I drain off any grease that might be in there and sort of scrape off any sticking bits with a metal spatula:

Then, while I run hot water into the pan, I scrub it out with a stainless steel scrubbing pad:

Next, I put it back on the heat, upside down (on electric ranges, right side up might work better) for about 30 seconds:

When I take a wrapper off of a stick of butter, I fold it in half, messy side in and keep them in the refrigerator:

After heating the pan for a little while, I use one of the butter wrappers to lightly grease inside the pan before I put it away. If I don't have a butter wrapper, then I use a little of my nice kettle-rendered lard.

A very homely topic, to be sure, but I do wash a lot of dishes, and so want to share with you how I do it. Oh, I don't have an automatic dishwasher and all the little dishwashers I raised abandoned me. I have, in the past, lived where there was an automatic dishwasher. The only time I really liked using it was when I had a new baby. Otherwise, my kitchen stayed much more tidy if I just washed up as I used things and right after meals.
I had the privilege of drying dishes for a friend yesterday as she washed them. It was so nice. As I admitted a while back, I don't like drying dishes... But I think maybe I'm growing up at last. I am getting to where I DO like drying dishes. :-0 She told me a wonderful thing... in her family (she has 4 children at home and a husband) the rule is, "You eat - you help clean up." So, after a meal, everyone just pitches in and gets the job done. I am impressed.
Here is what I'm using now. This is a plastic mayonnaise jar that I've re-purposed. I always save the bits of bar soap left when I switch to a new bar. This is homemade soap, and so doesn't have anything scary in it. I put a couple of small leftover bars in the jar, filled it with water and let it sit for a day or so. Now, when it's time to wash dishes, I turn on the hot water, and pour in some of the liquid from this jar. Then, I refill the jar with more water.
I can guess what you are thinking.... "What about greasy dishes?" I don't put really greasy things in my wash water anyway. I scrape bits into the compost bucket and rinse the dishes before I wash them. Now, if you try this, you will notice that you don't have lots of bubbles that stick around. The bubbles are not what clean the dishes. The water and your effort cleans the dishes. Anything really tough to clean I would soak for a while first. Whether you use detergent or soap, what it does is make the water wetter. THAT is what helps with the cleaning. This is working out very well. I enjoy the smell of my homemade soap too.
Here is one greasy job I have to do. This morning, for my husband's breakfast, I made pancakes, fried eggs and bacon. (He loves me :) I don't ever let soap or detergent touch my cast iron cookware. When I am done cooking, I drain off any grease that might be in there and sort of scrape off any sticking bits with a metal spatula:
Then, while I run hot water into the pan, I scrub it out with a stainless steel scrubbing pad:
Next, I put it back on the heat, upside down (on electric ranges, right side up might work better) for about 30 seconds:
When I take a wrapper off of a stick of butter, I fold it in half, messy side in and keep them in the refrigerator:
After heating the pan for a little while, I use one of the butter wrappers to lightly grease inside the pan before I put it away. If I don't have a butter wrapper, then I use a little of my nice kettle-rendered lard.
A very homely topic, to be sure, but I do wash a lot of dishes, and so want to share with you how I do it. Oh, I don't have an automatic dishwasher and all the little dishwashers I raised abandoned me. I have, in the past, lived where there was an automatic dishwasher. The only time I really liked using it was when I had a new baby. Otherwise, my kitchen stayed much more tidy if I just washed up as I used things and right after meals.
I had the privilege of drying dishes for a friend yesterday as she washed them. It was so nice. As I admitted a while back, I don't like drying dishes... But I think maybe I'm growing up at last. I am getting to where I DO like drying dishes. :-0 She told me a wonderful thing... in her family (she has 4 children at home and a husband) the rule is, "You eat - you help clean up." So, after a meal, everyone just pitches in and gets the job done. I am impressed.
Subscribe to:
Posts (Atom)