Thursday, March 31, 2011


Thursday, March 24, 2011
Sourdough Tortillas
I did not take pictures to show you about this, but still want to report. For dinner I made bean burritos and this is the first time I've made sourdough tortillas for them. Soaking whole grains, nuts and seed deactivates the "anti-nutrients," such as phytic acid, that interfere with the absorption of minerals. I am on a quest to improve my cooking in this way, so thought I'd give this a try. They turned out very nice. Flexible, strong, soft and delicious, all at the same time!
Sourdough Tortillas
2 cups whole wheat flour
1 teaspoon RealSalt
1/2 cup sourdough starter
1/2 cup warm water
2 Tablespoons extra-virgin coconut oil
Mix that all together well in a bowl with a fork. Cover it with plastic wrap and let it rest for at least 7 hours.
Turn onto a surface floured with unbleached all-purpose flour and knead until it is smooth.
Divide into 8 equal pieces and form them into little round things.
Heat up a cast iron griddle on medium heat.
Roll each piece quite thinly and bake them, one at a time, on the hot griddle. Bake the first side until bubbles appear on top, flip over and bake a little longer.
Stack them on a plate, covered with a dish towel until ready to eat.
Enjoy!
Sourdough Tortillas
2 cups whole wheat flour
1 teaspoon RealSalt
1/2 cup sourdough starter
1/2 cup warm water
2 Tablespoons extra-virgin coconut oil
Mix that all together well in a bowl with a fork. Cover it with plastic wrap and let it rest for at least 7 hours.
Turn onto a surface floured with unbleached all-purpose flour and knead until it is smooth.
Divide into 8 equal pieces and form them into little round things.
Heat up a cast iron griddle on medium heat.
Roll each piece quite thinly and bake them, one at a time, on the hot griddle. Bake the first side until bubbles appear on top, flip over and bake a little longer.
Stack them on a plate, covered with a dish towel until ready to eat.
Enjoy!
Wednesday, March 23, 2011
Sourdough Noodles
Here is my little pot of sourdough starter that lives in the refrigerator:

Before I went to bed last night, I combined the following:
1/2 cup sourdough starter
3 eggs
1.5 cups whole wheat flour
1.5 teaspoons salt
Stir that well, cover with plastic wrap and let it rest all night.
In the morning, knead the dough, with a little unbleached all-purpose flour for 2 minutes.
Divide into 8 pieces:

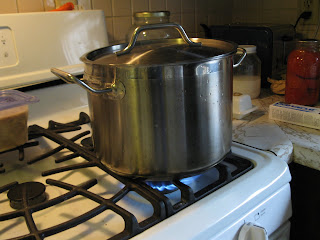
Bring 5 quarts of water to a rolling boil and add 2 Tablespoons salt:
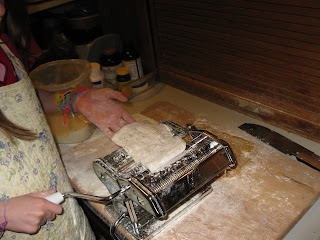
Of course, you can cut these out by rolling out with a rolling pin and cutting them with a pizza cutter, but this time, I used my handy-dandy pasta machine. First, I rolled the dough pieces through on #1, then on #3.

Lastly, on #4. I tried #5, but that was too thin.

Here are some of the noodles, waiting for the water to boil:

And here is my granddaughter, cutting the noodles for me with the pasta machine:
This is what they look like coming off of the machine:

I added them to the boiling water and cooked them for about 4 minutes, with 2 Tablespoons of extra-virgin olive oil added to the water, and then drained them in a big colander:

Here are two little videos. One is of the boiling noodles, and the other shows you how I knead the dough
These noodles are delicious, by the way. We ate some with grated cheese and they were wonderful. They would also be good with pasta sauce or in soups or....
This post is hooked up with the amazing Hearth and Soul blog hop!

Before I went to bed last night, I combined the following:
1/2 cup sourdough starter
3 eggs
1.5 cups whole wheat flour
1.5 teaspoons salt
Stir that well, cover with plastic wrap and let it rest all night.
In the morning, knead the dough, with a little unbleached all-purpose flour for 2 minutes.
Divide into 8 pieces:

Bring 5 quarts of water to a rolling boil and add 2 Tablespoons salt:

Of course, you can cut these out by rolling out with a rolling pin and cutting them with a pizza cutter, but this time, I used my handy-dandy pasta machine. First, I rolled the dough pieces through on #1, then on #3.

Lastly, on #4. I tried #5, but that was too thin.

Here are some of the noodles, waiting for the water to boil:

And here is my granddaughter, cutting the noodles for me with the pasta machine:
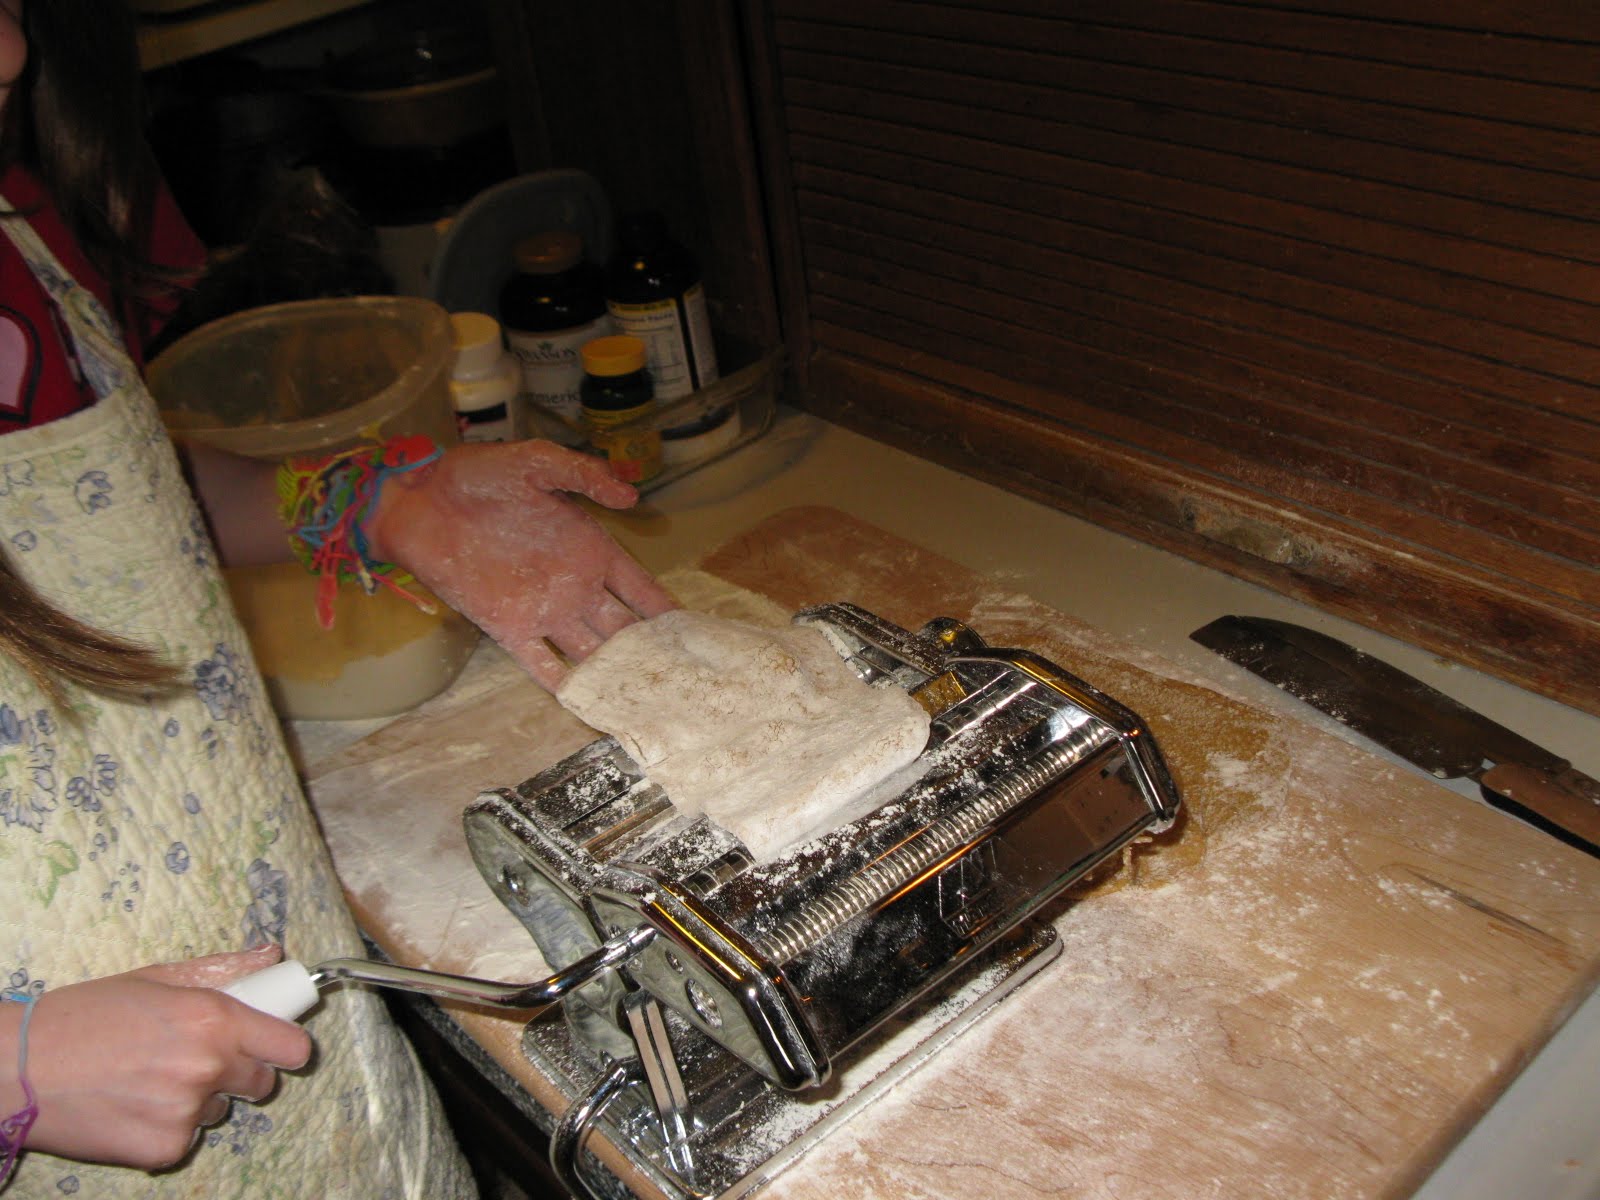
This is what they look like coming off of the machine:

I added them to the boiling water and cooked them for about 4 minutes, with 2 Tablespoons of extra-virgin olive oil added to the water, and then drained them in a big colander:

Here are two little videos. One is of the boiling noodles, and the other shows you how I knead the dough
These noodles are delicious, by the way. We ate some with grated cheese and they were wonderful. They would also be good with pasta sauce or in soups or....
This post is hooked up with the amazing Hearth and Soul blog hop!
Monday, March 21, 2011
I love "Spring Break"

When our children were school-aged, during the years they were in public school, (we home schooled for a while) and "Spring Break" would come, I would sometimes think, "break for whom???" During the home schooling years, we were together most of the time, and I loved that, so it's not that I didn't enjoy being with my children. There was just something about the disruption of the 1 week school break that was hard on me. Now, however, Spring Break is something I look forward to, as it often affords time to spend with various grandchildren. This week, two different days, we'll have 3 of them here, and then the next two weeks we'll have 2 more visiting for the whole time. It is so fun and something I really look forward to. The picture is of my granddaughter, Hanni. She is making cookies. :)
Saturday, March 19, 2011
Ewwwwww ?

Have you ever heard of "Manure Tea?" What you do is fill a big bucket with fresh animal manure, cover it all with water and let it "steep" for at least a month. The bucket you see in the picture here is left from last year. I filled it with horse "apples" and water and it has been sitting in the greenhouse for months!
It is not to drink (although our dog might beg to differ on that point.... ewww...) What you do is ladle out the liquid, dilute it with water in a watering can and use it to fertilize your garden vegetables. It's very effective, and truly, it doesn't smell particularly bad.
However, there is another kind of "tea", a green manure tea that smells awful. It is made with comfrey leaves. Here is the comfrey, just starting to grow:

When it gets big, I will stuff a lot of the leaves into a bucket, fill it with water, put a cover on it and leave it out in the sun for at least a month, and then use it the same way as the animal manure tea. This is fabulous for potatoes, but very very good for other plants as well.
Comfrey also makes a wonderful salve. I make salve most years. Here is what I posted about it last year. I combine the comfrey with plantain leaves.
So many things are coming up now. I will post more pictures soon.
Spring Foraging begins!
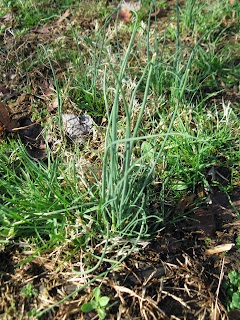
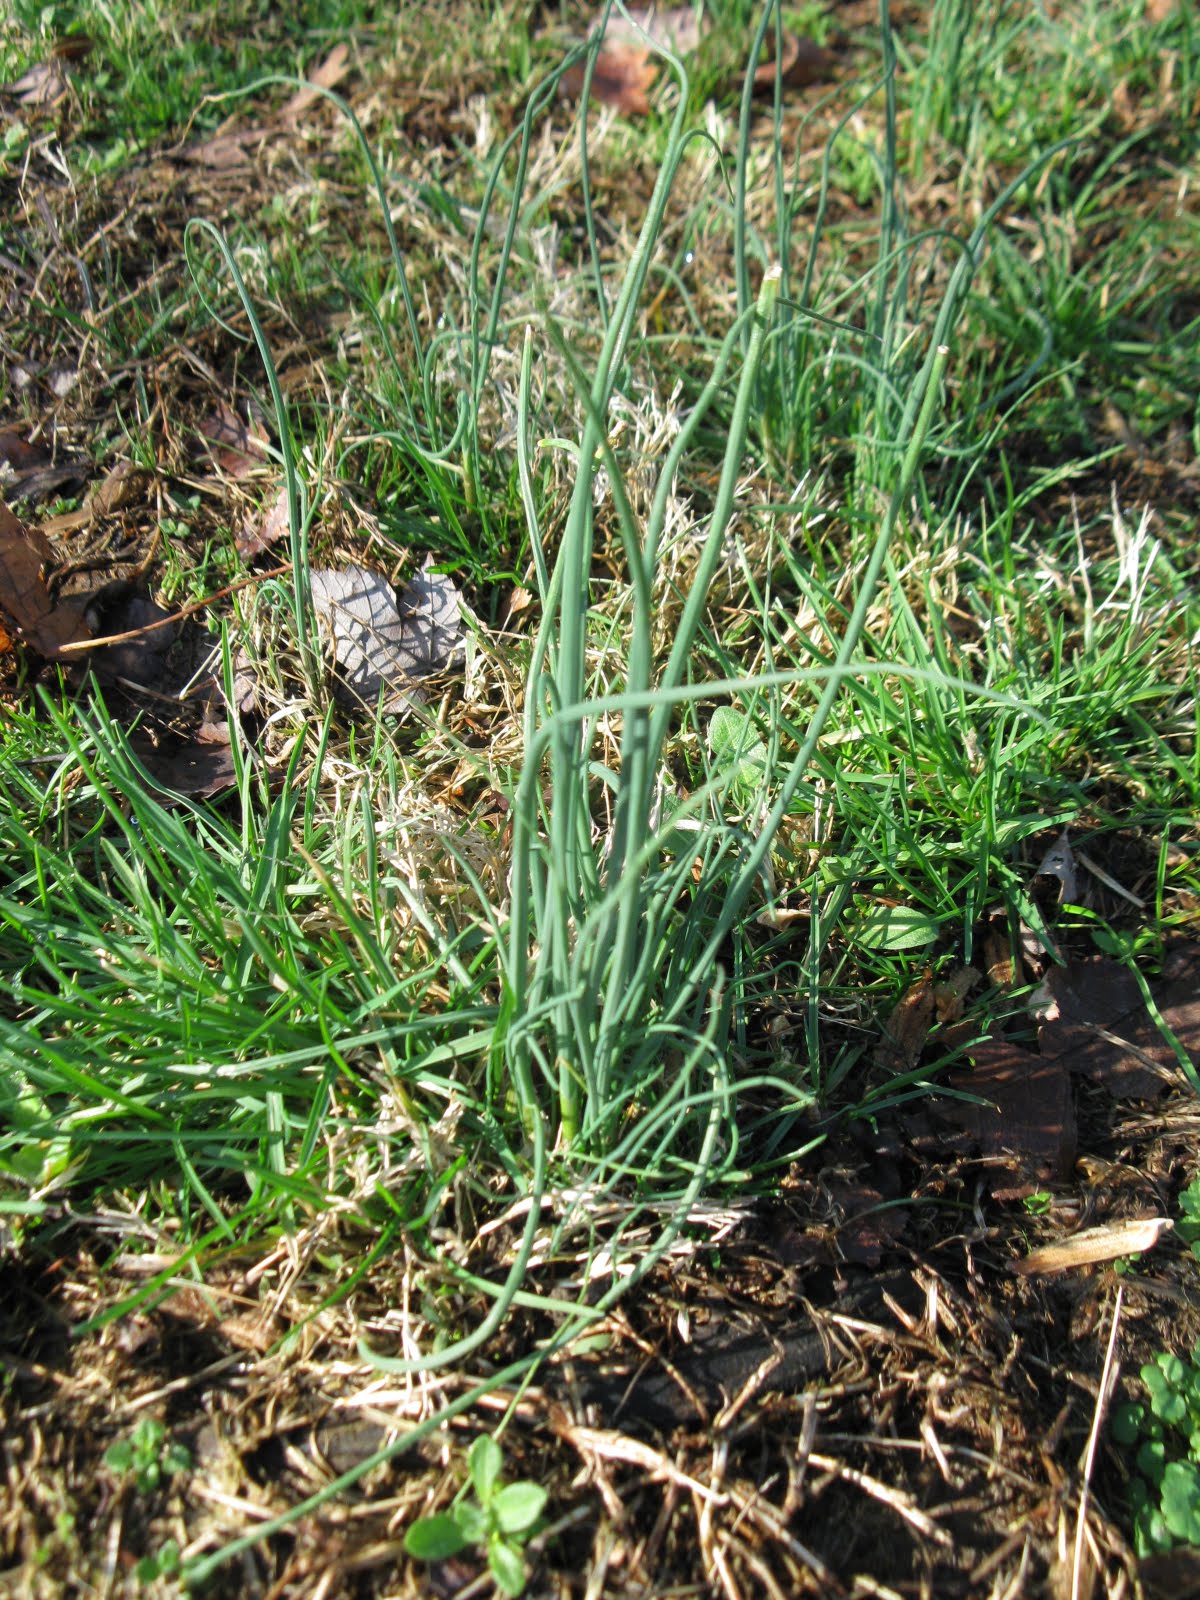
And so it begins... It was about 45 degrees F outside this morning. I decided to make one of my most favorite things. Here you can see a little clump of wild onions:
And some dandelion greens that volunteered enthusiastically in the greenhouse:

Here is my basket with the onions and the greens I gathered. Don't worry, there are plenty more of the wild onions where those came from and I can guarantee that the clump I dug will grow back as there are undoubtedly a few left in that spot.

In 1989, I ran across this wonderful book, Wild Food Plants of Indiana and Adjacent States, in our local library. It was out of print, so I contacted the publisher and they gave me permission to copy the book for my own use free of charge:

See? And it has since been reprinted!

Here are the wild onions all cleaned up. Aren't they cute? :)

And chopped:

Into the cast iron frying pan goes a good dollop of bacon grease:

The chopped wild onions were sauteed for about 30 seconds on low heat:

I carefully picked over the dandelion greens, washed them thoroughly, put them through the salad spinner and chopped them up:

The next thing was to add them to the skillet and, stirring once in a while, I sauteed them for 5 minutes on low:

Here they are all done. I added Realsalt and freshly ground pepper.

Half of them (I had to save some for the DH) in a bowl, ready to eat:

That didn't take long!

If you are inclined to forage for wild foods, be CERTAIN you know what you are gathering, because plants can be toxic if you inadvertently gather the wrong thing.
If your dandelions already have flowers, it is too late. They will be very bitter.
Please don't gather dandelion greens or anything else where toxic chemicals have been sprayed on lawns. We don't do that here. Our "lawn" is, uh... eclectic..... we live on what was a forest floor about 40 years ago. I do not fight the "weeds" in the lawn. I like them. :)
And you can see why :)
This post is linked to Simple Lives Thursdays!
And some dandelion greens that volunteered enthusiastically in the greenhouse:

Here is my basket with the onions and the greens I gathered. Don't worry, there are plenty more of the wild onions where those came from and I can guarantee that the clump I dug will grow back as there are undoubtedly a few left in that spot.

In 1989, I ran across this wonderful book, Wild Food Plants of Indiana and Adjacent States, in our local library. It was out of print, so I contacted the publisher and they gave me permission to copy the book for my own use free of charge:

See? And it has since been reprinted!

Here are the wild onions all cleaned up. Aren't they cute? :)

And chopped:

Into the cast iron frying pan goes a good dollop of bacon grease:

The chopped wild onions were sauteed for about 30 seconds on low heat:

I carefully picked over the dandelion greens, washed them thoroughly, put them through the salad spinner and chopped them up:

The next thing was to add them to the skillet and, stirring once in a while, I sauteed them for 5 minutes on low:

Here they are all done. I added Realsalt and freshly ground pepper.

Half of them (I had to save some for the DH) in a bowl, ready to eat:

That didn't take long!

If you are inclined to forage for wild foods, be CERTAIN you know what you are gathering, because plants can be toxic if you inadvertently gather the wrong thing.
If your dandelions already have flowers, it is too late. They will be very bitter.
Please don't gather dandelion greens or anything else where toxic chemicals have been sprayed on lawns. We don't do that here. Our "lawn" is, uh... eclectic..... we live on what was a forest floor about 40 years ago. I do not fight the "weeds" in the lawn. I like them. :)
And you can see why :)
This post is linked to Simple Lives Thursdays!
Friday, March 18, 2011
Starting to garden for this year...
I was very happy today to be able to go and buy most of our seeds for our vegetable garden. We will be simplifying our plantings this year, emphasizing the things we really use, and not planting so many different things. Here is what I bought:
24 pounds of seed potatoes
3 pounds onion sets
2 varieties of tomato seeds
green bush beans
sweet corn
pickling cucumbers
winter squash
pumpkins
zucchini
yellow summer squash
Swiss chard
I also got 6 broccoli and 12 cabbage plants
I still need to find pepper seeds, but they didn't have any of those. I'll look elsewhere soon.
We hope all of this translates into an abundant harvest this year. I will start my own tomatoes, peppers and sweet potato plants in the greenhouse.
We have had lots of rain recently, for which I'm grateful. As soon as things dry out enough, we'll start getting the garden ready and put out the potatoes and onion sets.
It still remains to be seen if the rhubarb we put out last year survived the drought. The garlic is up and there is lots of it!
I'm looking forward to it! I would love to hear from some of you about your gardens and plans and hopes!
24 pounds of seed potatoes
3 pounds onion sets
2 varieties of tomato seeds
green bush beans
sweet corn
pickling cucumbers
winter squash
pumpkins
zucchini
yellow summer squash
Swiss chard
I also got 6 broccoli and 12 cabbage plants
I still need to find pepper seeds, but they didn't have any of those. I'll look elsewhere soon.
We hope all of this translates into an abundant harvest this year. I will start my own tomatoes, peppers and sweet potato plants in the greenhouse.
We have had lots of rain recently, for which I'm grateful. As soon as things dry out enough, we'll start getting the garden ready and put out the potatoes and onion sets.
It still remains to be seen if the rhubarb we put out last year survived the drought. The garlic is up and there is lots of it!
I'm looking forward to it! I would love to hear from some of you about your gardens and plans and hopes!
Subscribe to:
Posts (Atom)
