 It is easy to use, quick to clean up and I love it! Juicing is not my passion, understand, but sometimes I just want some fresh juice and particularly in the colder months of the year, because we have the unheated greenhouse and a supply of fresh greens all winter long.
I went out there this morning and brought in some things to use for a salad for dinner, and I also picked a handful of kale leaves and made a small amount of juice for me and my husband. It was so delicious, I have to share the "recipe" !
2 small carrots, peeled
a small handful of fresh kale
1 whole sweet apple (core removed)
1 whole lemon
I was worried the lemon might be too sour, but oh, my! It was like the best lemonade ever!
I think you would like it too. :)
This post is linked at Real Food Wednesday ! ... and Simple Lives Thursday #75.
It is easy to use, quick to clean up and I love it! Juicing is not my passion, understand, but sometimes I just want some fresh juice and particularly in the colder months of the year, because we have the unheated greenhouse and a supply of fresh greens all winter long.
I went out there this morning and brought in some things to use for a salad for dinner, and I also picked a handful of kale leaves and made a small amount of juice for me and my husband. It was so delicious, I have to share the "recipe" !
2 small carrots, peeled
a small handful of fresh kale
1 whole sweet apple (core removed)
1 whole lemon
I was worried the lemon might be too sour, but oh, my! It was like the best lemonade ever!
I think you would like it too. :)
This post is linked at Real Food Wednesday ! ... and Simple Lives Thursday #75.
Wednesday, December 21, 2011
Fresh Juice
I don't think drinking bottled juices from the store is a very healthy choice. I've read too much scary stuff about it. I am lucky to have one of these:
It is easy to use, quick to clean up and I love it! Juicing is not my passion, understand, but sometimes I just want some fresh juice and particularly in the colder months of the year, because we have the unheated greenhouse and a supply of fresh greens all winter long.
I went out there this morning and brought in some things to use for a salad for dinner, and I also picked a handful of kale leaves and made a small amount of juice for me and my husband. It was so delicious, I have to share the "recipe" !
2 small carrots, peeled
a small handful of fresh kale
1 whole sweet apple (core removed)
1 whole lemon
I was worried the lemon might be too sour, but oh, my! It was like the best lemonade ever!
I think you would like it too. :)
This post is linked at Real Food Wednesday ! ... and Simple Lives Thursday #75.
Friday, December 16, 2011
Oatmeal - Fortified!

This is a complete breakfast meal!
Wonderful Oatmeal
2 cups old-fashioned rolled oats
1/4 teaspoon sea salt
1 Tablespoon wheat flour
2 Tablespoons live whey
1/4 cup raisins
4 cups water
4 eggs
1/4 cup milk
Butter
Real Maple syrup
The night before, combine oats, salt, flour, whey, raisins and water. Cover and let soak until morning.
In the morning, beat the eggs and milk together thoroughly.
On medium heat, cook the oat mixture until not quite as thick as you would normally, stirring frequently.
Gradually stir in the egg/milk mixture, stirring well. Keep stirring until it has returned to a simmer to be sure the eggs are thoroughly cooked. Remove from heat.
Top each serving with a dollop of butter and some maple syrup or raw honey.
Stand back and enjoy the ooooh's and ahhhh's from your loved ones!
This post is linked at Friday Food Flicks!
Wednesday, December 14, 2011
Black Walnut Biscotti
I like Biscotti very much... and until today, I only liked it when other people made it. Mine never seemed to be as good. But I "invented" this recipe and it is very nice. We live in an area where at this time of year, black walnuts are plentiful and people are very happy to have you come pick them up out of their yards.

Black Walnut Biscotti
1/2 cup whole wheat sourdough starter, bubbly and ready to use
1 Tablespoon butter, melted
1/4 teaspoon sea salt
2 pastured eggs
1/2 teaspoon cinnamon
1/4 cup freshly hulled black walnuts, frozen, then ground in an electric coffee grinder
3/4 cup Sucanat
1/2 teaspoon pure black walnut extract
Whole wheat flour, approximately 2 cups
1/2 teaspoon baking soda
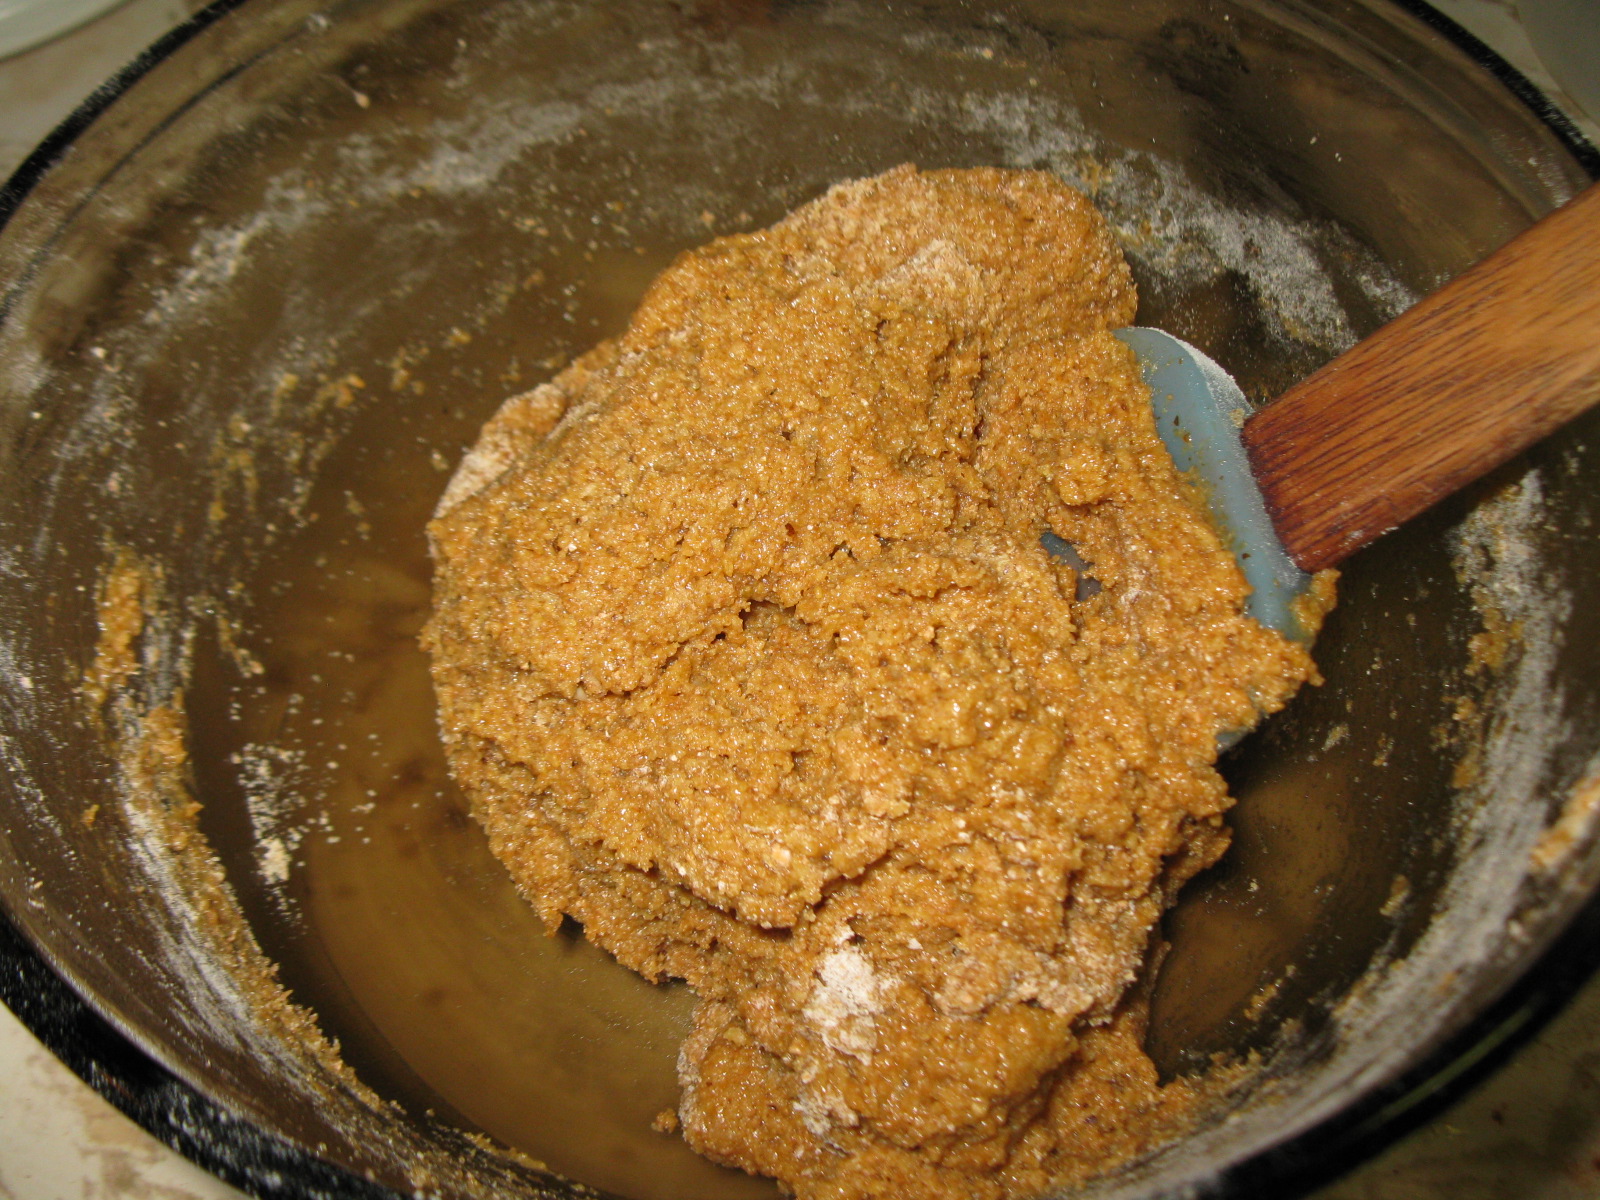
The night before you want to bake the Biscotti, mix all the above ingredients, except the baking soda, together well. It should form a stiff dough. Keep tightly covered and let it sit at room temperature overnight or up to 12 hours.

Turn out the dough onto a surface sprinkled with unbleached flour. Sprinkle the 1/2 teaspoon baking soda over the dough and work it in well with your hands.

Cut the dough into two equal pieces:

Roll each piece into a rectangle that is about 3/4 inch thick:

Place the pieces on a baking sheet that is either lightly greased, or covered with a Silpat or parchment paper:

Bake at 375 degrees F for 20 minutes. Remove from oven and cool for 15 minutes on a wire cooling rack. Then, using a bread knife, slice into 1/2 - 3/4 inch slices:

Reduce heat in oven to 300 degrees. Place the pieces on their sides on your baking sheet and return to the oven. Bake for 10 minutes, then turn them over and bake for 10 more minutes:

Cool on wire racks:

Now it's time to make the chocolate sauce.
Chocolate Sauce for Biscotti
1 Tablespoon butter
2 Tablespoons cocoa
1/3 cup raw milk
1/4 cup Sucanat
Place all the ingredients in a small saucepan, and stirring, bring to a simmer. Stir and simmer for 2 minutes.
Use a table knife to spread the chocolate sauce onto the ends of the Biscotti.

Place them on wire cooling racks and let them sit until the chocolate has firmed up. Then store in an airtight container at room temperature.
My favorite way to eat Biscotti is dipped in some nice cold fresh goat milk! :)
This post is linked to Simple Lives Thursday #74! Also, the Homestead Barn Hop #41.

Black Walnut Biscotti
1/2 cup whole wheat sourdough starter, bubbly and ready to use
1 Tablespoon butter, melted
1/4 teaspoon sea salt
2 pastured eggs
1/2 teaspoon cinnamon
1/4 cup freshly hulled black walnuts, frozen, then ground in an electric coffee grinder
3/4 cup Sucanat
1/2 teaspoon pure black walnut extract
Whole wheat flour, approximately 2 cups
1/2 teaspoon baking soda
The night before you want to bake the Biscotti, mix all the above ingredients, except the baking soda, together well. It should form a stiff dough. Keep tightly covered and let it sit at room temperature overnight or up to 12 hours.
Turn out the dough onto a surface sprinkled with unbleached flour. Sprinkle the 1/2 teaspoon baking soda over the dough and work it in well with your hands.

Cut the dough into two equal pieces:

Roll each piece into a rectangle that is about 3/4 inch thick:

Place the pieces on a baking sheet that is either lightly greased, or covered with a Silpat or parchment paper:

Bake at 375 degrees F for 20 minutes. Remove from oven and cool for 15 minutes on a wire cooling rack. Then, using a bread knife, slice into 1/2 - 3/4 inch slices:

Reduce heat in oven to 300 degrees. Place the pieces on their sides on your baking sheet and return to the oven. Bake for 10 minutes, then turn them over and bake for 10 more minutes:

Cool on wire racks:

Now it's time to make the chocolate sauce.
Chocolate Sauce for Biscotti
1 Tablespoon butter
2 Tablespoons cocoa
1/3 cup raw milk
1/4 cup Sucanat
Place all the ingredients in a small saucepan, and stirring, bring to a simmer. Stir and simmer for 2 minutes.
Use a table knife to spread the chocolate sauce onto the ends of the Biscotti.

Place them on wire cooling racks and let them sit until the chocolate has firmed up. Then store in an airtight container at room temperature.
My favorite way to eat Biscotti is dipped in some nice cold fresh goat milk! :)
This post is linked to Simple Lives Thursday #74! Also, the Homestead Barn Hop #41.
Monday, December 12, 2011
A Humble, Healthy, Gingerbread House

Do you remember that last year I posted about our annual Gingerbread House? If you will check that post, you will see more about the method, and in particular, you will be able to get the pattern to cut out the gingerbread house pieces.
This time, I've adapted the recipe to use only healthy ingredients. As you can easily see, I am NOT an artist. I am certain that most of you can come up with much more attractive ways to decorate this little house using natural and healthy items, but using what I had on hand, and my limited talent in this area, here is my little house.
Gingerbread Recipe
3 cups freshly ground spelt flour
1/2 teaspoon sea salt
1 teaspoon ground ginger
1 teaspoon ground cinnamon
1/8 teaspoon ground cloves
1 Tablespoon Rumford baking powder
1/3 cup Sucanat
1/3 cup blackstrap molasses
1/3 cup raw honey
2 pastured eggs
1/2 cup melted extra-virgin coconut oil
Royal Icing Recipe
3 egg whites
1/2 teaspoon cream of tartar
1 pound Sucanat
1 Tablespoon Xanthan gum
Mix all of the gingerbread ingredients thoroughly with an electric mixer. Place the dough in a covered dish and refrigerate it for 24 hours.
Use a large baking sheet (they call it a "half sheet") and either line it with a Silpat, or, grease it and then line it with aluminum foil. Grease the foil, or the Silpat, as well.
Place the chilled dough onto the pan. Grease a rolling pin and wrap it in plastic wrap. The dough is a little sticky, and this will prevent problems.
Preheat oven to 300 degrees F.
Roll the dough out carefully, to cover the pan. Be patient. It will take a little while to get it all rolled out evenly.

Here it is, all rolled out:

Place your parchment paper pattern (see the link for last year's gingerbread house) onto the rolled dough, and folding it, use a small paring knife and gently score the cutting lines into the dough. There is no need to cut all the way through.


Beat an egg well, and paint the dough using a pastry brush or a piece of paper toweling dipped in the egg.
Bake at 300 degrees F. for 30 minutes. Remove from oven, cut the pieces out on the scored lines and allow to cool completely.
Next, carefully remove the house pieces from the baking sheet and place them on wire cooling racks. Place the racks in the oven and let the gingerbread bake for another 10 minutes.

Now, on to the Royal Icing...
Traditionally, Royal Icing is made from powdered sugar, cream of tartar and raw egg whites. This is a little different.
First, combine the Sucanat and xanthan gum, and one half at a time, grind it to a powder in an electric blender.
In the top of a double boiler, over simmering water, place all the icing ingredients and mix with an electric mixer, while cooking, until the icing is stiff.

Assembling the Gingerbread House ~
Again, please refer to last year's post, but I have included a few pictures of what I did today. I found that I could use a piping bag for this, but it was rather difficult, and I resorted to using a table knife to spread the icing where I needed it.

The decorations include popcorn, crispy pepitas, crispy almonds and raisins. (Crispy nuts and seeds are made by soaking them in salt water for at least 7 hours and then dehydrating them. This gets rid of the anti-nutrients and makes them much more digestible.)

A view of the roof covered with popcorn:

For those of you so inclined, I hope you will enjoy this little project!
This post is linked up at "Real Food Wednesday" and "Frugal Days, Sustainable Ways, AND at the Hearth and Soul Blog Hop! Also, Clever Chicks Blog Hop #12.
Friday, December 9, 2011
Merry Christmas!

We used to have a very large artificial Christmas Tree that I scored at an auction for $4. My girls used to leap up from the Thanksgiving table and immediately put up the tree and do all the decorating. Then they got married and left us. I used the tree for a year or two after that. Then I donated it to Goodwill and bought this relatively scrawny one. Plenty for one older woman to put up by herself.
Today was the day. I got out all the decorations, lights and the tree. Ready to go! Then nearly all of my lights failed. Ugh. This afternoon is the slot of time I had set aside. So, I just used what was still working. :) Not only that, but I put on the hand made ornaments that my girls had crocheted years ago and just added some pretty glass balls and the little angel at the top.
Next, I couldn't find my tree skirt. Of course, I found it later, but when it was time to put it there, I just decided to use an little old quilt that my mother had made.
If you look to the right, hanging on the curtain, you'll see a Santa that I made in school in the 1st grade. My sweet mother (who I miss every day, even after 28 years) saved it and always tacked it to the trunk of our Christmas Tree. We had real trees. She always made Christmas so special for me... and my birthdays... even up to a month before she passed away.
I have been feeling the Christmas Spirit since well before Thanksgiving this year. Ever since I watched this:
http://www.youtube.com/watch?v=LyviyF-N23A
The other paper things on the curtain were made by two grandchildren, when they lived here with their momma for a year several years ago.
I love Christmas. I love how so many of us pause to really contemplate our Savior, and then reach out to others.
Thank you to each one of my dear readers for being, in a small way, a part of my life.
MERRY CHRISTMAS!!!
Tip - Saving the fat

From the Weston A. Price Foundation:
"Beef and Mutton Tallows are 50-55% saturated, about 40% monounsaturated and contain small amounts of the polyunsaturates, usually less than 3%. Suet, which is the fat from the cavity of the animal, is 70-80% saturated. Suet and tallow are very stable fats and can be used for frying. Traditional cultures valued these fats for their health benefits. They are a good source of antimicrobial palmitoleic acid."
I buy grass-fed beef locally. Grass-fed beef is "a different animal" when it comes to nutrition. It contains high levels of omega-3 fatty acids, very very good for you, and CLA, which is a proven cancer fighter. The fat in grass-fed beef is good for you, contrary to what the conventional "wisdom" will assert. It is more expensive than what is available at the supermarket, but it is also much healthier. Needless to say, I don't want to waste anything. 2 days ago, I made a big pizza. I used grass-fed ground beef on it. After I cooked it in a cast iron skillet, I needed to drain off the excess fat, but didn't want to waste that, as it is a very healthy fat. I drained it through a wire strainer into a bowl and then poured it into a little jar that I put in the refrigerator. That is the fat I will use for frying eggs, or sauteing other things, until it is gone. A little, but I think important savings!
For more information about this topic, as well as a real education on the role of fats in nutrition, please read this article ~ The Skinny on Fats
If you are interested in my new "NOT SOUR Sourdough Pizza Crust" recipe, go here. This makes enough dough for a large pizza, and is very good. My husband doesn't like sour things. Although made with sourdough, and very healthy, this crust is NOT sour. He was very pleased!
Tuesday, December 6, 2011
An early winter soup - kale and sausage

Here is the soup we had for supper tonight. It was very good and warming on such a chilly evening. This recipe will serve 3, generously, and makes a complete meal.
Kale and Sausage Soup
1 pint chicken stock:

A nice bunch of tender fresh kale:

1/2 pound Italian sausage, frozen, to make the slicing easier:

3 potatoes:

Add to that, 1 large onion and two garlic cloves:

Slice the frozen Italian sausage:

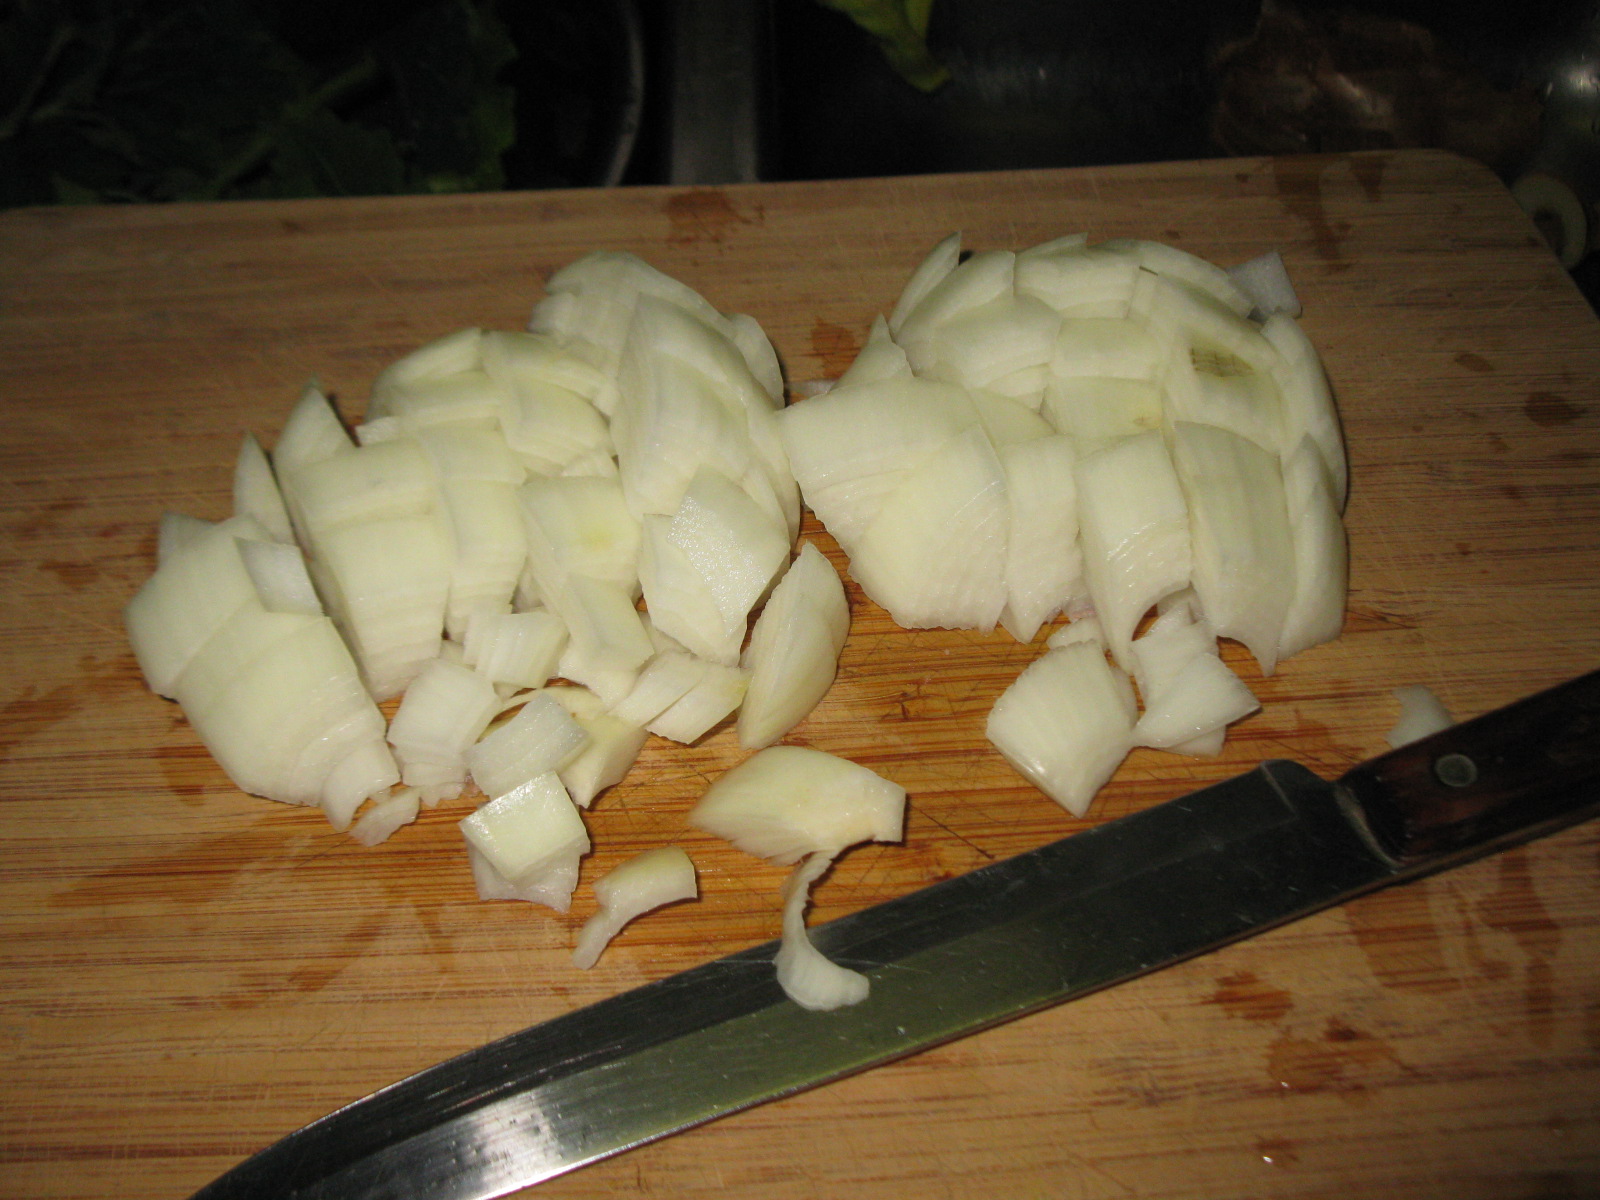
Peel and coarsely chop the onion:
Peel and mince the garlic cloves:

Scrub and cube the potatoes:

Remove the stalks from the kale:

Then, roll it together:

Slice it across the roll:

And then cut it the other direction:

Melt 1 Tablespoon of kettle-rendered lard in a heavy bottomed soup pot:

Add the onion, garlic and sausage and saute, stirring, until the onion is translucent. Then, add the chicken stock, 2 cups of water, and the kale:

Bring to a boil, reduce heat, cover and let simmer for 20 minutes or until the kale and potatoes are tender:

At this point, taste the broth and see if it needs any salt, but it probably won't. Serve and enjoy! Fast, easy, and wonderful!
Subscribe to:
Posts (Atom)
