Wednesday, March 23, 2016

"Tuna Noodle Stuff" - from scratch...

Back in 1976, my husband was teaching middle school earth science in Aurora, Nebraska.  Pay for teachers was not stellar at the time and money was tight.  We had 3 small children.  We realized one day that we had all but run out of money for food, and it would be two weeks before we could buy groceries again, so we sat down and "put our heads together" to figure out what to do.  We did have items for breakfast and lunches, but nothing for suppers.  With the amount of money we had left, we figured out that we could buy enough ingredients to make "Tuna Noodle Stuff" (as we call it) every evening for those two weeks.  So, that's what we did.  We bought egg noodles, cans of tuna and cans of condensed mushroom soup.  Fortunately, we really like Tuna Noodle Stuff.  :)

Fast forward 40 years.  I was trying to decide what to cook today and feeling a little fuzzy in the head.  In the front of my recipe box I have a list of meals that my husband likes, so I got it out and noticed Tuna Noodle Stuff.  Yes!!!  That's what I'll make!  But I made it from scratch.  Here is what I did, with the recipes involved.

First I made egg noodles and boiled them for 5 minutes.

Here are the noodles:


Here they are boiling:


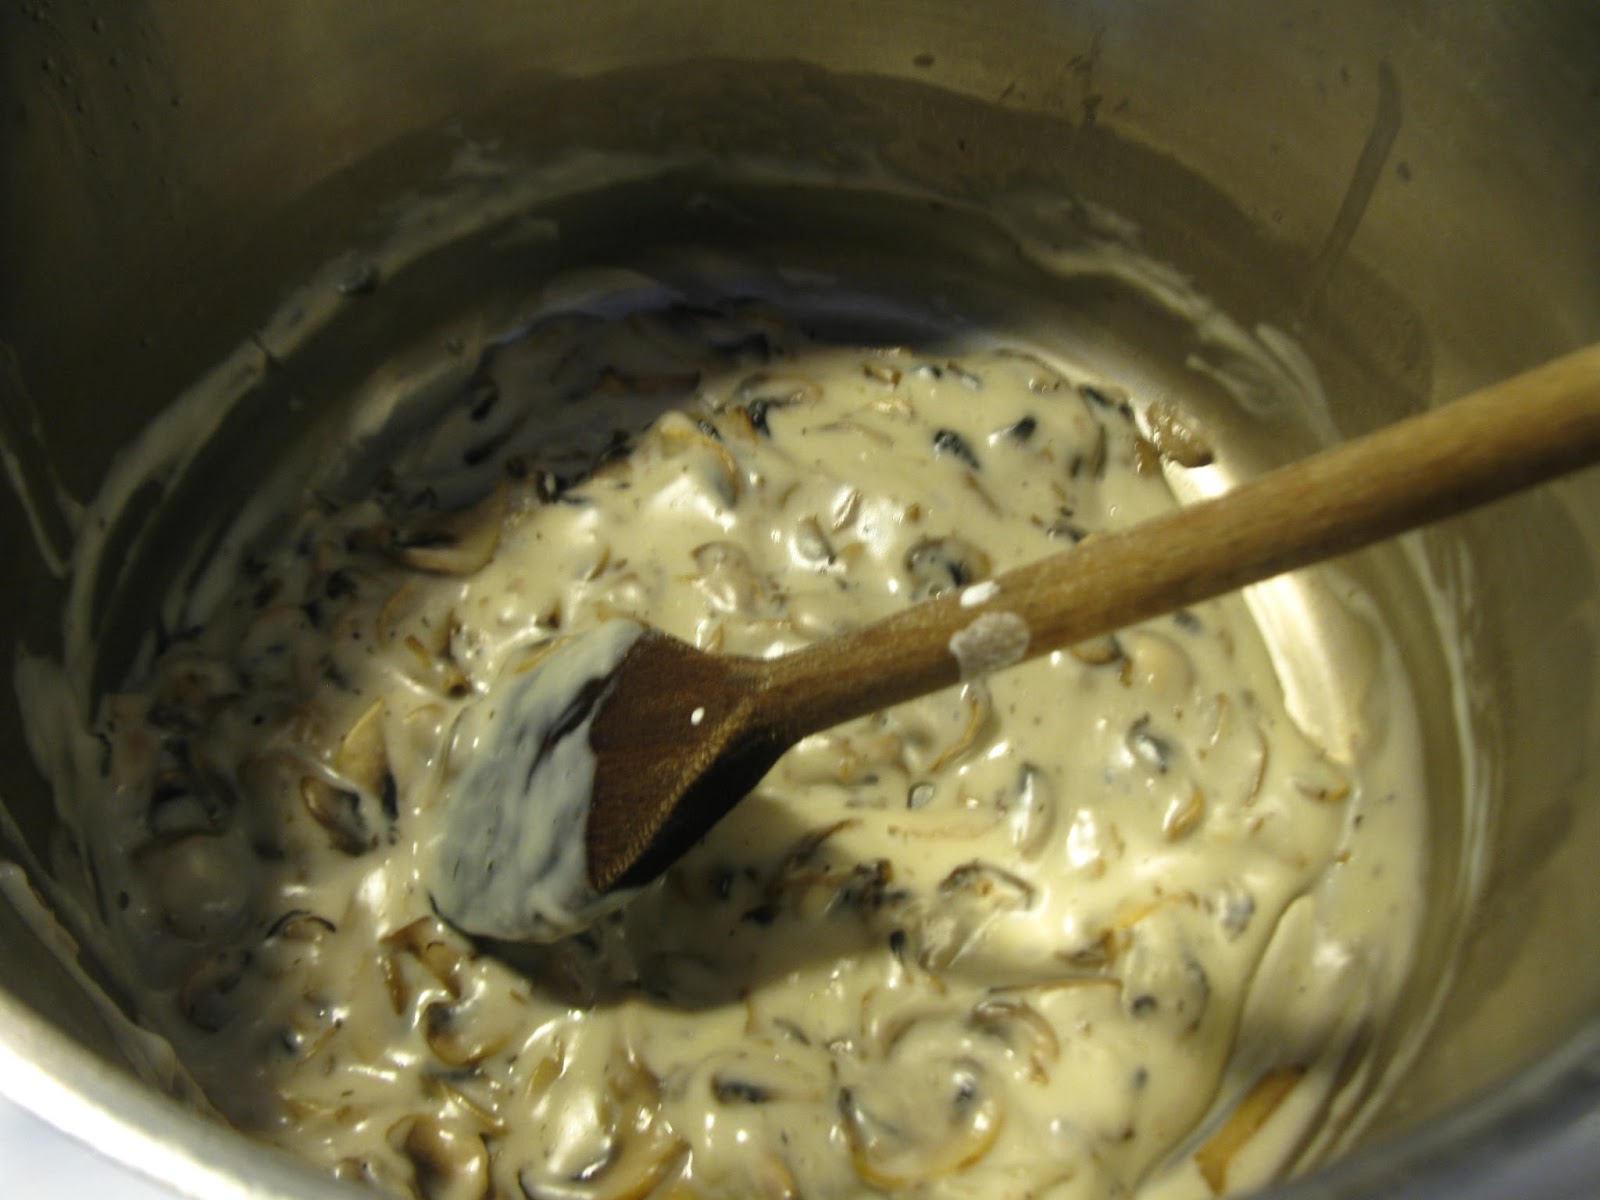
Then, I made homemade cream of mushroom soup:

And combined the cooked noodles with the soup and drained canned tuna:


It is very good.  Here are the recipes:

Cream of Mushroom soup

8 ounces button mushrooms, sliced thinly
3 Tablespoons butter
1/4 cup corn starch
1 1/2 cups whole milk
1/3 teaspoon sea salt

Melt the butter and saute the sliced mushrooms until they are soft.  Combine the milk and corn starch in a jar and shake it all up well together.  Add the milk mixture to the sauteed mushrooms, and stir constantly until it is all nice and thick.  Then add the salt and stir.  Remove from heat.

Egg Noodles

2 large eggs
1 teaspoon sea salt
unbleached white flour

Using a fork, stir the salt into the eggs and then, a little at a time, add flour until the dough is not stiff, but firm.  Knead on a floured surface until smooth.  Divide in half and, using plenty of flour, roll the dough out as thinly as you can and then, using a pizza cutter, cut it into strips.  Then do the other half of the dough.

Drop noodles into boiling water and cook for 5 minutes.  Then drain in a colander.  Add the noodles to the soup, add 2 cans of drained tuna, and stir well.  Serve!

By the way, you can add more milk to the soup if you want to eat it as soup.


Tuesday, March 22, 2016

Re-post.... Easter Eggs!

Easter Egg Musings...


My mother grew up on a farm in North Dakota, in the early 20th century. They had chickens, but their chickens laid white eggs. Nothing wrong with that, of course, but she told me that for Easter, her mother would boil the eggs with onion skins in the water to make them be a pretty color. I always think of that. I made these hard-boiled eggs a couple of days ago and wondered what she would think. These come from the chickens of a friend of mine, and they are brown, tan, white and even blue! Araucana chickens lay blue and green eggs. There is no need for me to color them at all, but if you DO color eggs, there are ways to do it naturally and not have to use chemical colorings.

Hard boil your eggs, and allow them to cool completely. Make sure they are well dried before placing them in the dye baths. Immerse the eggs in the coloring liquid to which you have added 2 Tablespoons of white vinegar (per quart of liquid) and put them into the refrigerator. Go back from time to time and check on the color. When it is as you wish, then remove the eggs and discard the dye liquid. The longer they soak, the deeper the dye color. After coloring, be sure to store your eggs in the refrigerator!

1. Onion Skin Dye Yellow to GoldTo make dye from yellow onion skins, place several skins in your pot of water. Boil them for a little while and allow the mixture to cool with the skins in the water. Then drain off the water to use for the actually dyeing. Add the vinegar. Put the skins in your compost. Soak your hard-boiled eggs in this dye bath and depending on how many eggs you use and how concentrated the dye bath is, you can get warm tones that range from gold to a lovely terra cotta.
2. Cranberry Dye Light Blue
To use fresh cranberries, boil 4 cups cranberries in 2 cups cold water until the berries burst. Let them cool. Drain and save the liquid. Add the vinegar. For a light blue, soak only a short time. If the eggs stay in very long, they will become dark gray in color.
3. Turmeric Yellow Dye
In a quart of water, simmer 1/4 cup of ground turmeric. Cool. Strain, add the vinegar and proceed.
4. Red Cabbage Blue
About 3/4 of a head of red cabbage chopped up will make a lovely blue. Again, cook for a while, cool in liquid, strain, add the vinegar and then dye your eggs.
I am sure there are a number of other recipes you can use. These are the ones I am familiar with.
You might wonder why I'd go to the trouble...? I used to use food colorings when my children were still at home. I was not aware of the natural choices besides the onion skins. This natural method is healthier, of course, and I think a lot more fun!
You can make patterns on the eggs by drizzling them with melted wax or wrapping them with rubber bands before dyeing.
Easter is coming soon! Make your plans and have fun with this.
I have blogged about this previously, but I will mention it again here. This is the BEST way to make hard-boiled eggs. even very fresh eggs will peel easily and you won't have the unattractive green layer between the yolk and the white of the egg.
To Hard Boil Eggs

1. Bring a 3 quart saucepan half-full of water to a boil. 2. Using a push pin, poke a tiny hole in the large end of each egg. 3. With a slotted spoon, place all of the eggs in the boiling water. 4. When the water begins to boil again, set your timer for 10 minutes, and reduce the heat so the water is simmering. 5. While the eggs are cooking, prepare a bowl of ice water. 6. When the eggs are done, immediately transfer them to the ice water. Let them sit in there for a few minutes. 7. Drain and peel when you are ready!

Friday, March 11, 2016

Fermenting with Mason Top Pickle Pipes...

I am so excited to tell you about a new product.  I bought mine on one of those "start-up" websites.  I had to w.a.i.t. to get them, but now that they are in production, I'm sure they can be purchased normally.
Ta-Da!!!


Here is the link to the website: http://www.masontops.com/

This is a fairly thick silicone topper for ANY wide mouth mason jar. They come in 3's.  All you need is a canning ring, the jar and the pickle pipe!  On the top of the little protrusion there is a small "X" cut in the top, that is sealed until the pressure from fermentation builds up and then it "burbs" out a little bit, as needed.

I am NOT in any way, being paid for this endorsement.

I had some fresh vegetables that I don't want to waste and will be too busy for a while to use them up, so I decided to make a vegetable ferment using a Pickle Pipe.  Here is my jar:


And here is what I put inside of it yesterday:

A two-quart mixture of:

red radishes - cut in chunks
daikon radish - peeled and cut in chunks
carrots - peeled and sliced
Nappa cabbage - cut in chunks

To that, I added 1 Tablespoon dill weed, 1 teaspoon paprika and two bay leaves.

I filled the jar to within an inch of the top, then packed it down and added a "simple brine" which is:

1 quart water that has 3 Tablespoons of salt well-dissolved in it.  

In this case, 1 quart of brine was a perfect amount.

On top of the vegetables, I placed 3 nice boiled rocks from our creek to keep the vegetables under the water.  You can see a small piece of leaf from the Nappa cabbage floating up. Mason Tops also sell glass weights for this purpose.

Then I put on the Pickle Pipe with a canning ring and it's ready to ferment!  You can see that the top is bulging up a little bit, which indicates that the fermentation has already begun. The reason it is bulging is because you need to squeeze the little top thing before using it the first time, and I had not done that, so, I was easily able to see the evidence of fermentation.  I do not know how long it will take.  After a couple of weeks, I will taste it and see how it is going. Once it tastes nicely sour, I will take off the Pickle Pipe, put on a regular lid and store it in the refrigerator.
Pickle Pipes are so easy to use, and versatile!

Here is a picture of part of the label.  Please do yourself a favor (if you like to ferment) and check out this product!


Friday, February 26, 2016

I bought a new top-whorl spindle...


I just recently purchased a pretty new top whorl spindle at The Woolery in Franklin, Kentucky.  Two weeks ago I learned to use one, and just "had" to have a prettier one.  Here it is with some yarn on it and my wrist distaff that one of our daughters made for me years ago.  It is a sunny day, and I've been sitting inside a sunny window having a wonderful, relaxing afternoon. In my opinion, top whorl spindles are much easier to use than the spindles that have the whorl on the bottom. If you would like to learn to use one, I recommend THIS book.

Wednesday, February 10, 2016

February 10, 2016... musings on a cold winter day...


Several days ago, we went to a home improvement store to pick up some needed items, and they had a fairly large display of orchids for $5.00 each!  I have longed for an orchid for a number of years, but was simply too stingy to pay the price.  Now I have one!  I hope it survives.  My Garden Fairy has always had success with orchids, and perhaps with her coaching me....


As you can see, we've had a bit of snow and today, right now, it is 17 degrees F. here.  I have seen it much colder than this (-28 degrees F one time), but this is cold enough!

Have you seen on the internet how people regrow celery and such by saving the bottom part of the plant?  I've done that, and actually planted the celery in my vegetable garden with some success.  Right now, I have 4 different vegetables growing that way on our kitchen windowsill.

Here is some Red Leaf Lettuce:


And a "red" cabbage:


Bok Choy:


And lastly, iceberg lettuce!


They add a cheery sight to the wintry landscape for me.  We will eat the little nibbles they are growing.

So far, this winter, I've had 10 different varieties of wild birds visit my bird-feeding station.  Here is the list: 

Black Capped Chickadee
Nut Hatch
Tufted Titmouse
Junco
Cardinals
Sparrow
House Finch
House Wren
Brown Thrush
Flicker

The Flicker just showed up this morning and he seems to really favor the new suet crumbles that I made, so I'm glad I made them, even though I only saved 88 cents.  :)

I have two loaves of my Every Day natural yeast bread rising in the pans.  If you come over in maybe 3 hours, I can give you a warm slice with butter.


How does that sound?


Tuesday, February 2, 2016

I saved 88 cents feeding the birds...

I have finally gotten back to feeding the wild birds.  What with the move into our trailer, I had let that go pretty much all last winter.  We have a nice Redbud tree right outside our kitchen window, and it is a perfect place to hang bird feeders, and then I can watch the birds as I cook.  My mother was an avid bird watcher. I know many of the local species, but want to learn more about it.

A couple of days ago, I bought a wire suet basket and put it out there and bought 2 suet cakes.  Here is one:


With the tax, it only cost $1.16.  I went to YouTube and found THIS tutorial on how to make suet dough (crumbles) to feed to the birds. I decided to make some and see if it would save me any money to make my own.

Here are all of the ingredients I purchased, except the flour, which I already had on hand.


I carefully weighed out the various components of this mix.


Then I mixed all of the dry ingredients together in a huge bowl.


Next, the crunchy peanut butter and the lard were melted together...


and added to the dry ingredients and I stirred it all until it was well mixed.


By the way, it was much easier doing this than they indicated in the video.  I think having it in a large bowl instead of a bucket helped.

Here is what I ended up with.  There are two containers like this.  It made 13# of crumbles.  Yes, 13#.


Now, here is the recipe for one smaller batch.  I multiplied this amount by 5 when I did it.

Suet Dough for the Wild Birds

1 cup crunchy peanut butter
1 cup lard
2 cups quick oats
1 cup corn meal
2 cups unmedicated chick starter
1 cup all-purpose flour

Mix the dry ingredients together.  Melt the crunchy peanut butter and the lard together.  Stir the melted ingredients into the dry mix.  Store in a lidded container at room temperature.

I calculated the price of the ingredients, added it all up, weighed the resulting mixture and figured that in comparison, by weight, the large batch of crumbles saved me a whopping 88 cents!

However, I will watch and see how this works out.  Since I will not be putting this in a suet feeder, there will probably be significantly less waste, because when the birds eat the suet, they get pretty enthusiastic and spill some on the ground.  Also, I think this mix is more nourishing and healthy for the birds.  The suet cake only has beef suet and some mixed bird seed in it.

As you can see in the following pictures, I was desperate for some way to feed the crumbles, so I made a feeder from an empty milk jug and hung it on our tree.


Here is our bird-feeding station:


Related Posts Plugin for WordPress, Blogger...