Tuesday, October 26, 2010

I Don't Like Drying Dishes.


My mom worked as a maid for a while before she got married. SHE was a very good housekeeper. She insisted that as soon as dishes were washed, they must be dried and put away, and of course, that is probably best, because then everything is not only tidy, but dishes and equipment are then readily available, AND the dish drainer is empty so you can clean up as you go along. All that being said.... sigh.... I was (?) lazy and when they taught us in school that air drying dishes is more sanitary, I thought I would "win." Nope. Mom was not impressed.
I still had to dry dishes.

Now, I am almost 62 and in charge of my own kitchen and I still avoid drying dishes unless forced to do it. (Blush.)

I think this photo illustrates my stubbornness. :)

Aebleskivers!

I was sitting on the couch, stripping fresh herbs off the stems to put into the dehydrator yesterday afternoon when my husband came in with a large box. I opened it and found this! ~


It is an Aebleskiver pan! My sweet daughter noticed it on my Amazon.com wish list and sent it to me out of the blue. What a nice surprise! It came with two recipes, and there are oodles of them available on the web. It seems that the batter needs to be fluffy, as they generally add beaten egg whites at the end, and so I thought I would try the pan for the first time with my sourdough pancake recipe. (I used whole wheat flour instead of the white it calls for.) Well, it isn't "my" recipe. It is just the one I use. Scroll down on that page and you will find it.


Above, see the pitcher of batter, and I am holding a little knitting needle to use to turn the Aebleskivers over.

I pre-heated the Aebleskiver pan, just as I would for pancakes. The instructions say to fill them half-way, and that seemed to work just fine. If I filled them more, then they would puff up a bit too much.


When the edges begin to look done, and there are bubbles on top, take the knitting needle, or skewer, or whatever you have (it needs to be skinny), stick it into the top near the edge and flip them over:


Aren't they pretty?


Here is my bowl and I have drizzled them with Maple Syrup:


Oh, my! That didn't take long!


They were delightful! I think this batch would serve 4 easily. Thank you, Sweetie!

I am sharing this on Wardeh's Tuesday Twister over at GNOWFGLINS.

Sunday, October 24, 2010

A Use for Stale Bread

If you make whole wheat bread, you know how it is. The heels of the bread are marvelous when the bread is very fresh, but after that, no one wants to eat them. So, they sit in the bread bag until the bread ends up in the refrigerator so it won't get moldy. Of course, the stale bread makes marvelous toast at that point, but only the most intrepid will willingly choose the stale heels of bread. So, they sit there, making one feel guilty. To compost or what? Here is my solution. I've been making "Bread Pudding" since our children were all young and still living at home. It is delicious, warm with milk or cream, or even after it's been chilled, it is still good. It can be re-heated, of course.

Here are 3 whole wheat bread heels and 2 other stale slice rescued from the refrigerator:


Break the bread into little pieces into a square baking dish:


In the blender, mix 3 cups goat milk, 1 teaspoon vanilla extract, 1/2 cup Sucanat, 1 teaspoon ground cinnamon and 1/2 teaspoon ground nutmeg and 3 eggs. (You may, of course, use any milk you like and other sugars, as well as other breads.)


Pour this mixture over the bread and let it sit soaking during the time you are pre-heating the oven to 325 degrees F. Set the baking dish inside another baking dish that has water in it like this:


Bake until a sharp knife inserted in the center comes out clean. We started eating it before I could take a proper picture of it when it was done!

Thursday, October 21, 2010

Kefir - Chapter 10


Here is my kefir shelf in the kitchen.
From left to right, you can see~

1. Jar of milk kefir
2. Jar containing Milk Kefir Grains and the goat milk it is fermenting
3. Water kefir brewing (on top of the jar is this.)
4. 2 bottles of water kefir grape soda

I no longer store my kefired (is that a word?) milk in the refrigerator, and I like this system much better. I put the kefir grains into a jar, cover with fresh goat milk, cover with a coffee filter and rubber band, and let it sit for 24 hours. I strain it through a plastic colander that has small holes. Then, I pour the kefired milk into the large jar. I just pour it in every day and when I want to use some, I stir the jar and pour out what I need. I really like the creaminess and complex flavor that this milk kefir has developed. I will be interested to see what happens as we go into the colder months. This is such an easy process, and a very healthy drink! Milk kefir is also very versatile. I have used it to make "kefir cheese" (similar to sour cream or cream cheese), for making a whole wheat sourdough bread that is quite nice, as a substitute for buttermilk in baking, in smoothies, and as an acid ingredient in pre-soaking beans, brown rice, and breakfast oatmeal.

We really enjoy our water kefir soda. The only thing I feed the water kefir grains now is Sucanat. They are very happy and propagate rapidly. After brewing the kefir water, I add half again as much fruit juice and put it in flip-top bottles. Then it sits out for another 24 hours before being refrigerated. Yummy.

For more information, check out my previous Kefir Chapters over to the right..... :)

Wednesday, October 20, 2010

The greenhouse in October

Scallions:


Leaf lettuce:


Swiss Chard:


Kale:


Bunching Onions:


Mache:


View from door:


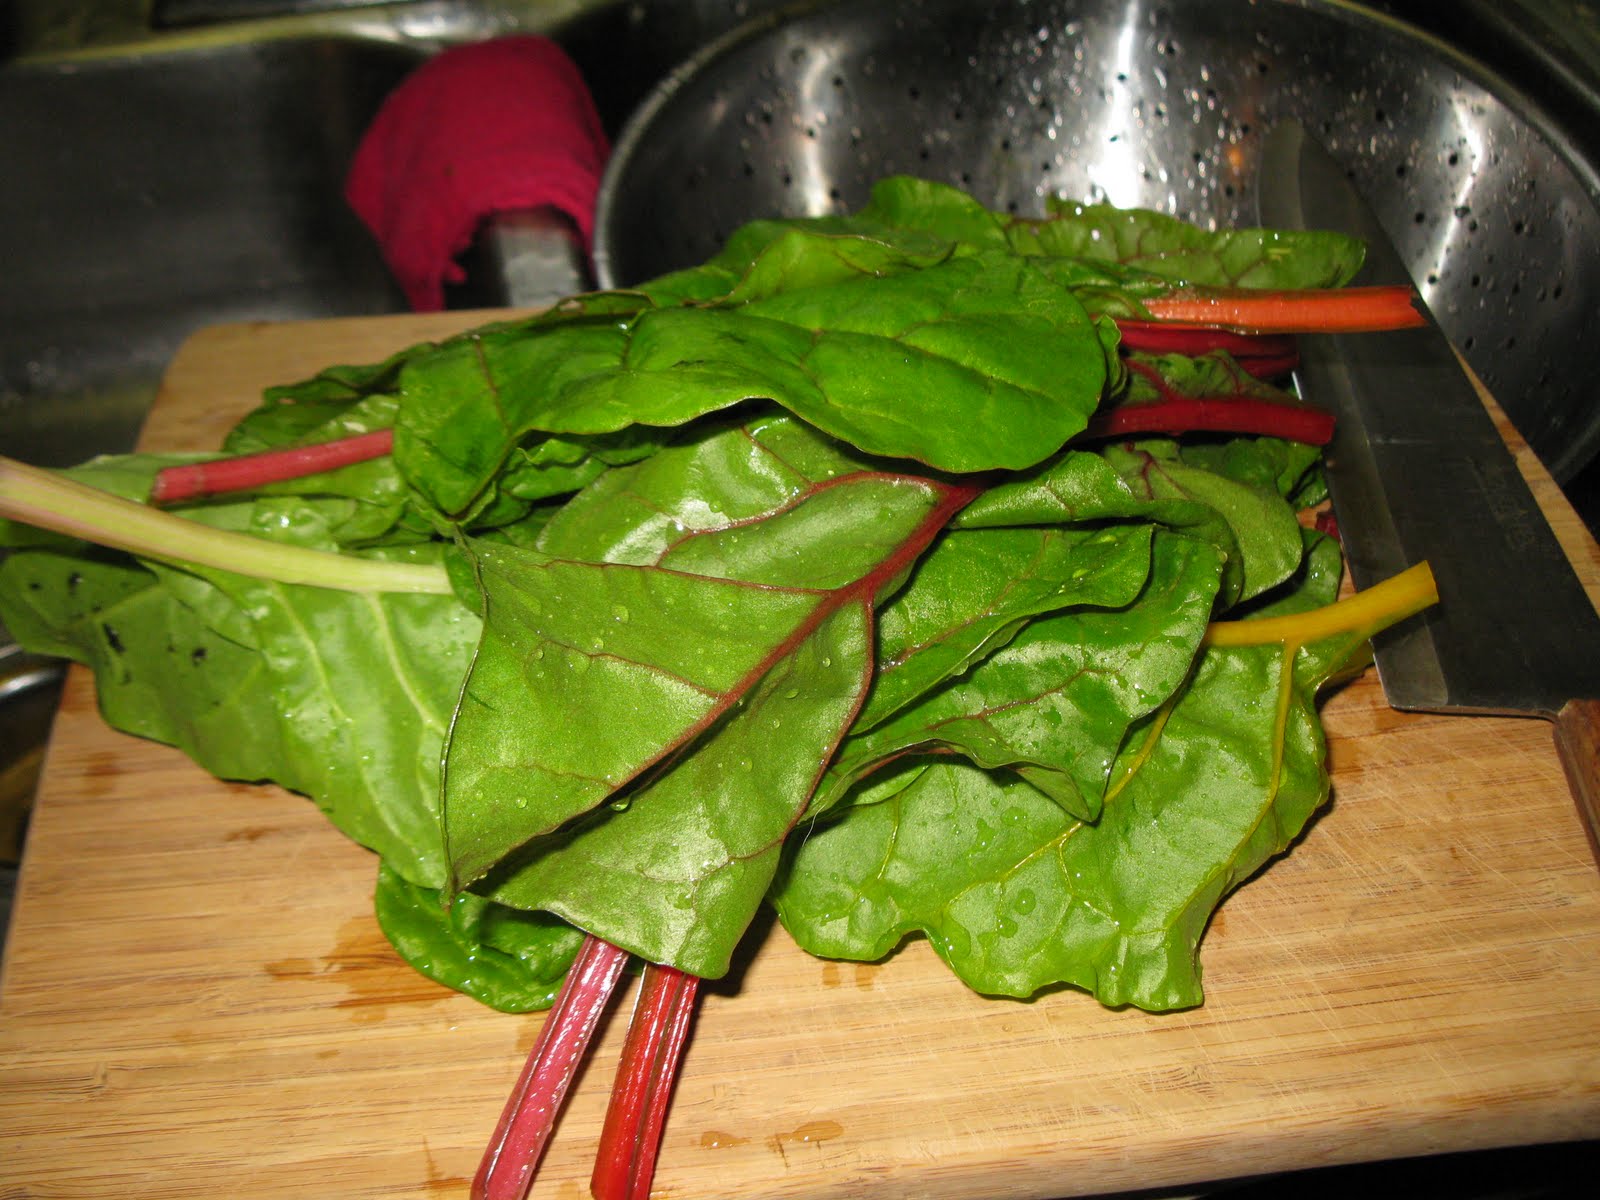
Swiss Chard, being prepared for dinner. I sliced it all up, steamed it, added butter, salt and a little pepper. Oooooo! Very tasty.

Tuesday, October 19, 2010

Pears, Revisited

I recently posted about canning pears. Since then, the neighbors gave me another bushel of pears from their wonderful tree. Canning them, as I did, was very time consuming, so being anxious to find something easier to do with them, I decided to make Pear Sauce. Here is what I did. First, wash the pears:


Next, get the steamer ready:


Cut the top where the stem comes out off of each pear:


Cut in half:


Remove cores:


Fill top of steamer:


Put on the lid and steam until pears are very well cooked:


Drain off the juice:


Put the cooked pears through a food mill (Mine is a Foley Food Mill.) Add a pinch of salt, Sucanat to taste and a little ground cinnamon.


Fill pint jars, adjust caps, process in a water bath canner for 20 minutes:


Fill pint jars with the juice and process those for 10 minutes in a water bath canner:


Last week, I had a disaster. I had some pears left from the first batch and I needed to use them up quickly. I thought I would make some "Pear Butter" like apple butter. I washed cut and steamed the pears, but did not remove the cores. Big mistake! Pears have lots of the little hard cells called sclerenchyma, and they seem to be concentrated in and around the core. My pear butter, when it was done, was crunchy! The compost pile loved it.

So, this time, I took out the cores, and made the sauce thicker by juicing the pears first. This made lovely thick sauce. I think you will enjoy it.

If you do not have a juicer, you can simply put a small amount of water in a heavy-bottomed kettle and steam the pears until they are very soft. Then, strain them, reserving the liquid, if you like. And of course, this sauce may be frozen instead of canned.


Sunday, October 17, 2010

Johnny Cakes

Yesterday we cooked outside over a fire. I made bean with bacon soup, peach cobbler and Johnny Cakes. I did not take any pictures, but you really don't need them for this. You can look on Wiki for an article explaining the origins of Johnny Cakes here. And here is how I made them:

Johnny Cakes

1/2 cup thick whole wheat sourdough starter
3/4 cup goat milk
1 egg

Wisk all of that together with a fork, and then add:

1 cup whole corn meal
1 teaspoon Real Salt
2 Tablespoons Sucanat
2 teaspoons baking soda
2 Tablespoons raw honey
2 Tablespoon melted kettle lard

Mix together the corn meal, salt, soda and sucanat. Add that to the milk mixture and then stir in the honey and lard. Let the batter set while you heat up your griddle.

Cook just as you would for pancakes, on a griddle greased well with lard.

Serve with plenty of butter and molasses. Oh, it was SO good!

Needless to say, you can substitute ingredients, but this was an excellent combination, and I would not do it without the sourdough. It's just not the same. If you need a sourdough starter, you can get one for free here: http://carlsfriends.net/
Related Posts Plugin for WordPress, Blogger...